
Tips for Crochet and Knit Pattern Tester Photography: Part 2
Note: This is part two in a series, be sure to read part one for lots of good basic information about crochet and knit photography including flat lay composition, useful tools, and lighting and space tips. Be sure to grab the free printable also. Click here to read part one.
*Some of the links in this blog may be affiliate links, which means if you shop through the link, I make a small commission at no additional cost to you. These purchases support my small business, so thank you!*
If you can’t read the entire post now, or want to refer back to it later, use the image below to Pin it. If you find this information useful, please share it with your tester and designer friends to use as a resource.

MODELED PHOTOGRAPHY FOR MAKERS
If you want to design or test garment patterns (or sell finished garments), you will need photographs of those makes - usually modeled on you or whoever you made the item for. There are thousands, if not millions, of these kind of photos on Pinterest, Instagram and the internet in general. What kind of photos catch your attention? What stands out to you? I want people to stop scrolling and actually look at my photos because something caught their eye. I also want to represent the design and/or designer well. I also want to connect with a real person in some way. People love connecting with the human side of an Instagram account. You can show the prettiest pictures of crochet projects, but the most interaction usually comes when you present yourself on camera (stills or video).
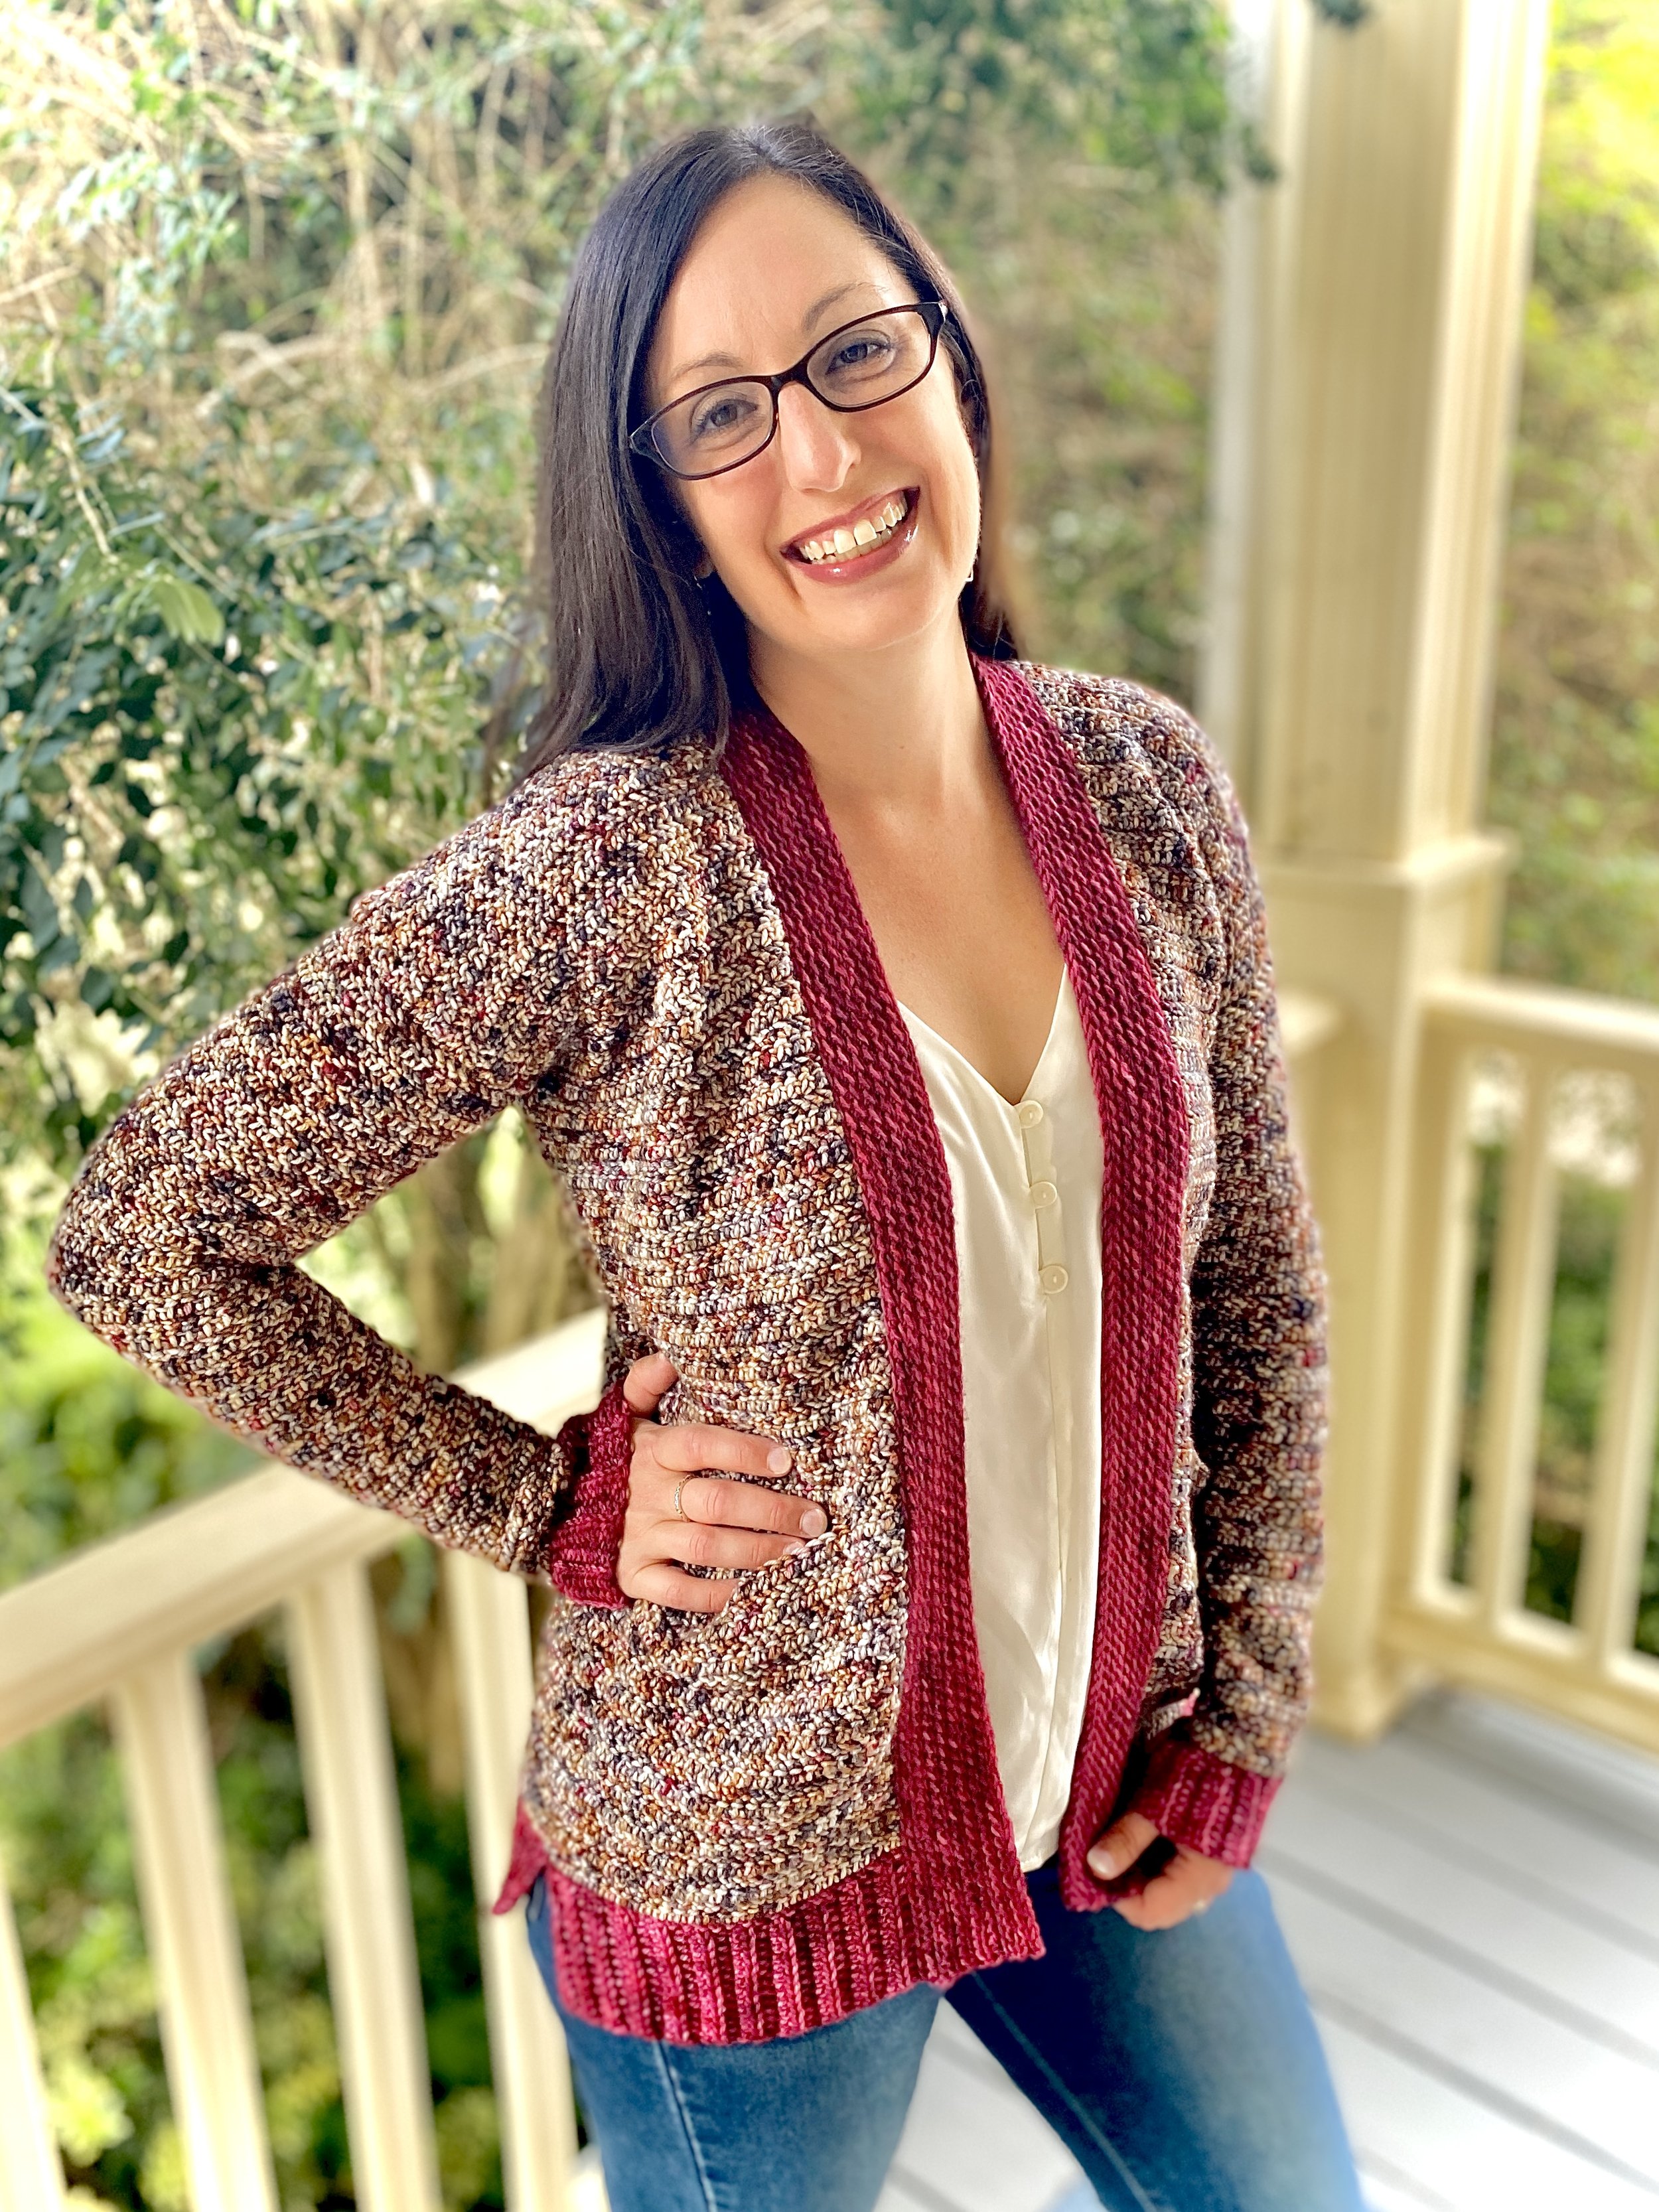
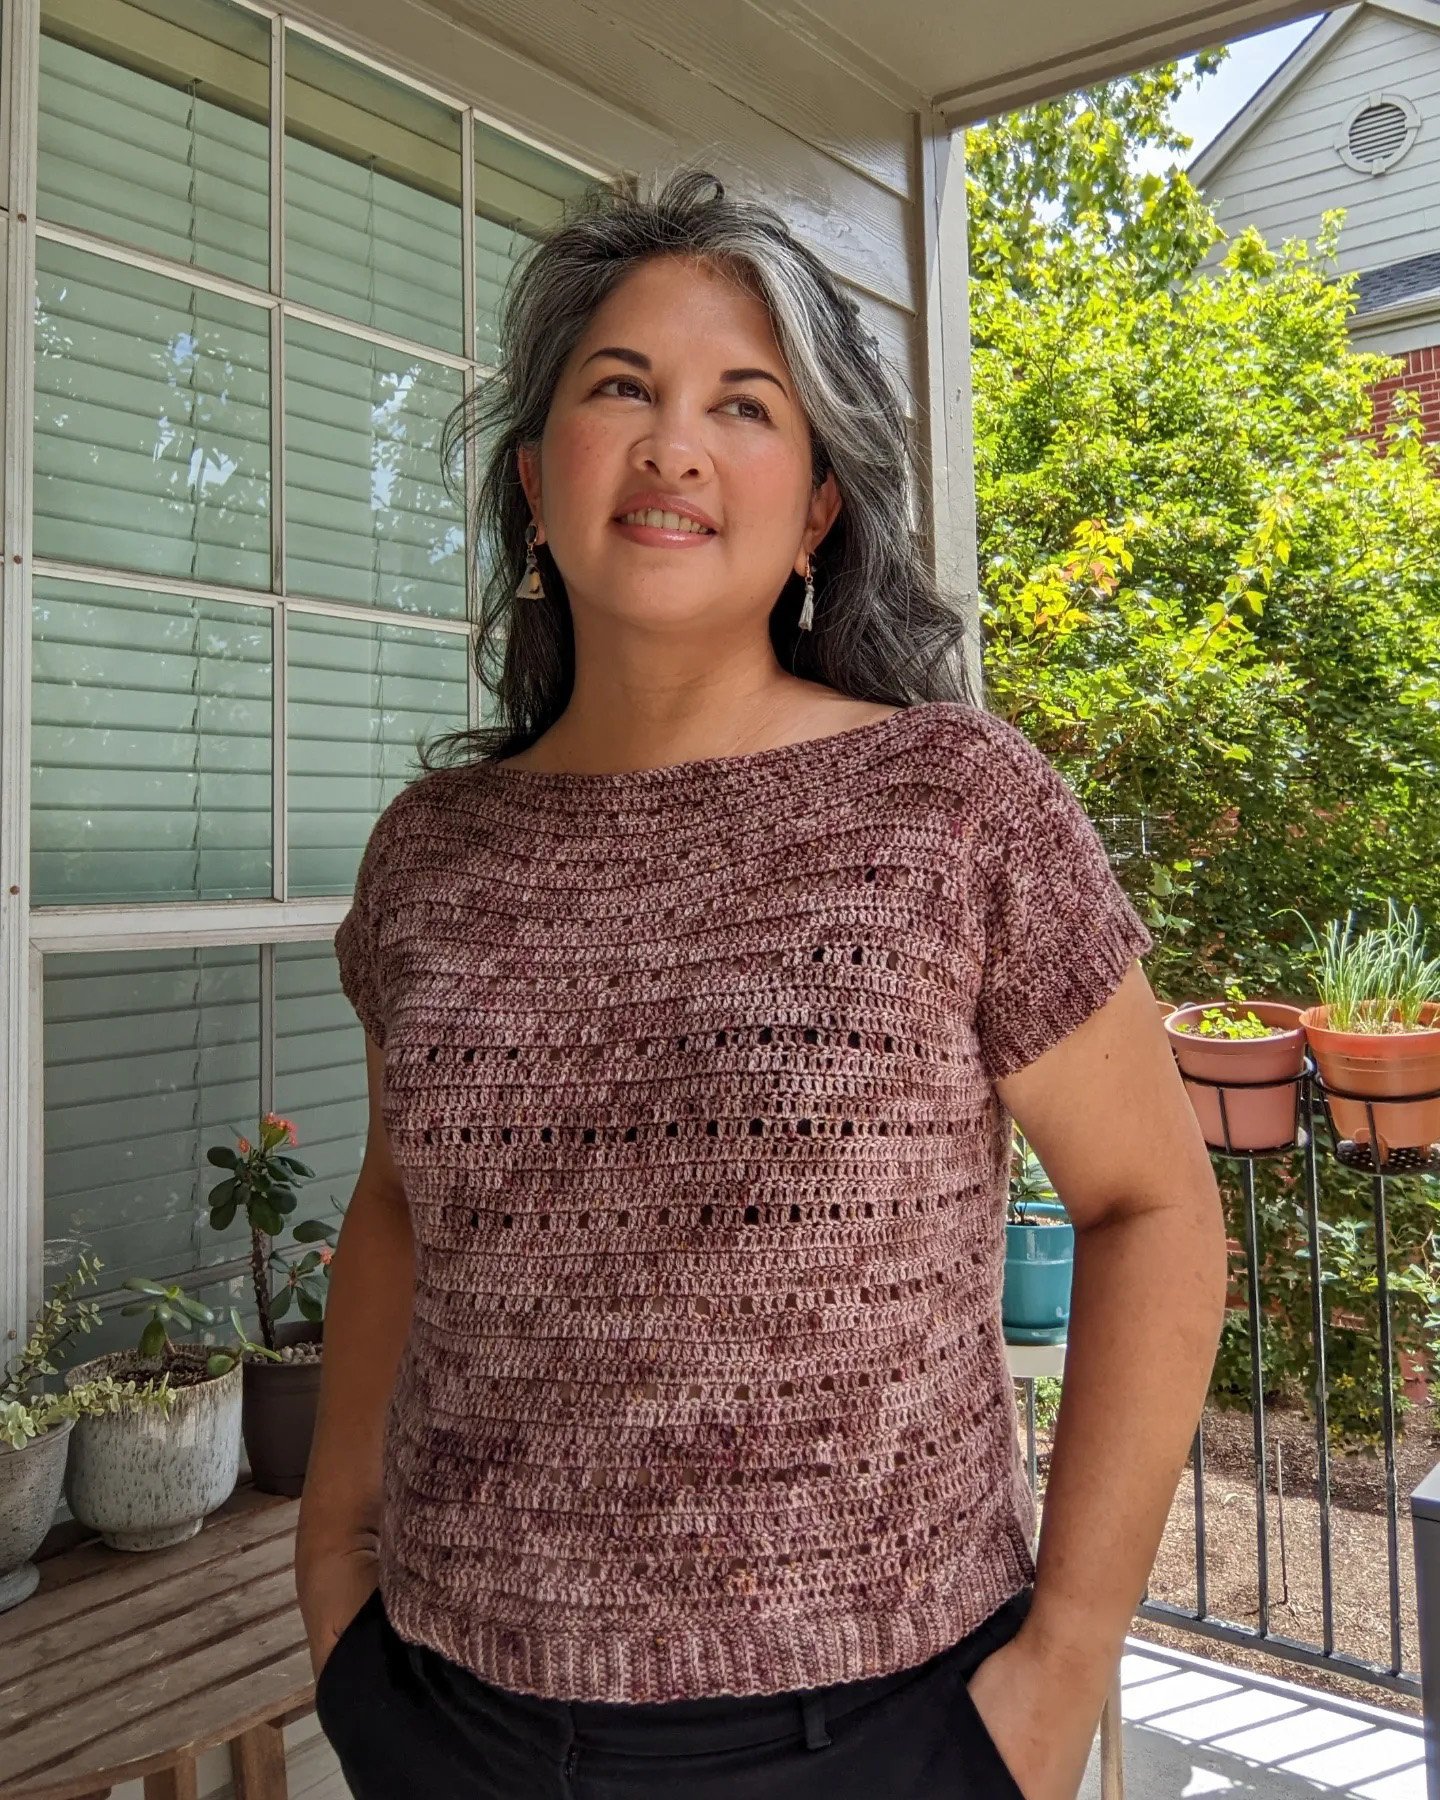
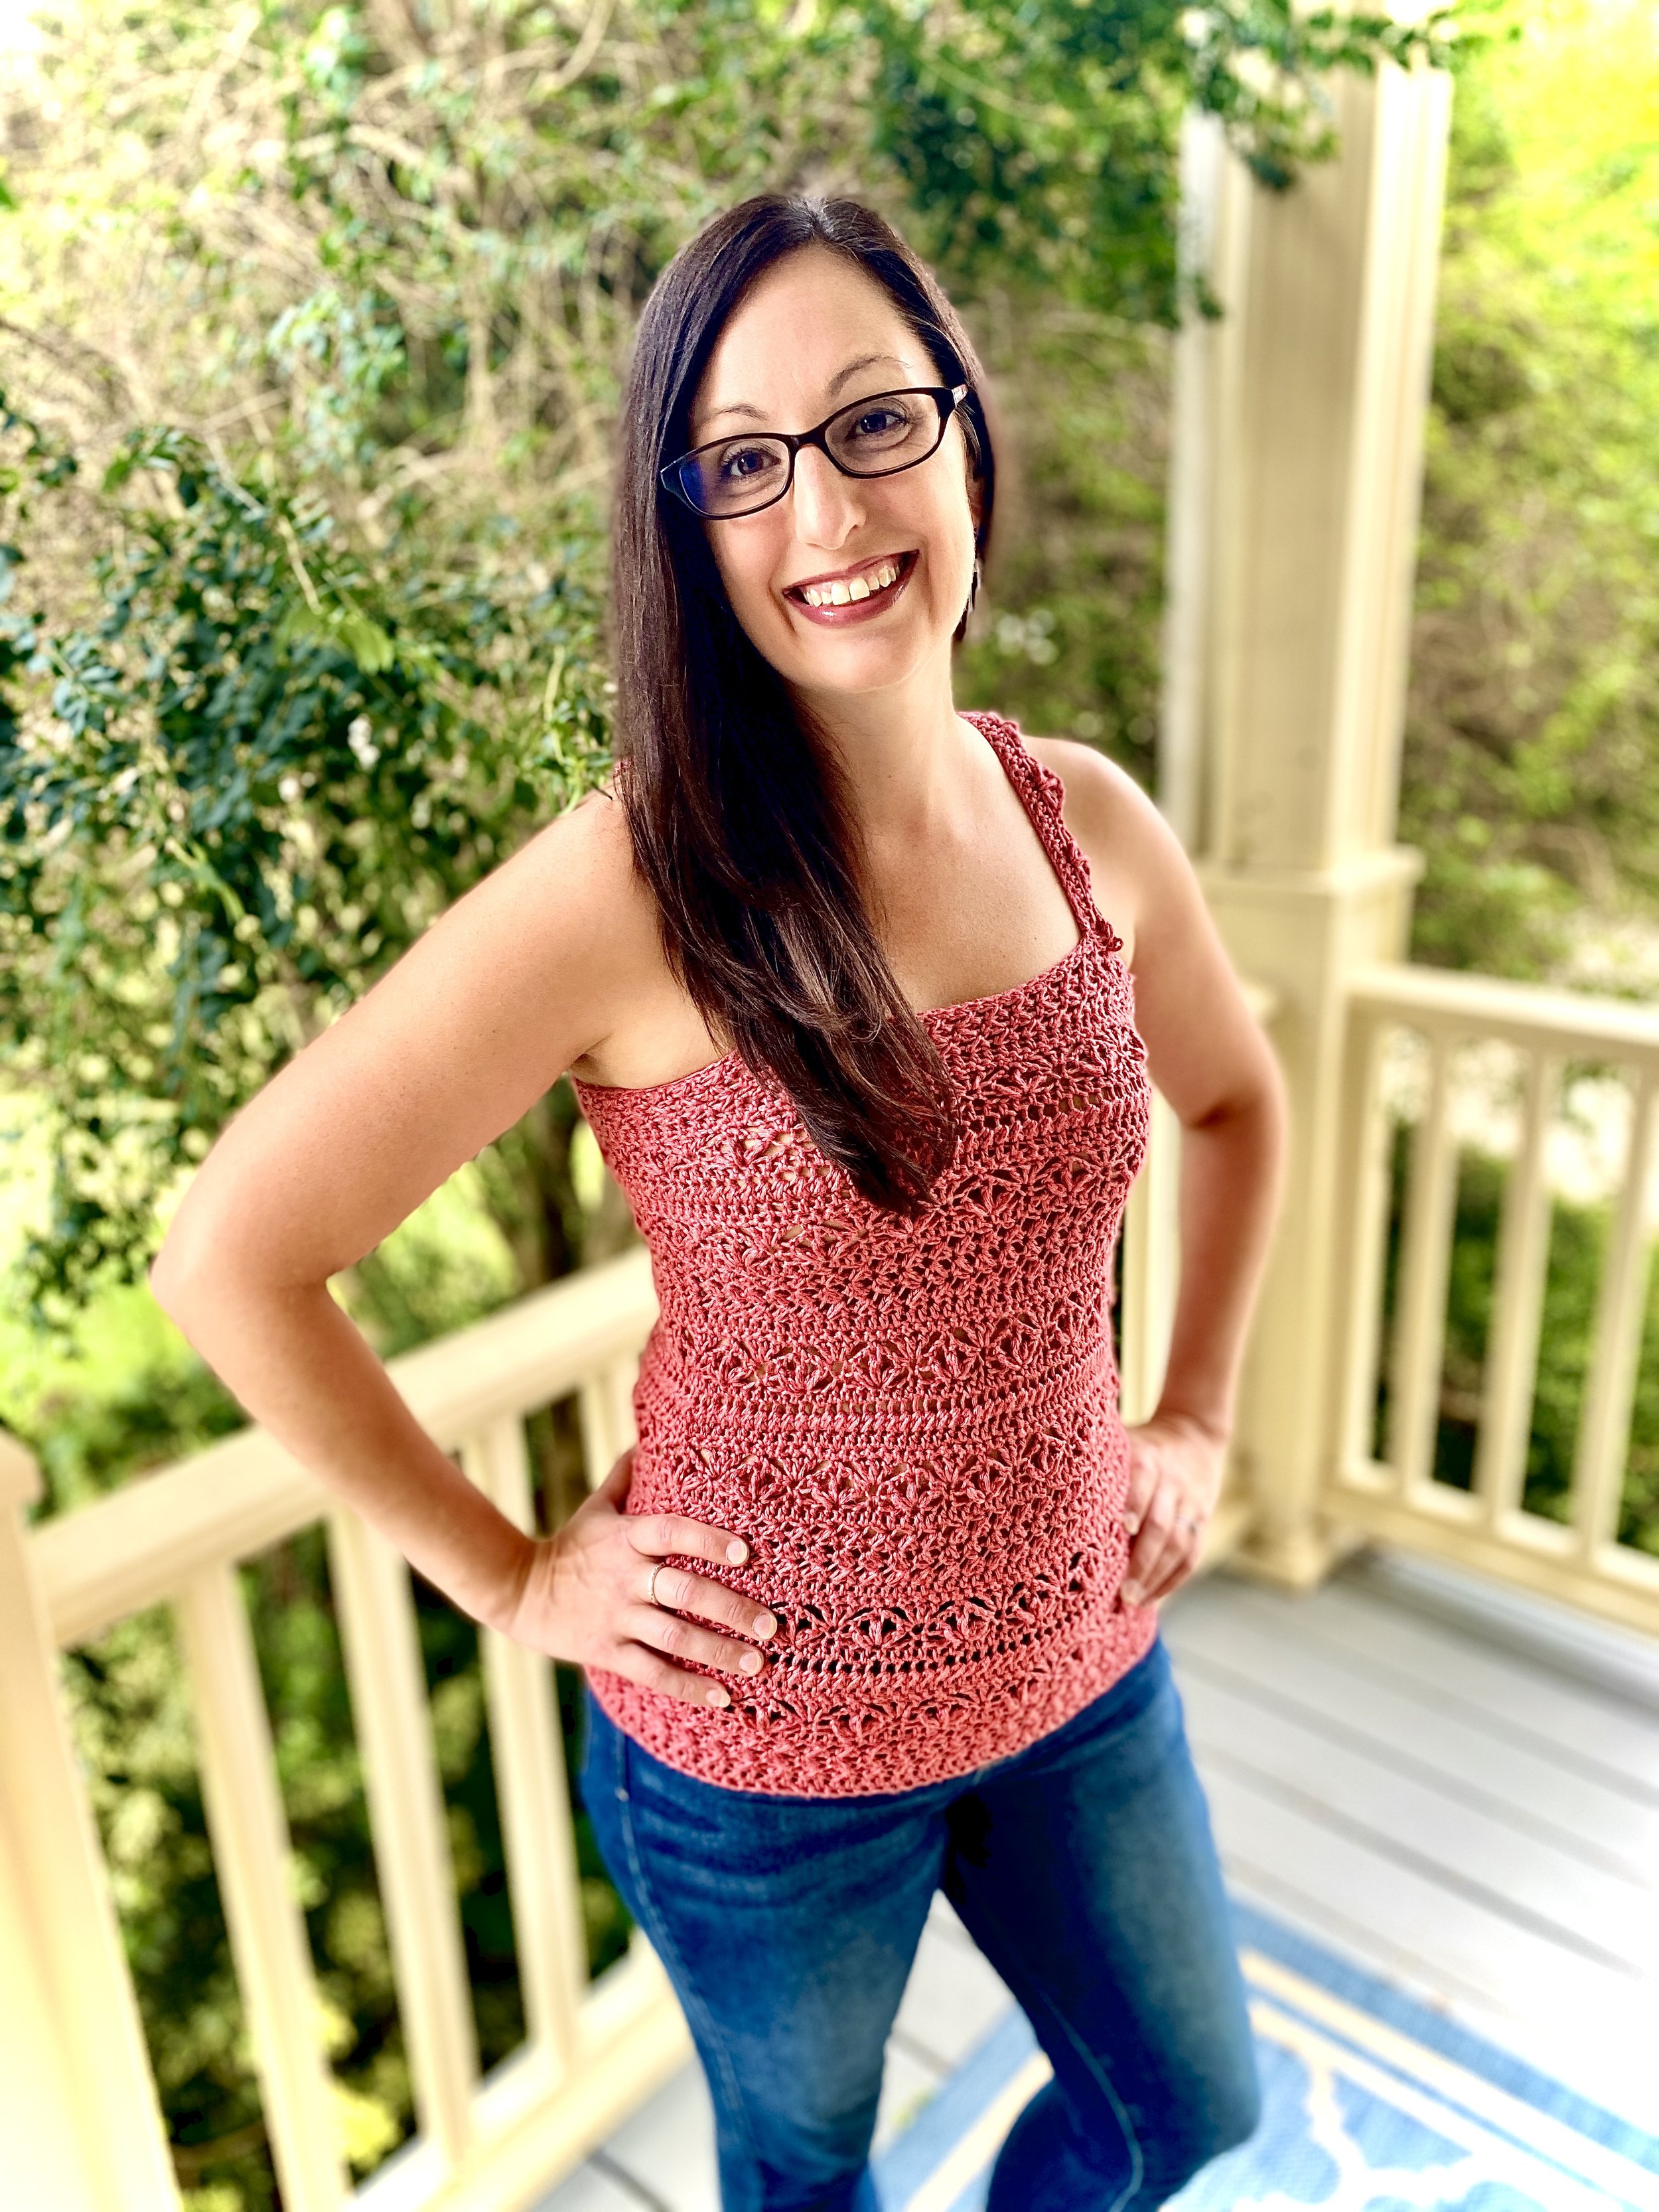
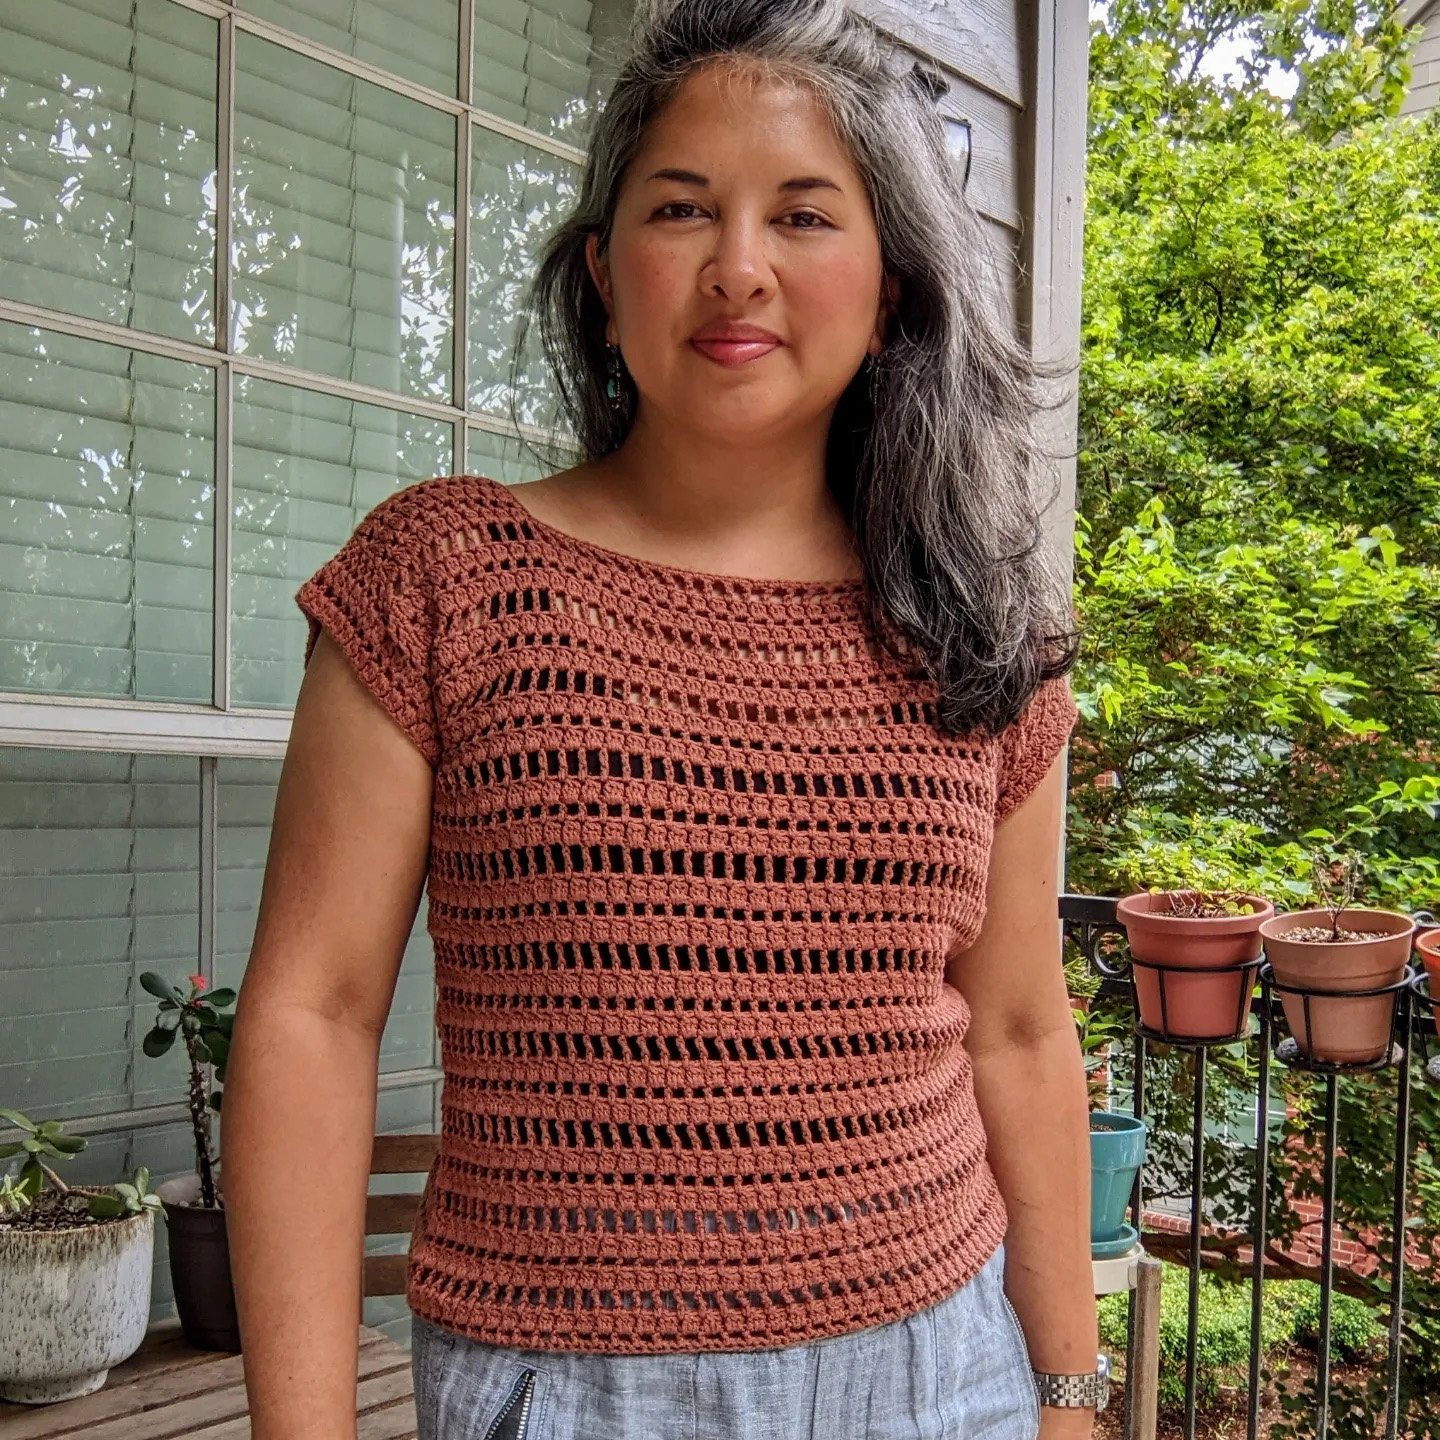
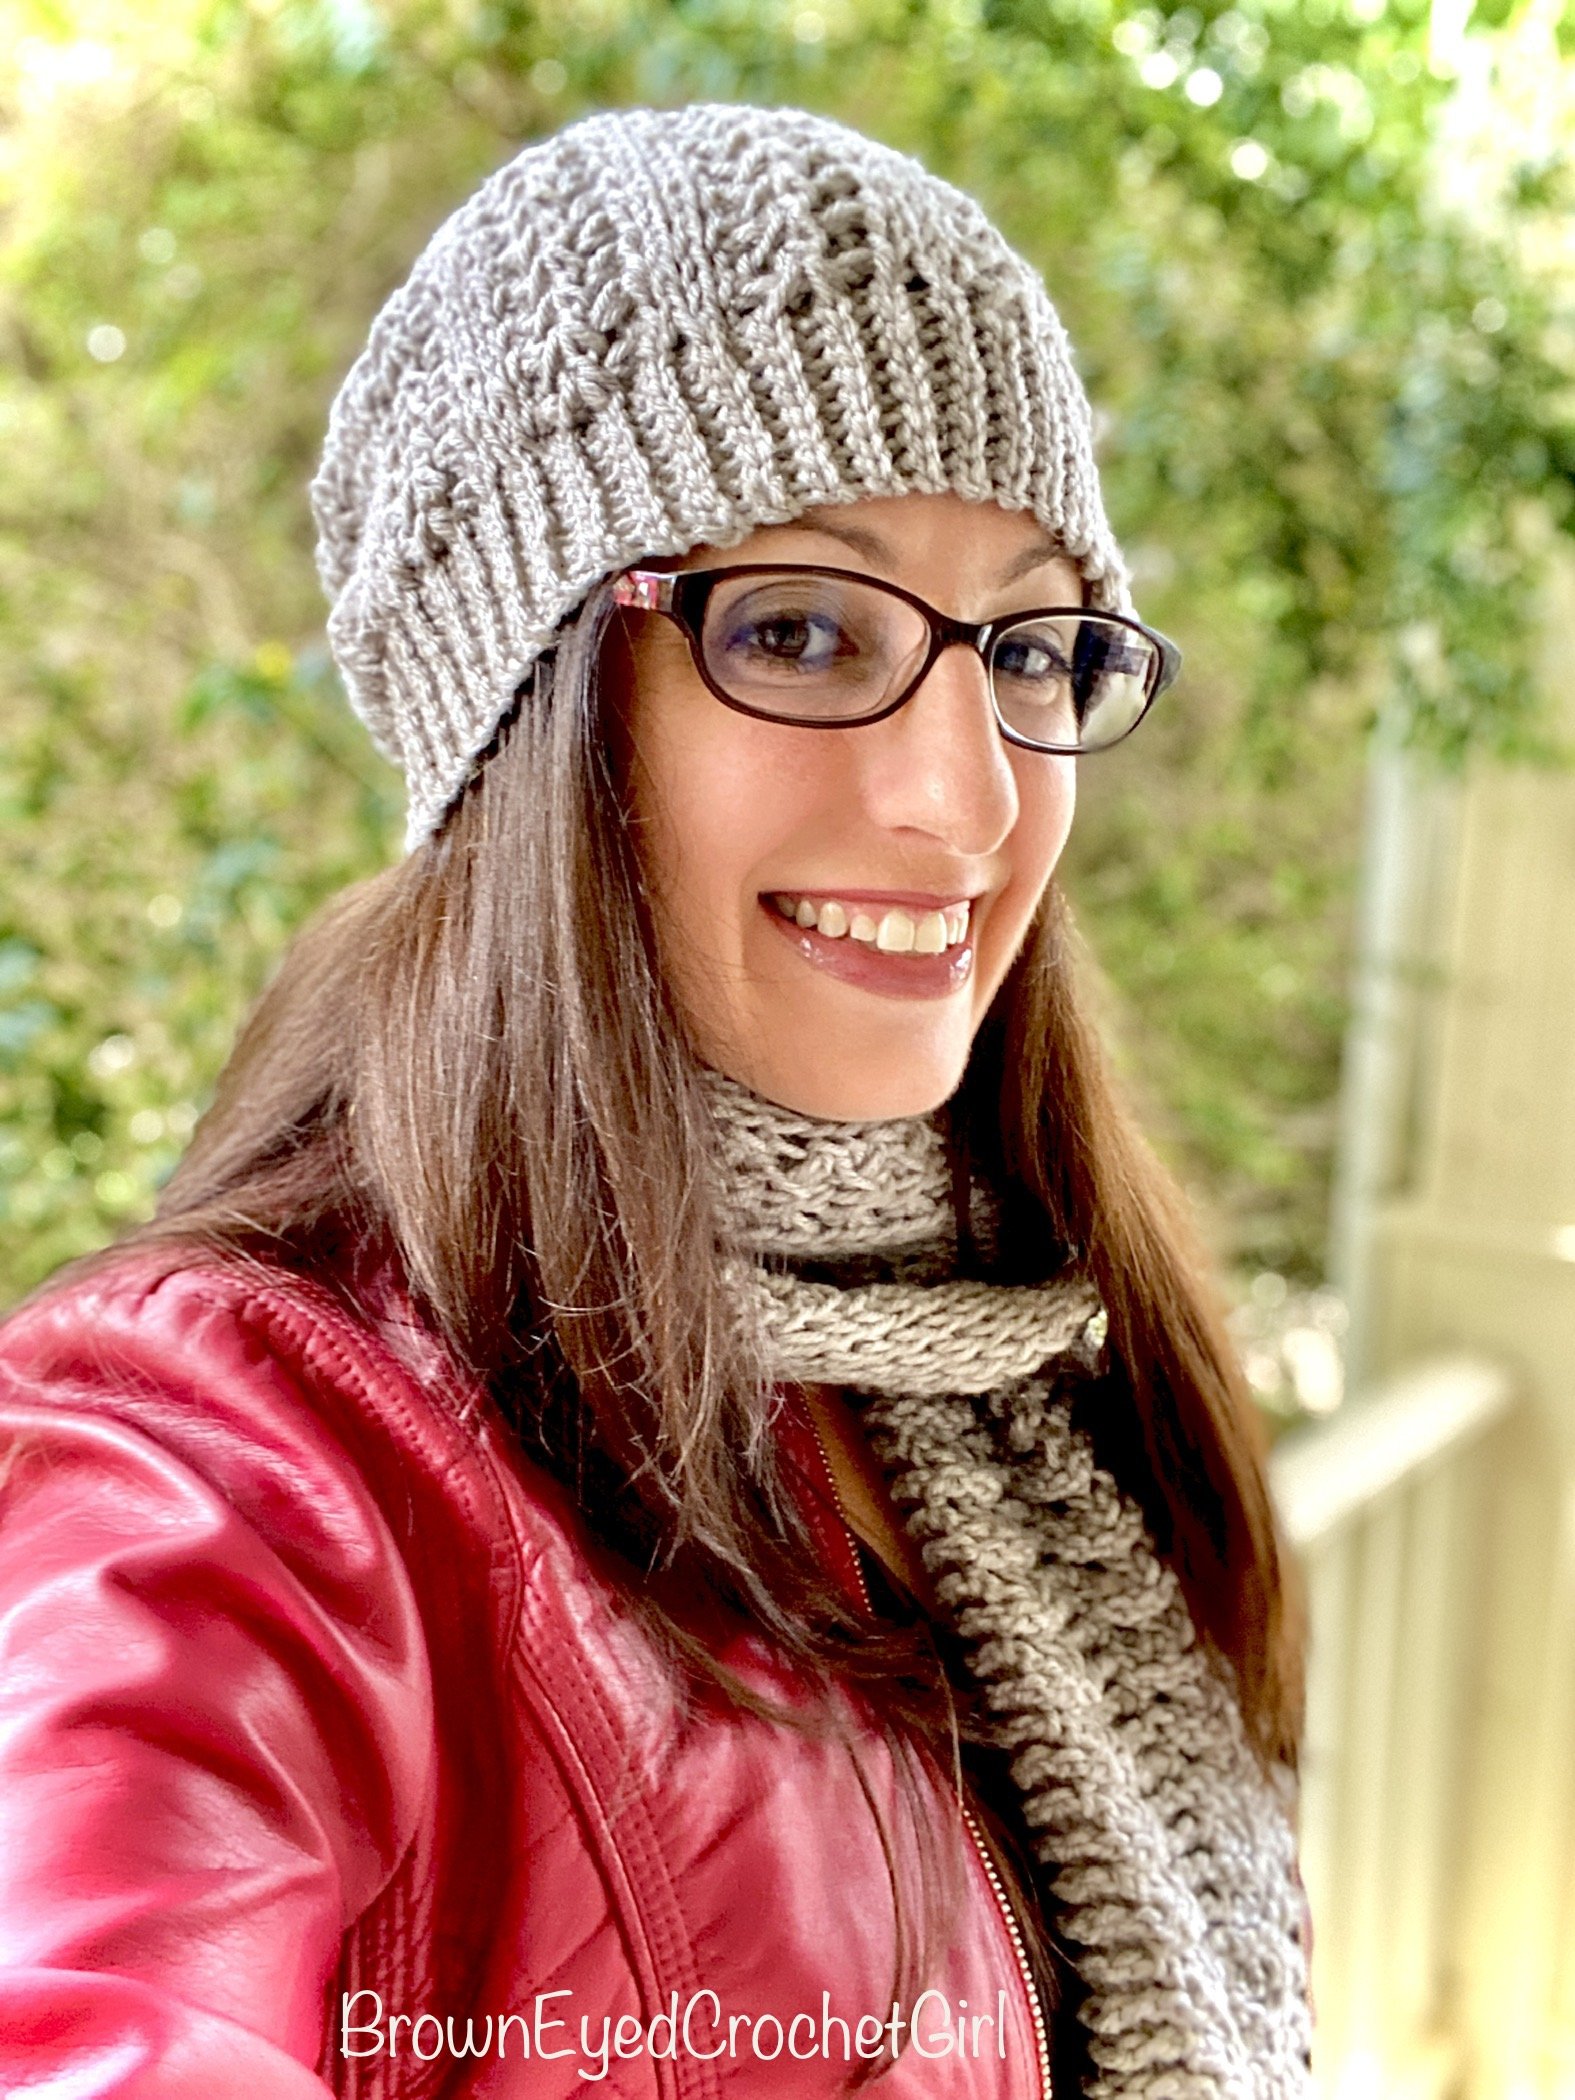
While I do have some experience here, I called in two people who have amazing pattern testing abilities and photography skills for assistance. Meet Amy from @BrownEyedCrochetGirl and Jennifer from @texanjenn! First of all, their makes are AMAZING! Totally worth a follow on Instagram. Second, the composition of these photos is perfect - the main focus is the crocheted garment. You can almost instantly tell if the garment they are modeling is something you may want to make. They both pay attention to lighting (natural, indirect light) and below they look relaxed and open. Whatever is going on in the background doesn’t distract from the focus.
Another thing to mention here while looking at these photos, is that Jenn & Amy take many photos by themselves! Many of my testers take selfies, and so do I. There's not always someone around to help me get the photos I need when I need them. Jenn says “I live alone, and while my poodle is very smart, she doesn’t have opposable thumbs, so I rely on a tripod and remote for my camera phone. I was gifted the tripod I use, but you can find a standing height version with a small bluetooth remote for less than $30 on Amazon.” Keep scrolling for ideas on tools.
If you are taking a photo without a stand or selfie stick, hold your phone (or camera) as far away as possible to get some head room so the framing isn't too tight. The best photos usually have some negative space around the subject. Find the camera lens on your phone and try looking directly into it (make sure and clean your lens before you start taking pictures). Use the best indirect light with no weird shadows or glare. Jenn says her best area is her patio - an outdoor area with a cover is wonderful for indirect light! She starts in one location, takes a few photos and checks to see how the lighting looks. She also asks herself, “is the photo accurately representing what my handmade item actually looks like?” She reminds us that people are mainly looking at our photos to closely examine what you made and decide if they want to make it too (especially true for testers). Jenn has also impressed me with her indoor photos next to a large window.
“The key is to have fun, and LOOK like you’re having fun!”
Amy wears glasses like I do, and sometimes I get glare or a blue tint on my lenses in photos, so that’s something to pay attention to as well. Also, hold the phone slightly above your neck and head, not below (no one wants to look up your nose). Amy says, “portrait mode is a wonderful tool” that focuses on and highlights the subject “while blurring the background for a softer, more professional look.” She added that a good background should be “uncluttered and simple.” I totally agree with this - I always try to take photos in a place where there isn’t anything brightly colored behind me that distracts. Once, I took a ton of photos outdoors, only to realize my neighbor had a bright blue tarp over their shed and it was ruining all the pictures.
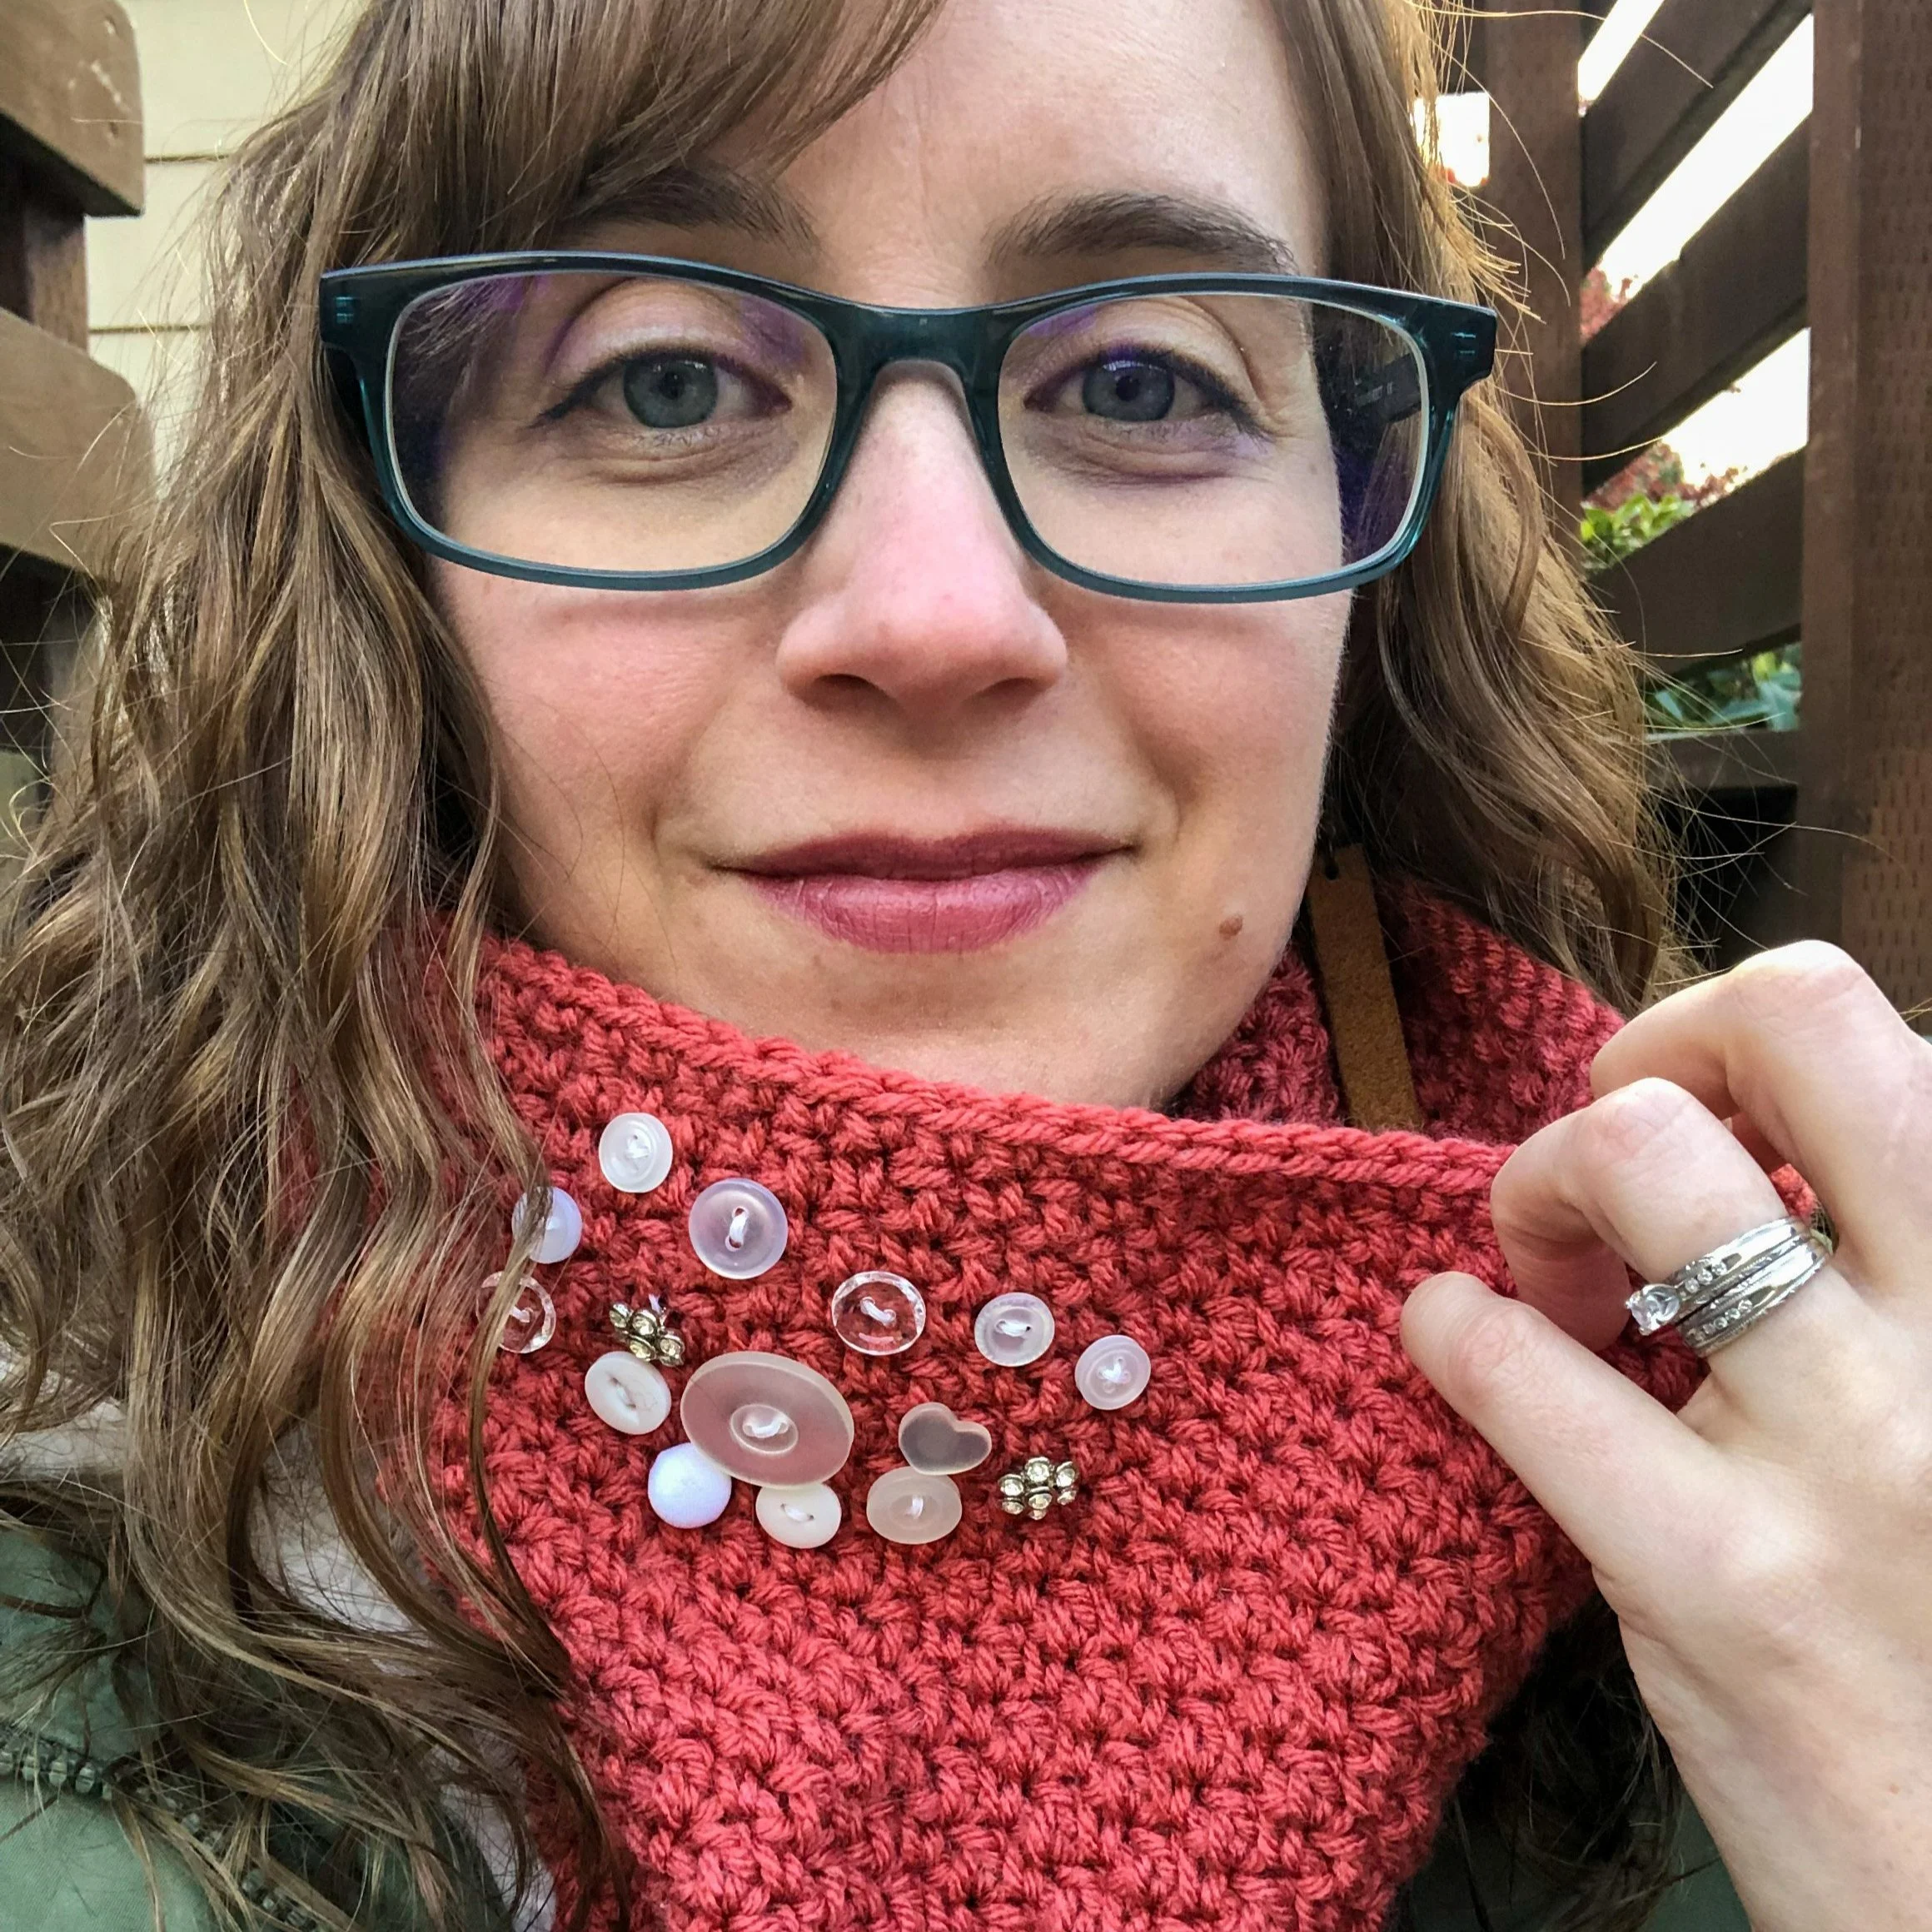
This photo is one of my favorite selfies - but I don’t think it looks like a selfie. I tried to get the right angle, composition and lighting (no glare on my glasses), and I’m looking directly into the lens. I didn’t have a selfie stick or stand, so I just held my arm out as far as it would go. I took about 30 photos to get this one and two other usable versions.
Pattern: Button Jar Cowl by me, available on website and Etsy/Ravelry shops (QuickLinks on menu)
Amy has some other tips, such as standing at an angle instead of straight on and taking them at a slightly downward angle. Try poses with different hand and head positions, put your hand on your hip, etc. I second this advice - I have had to play around a lot with posing to feel comfortable with it and also to find what is best and most flattering for me and the garments.
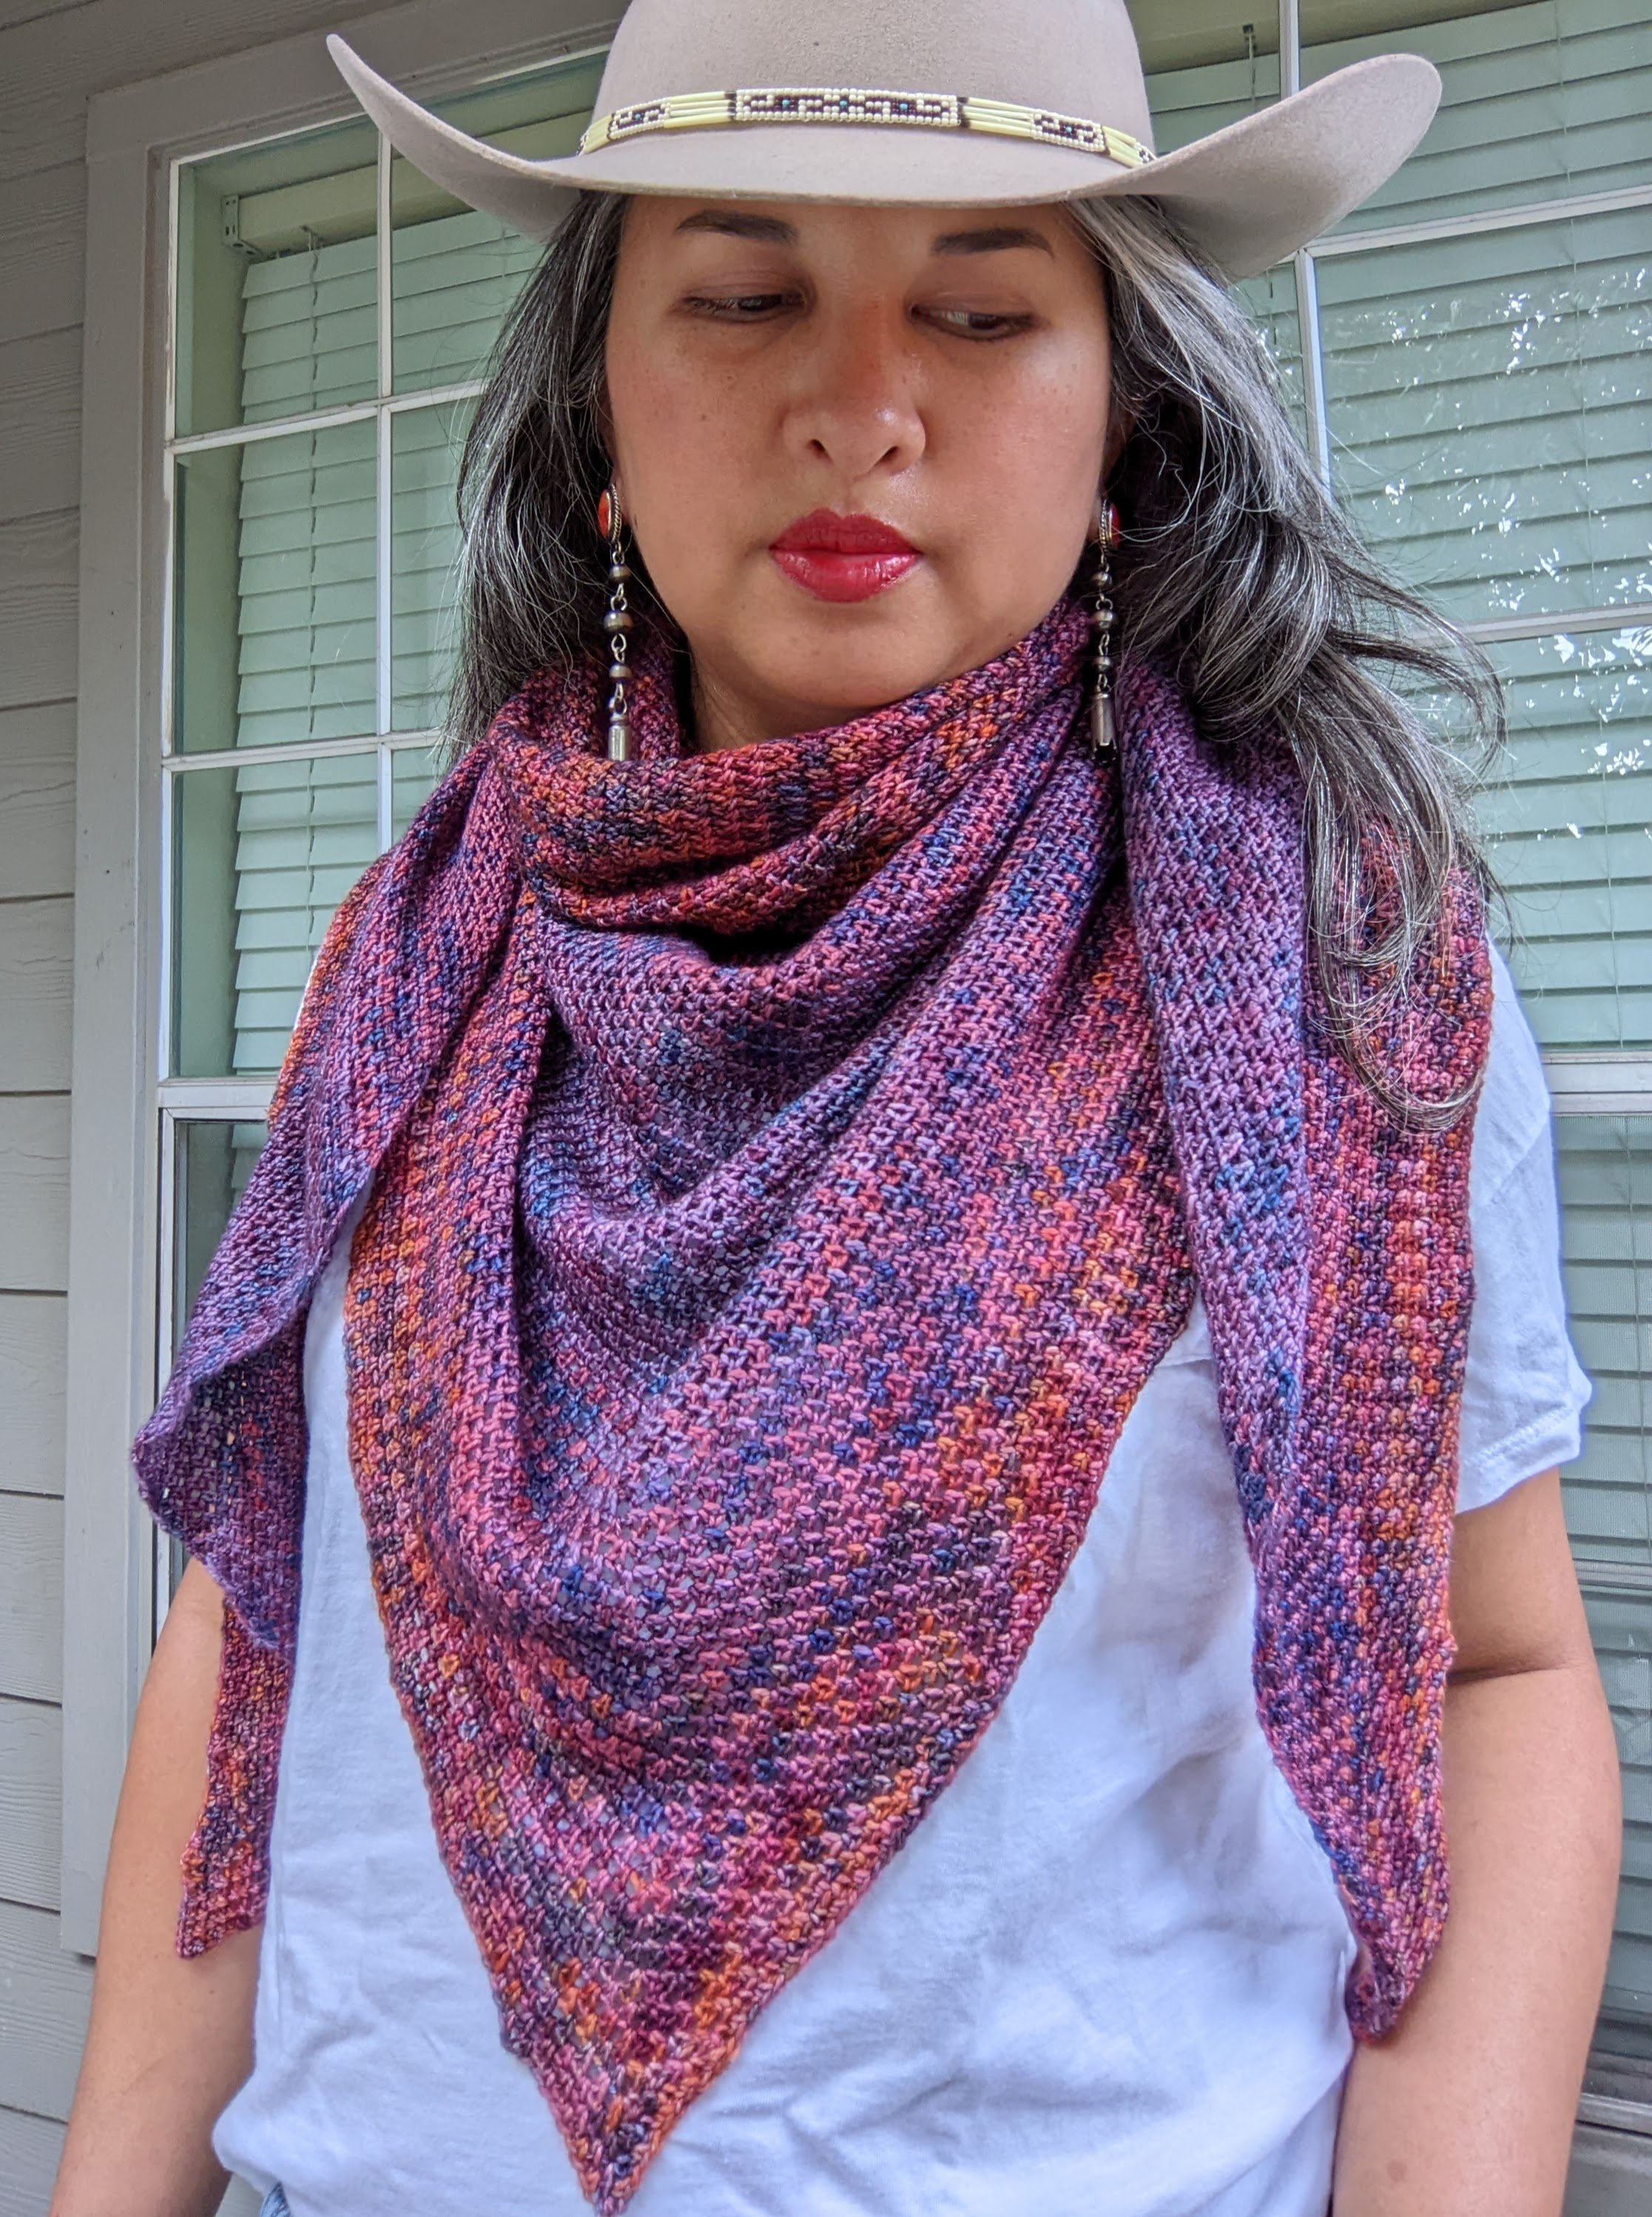
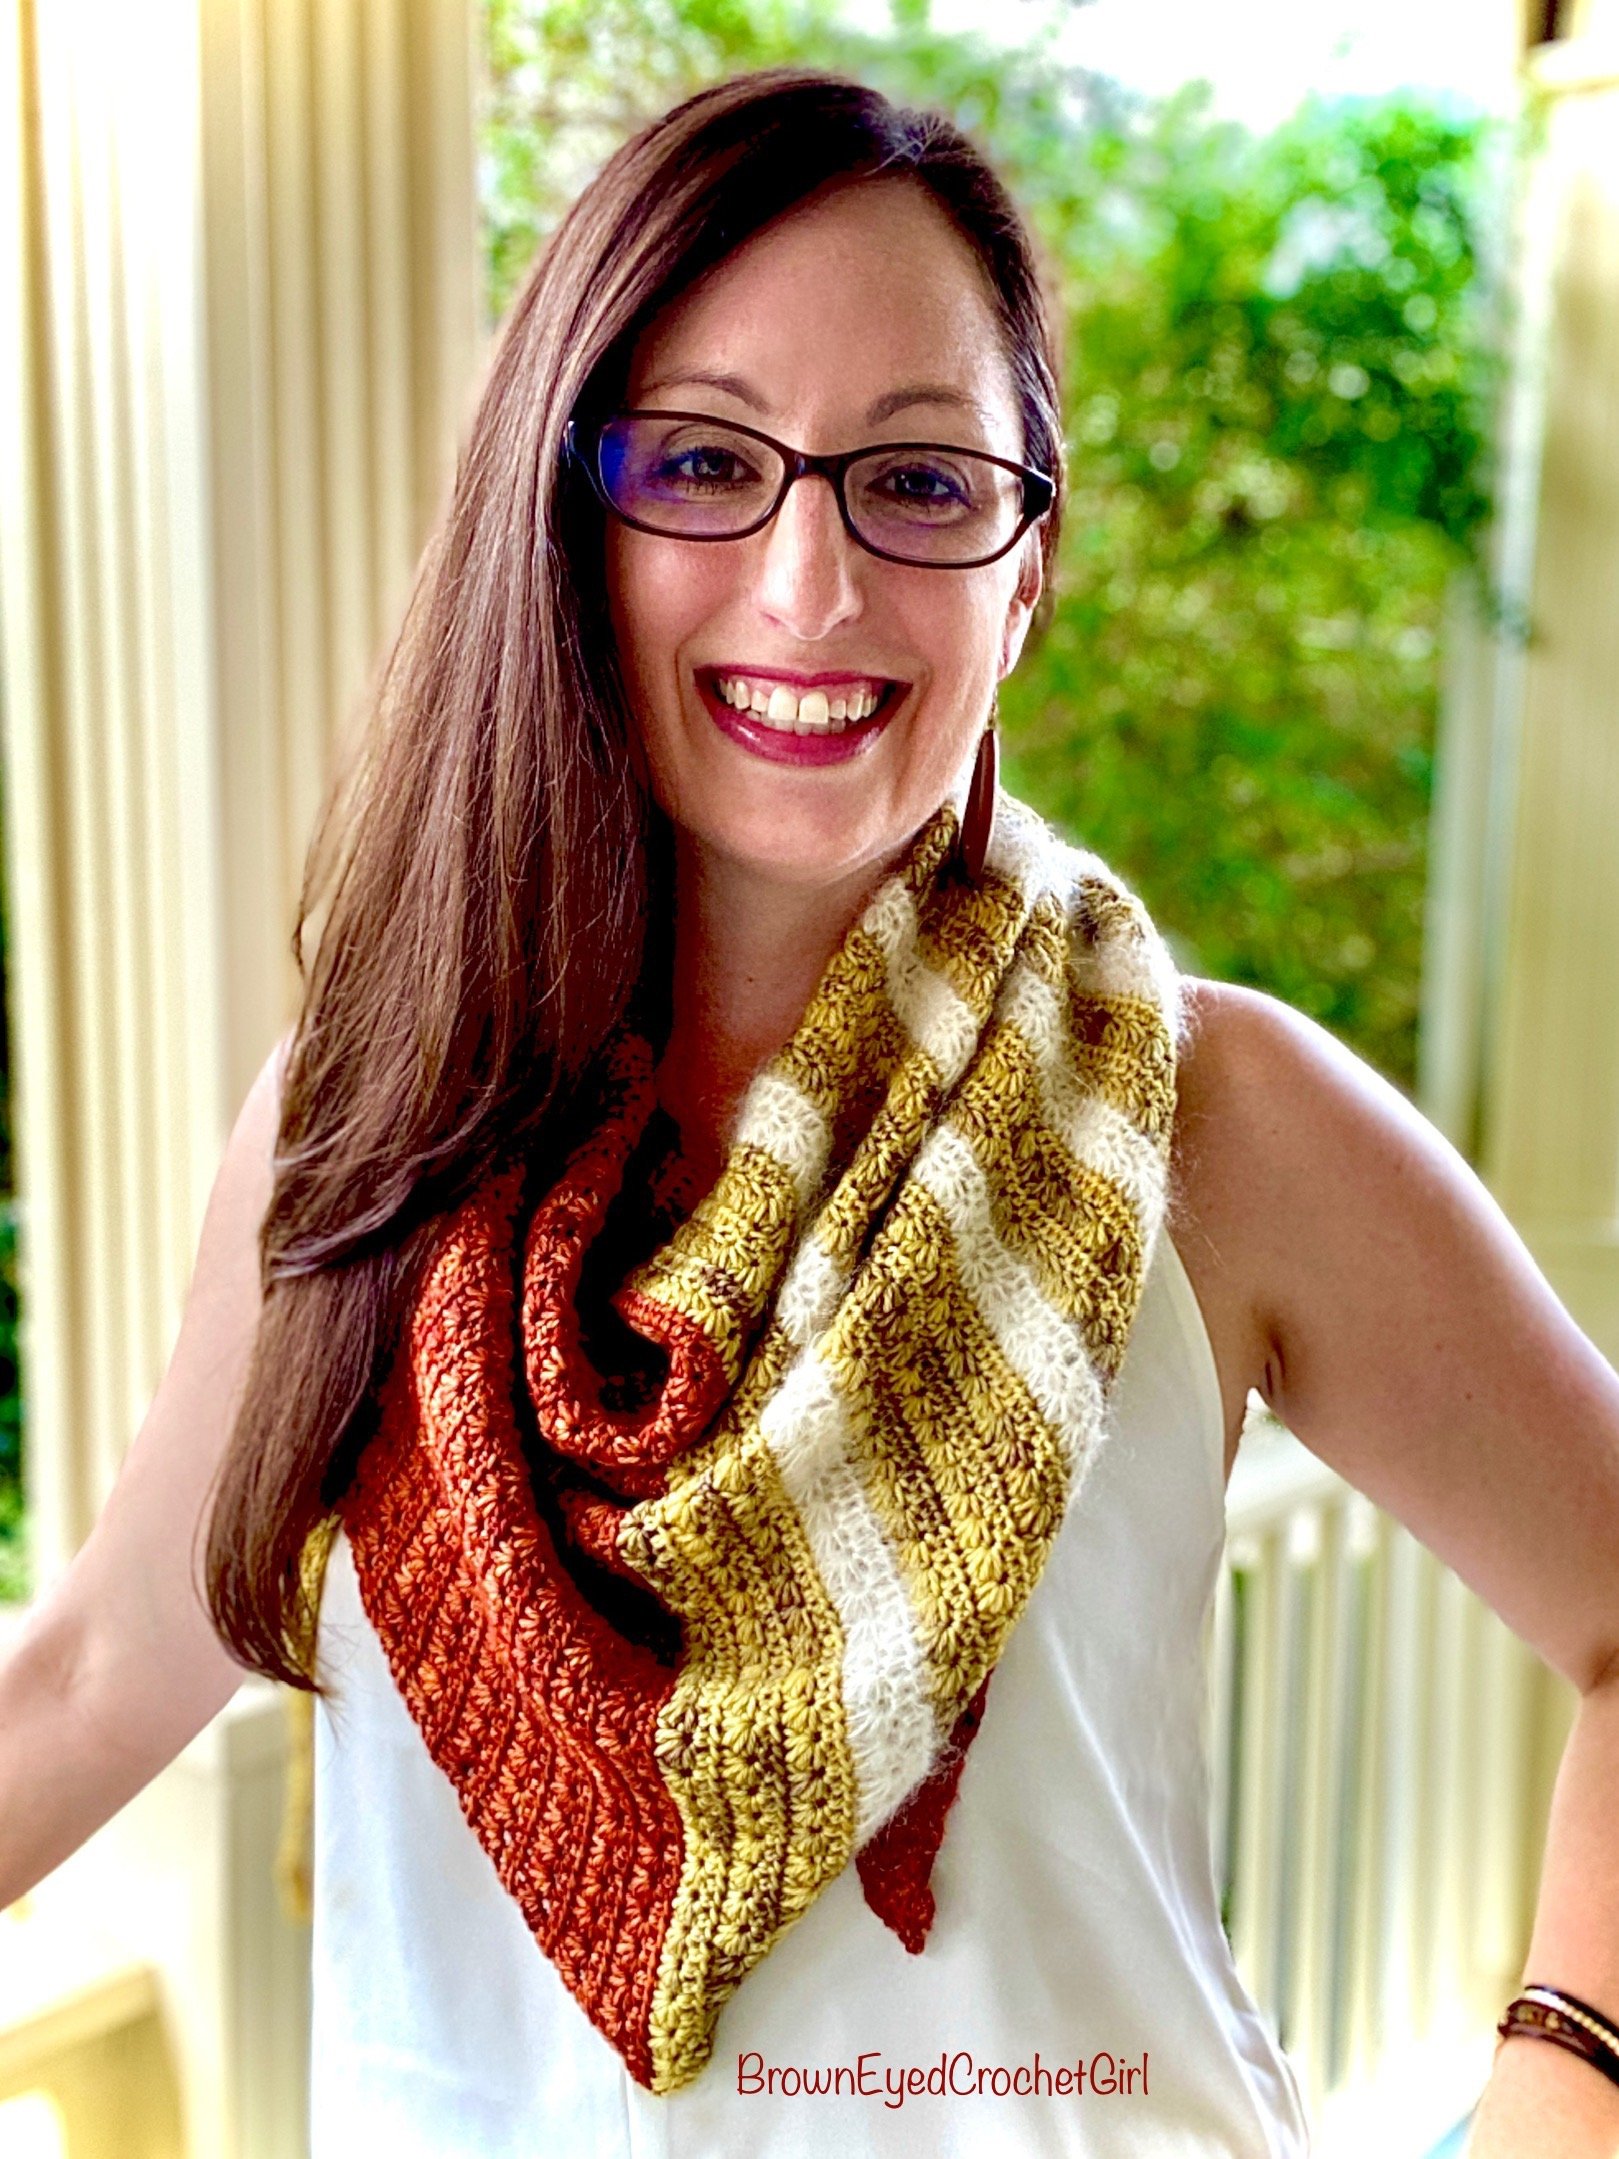
Jenn also says to “click that remote with abandon” - taking lots of photos knowing you might delete a ton of them later. This is especially true when taking them yourself when you can’t see the screen preview. She says to “play with different poses, get goofy even, so you have lots of options!” I love this advice and often my favorite photos feel goofy when I took them, but later they looked fun and were useful. I love her use of accessories like the bomber jacket, the cowboy hat and earrings, etc. They showcase her personality without detracting from the crocheted garment or accessory.
In the gallery below, I love how you can see the details and texture of the garments and accessories because of the great lighting and composition. Amy says, “the key is to have fun, and LOOK like you’re having fun!”
Jenn works with hand-dyed yarn in many cases, so part of her purpose is to “ensure those colorways are true.” She edits her photos on a computer after her Pixel phone uploads the images to Google Photos. She goes through and deletes all the firm no’s first, then narrows it down to poses she likes best. She then crops, adjusts lighting if needed, and usually ends up with 4-5 solid photos for herself and the designer (for pattern tests). She says in summary, to get great shots by yourself you should “get a tripod and remote, find your light, snap abundantly and have fun!”
Amy uses a similar system of taking lots of photos and then sorting through them when she’s done. She deletes the “no’s” after getting a good laugh at some of the facial expressions she captured (I’ve totally done this as well!). She sees which angles and poses work best and narrows it down to 3-4 really good photos. She says she also comes away with some ideas for making the next photo shoot even better.

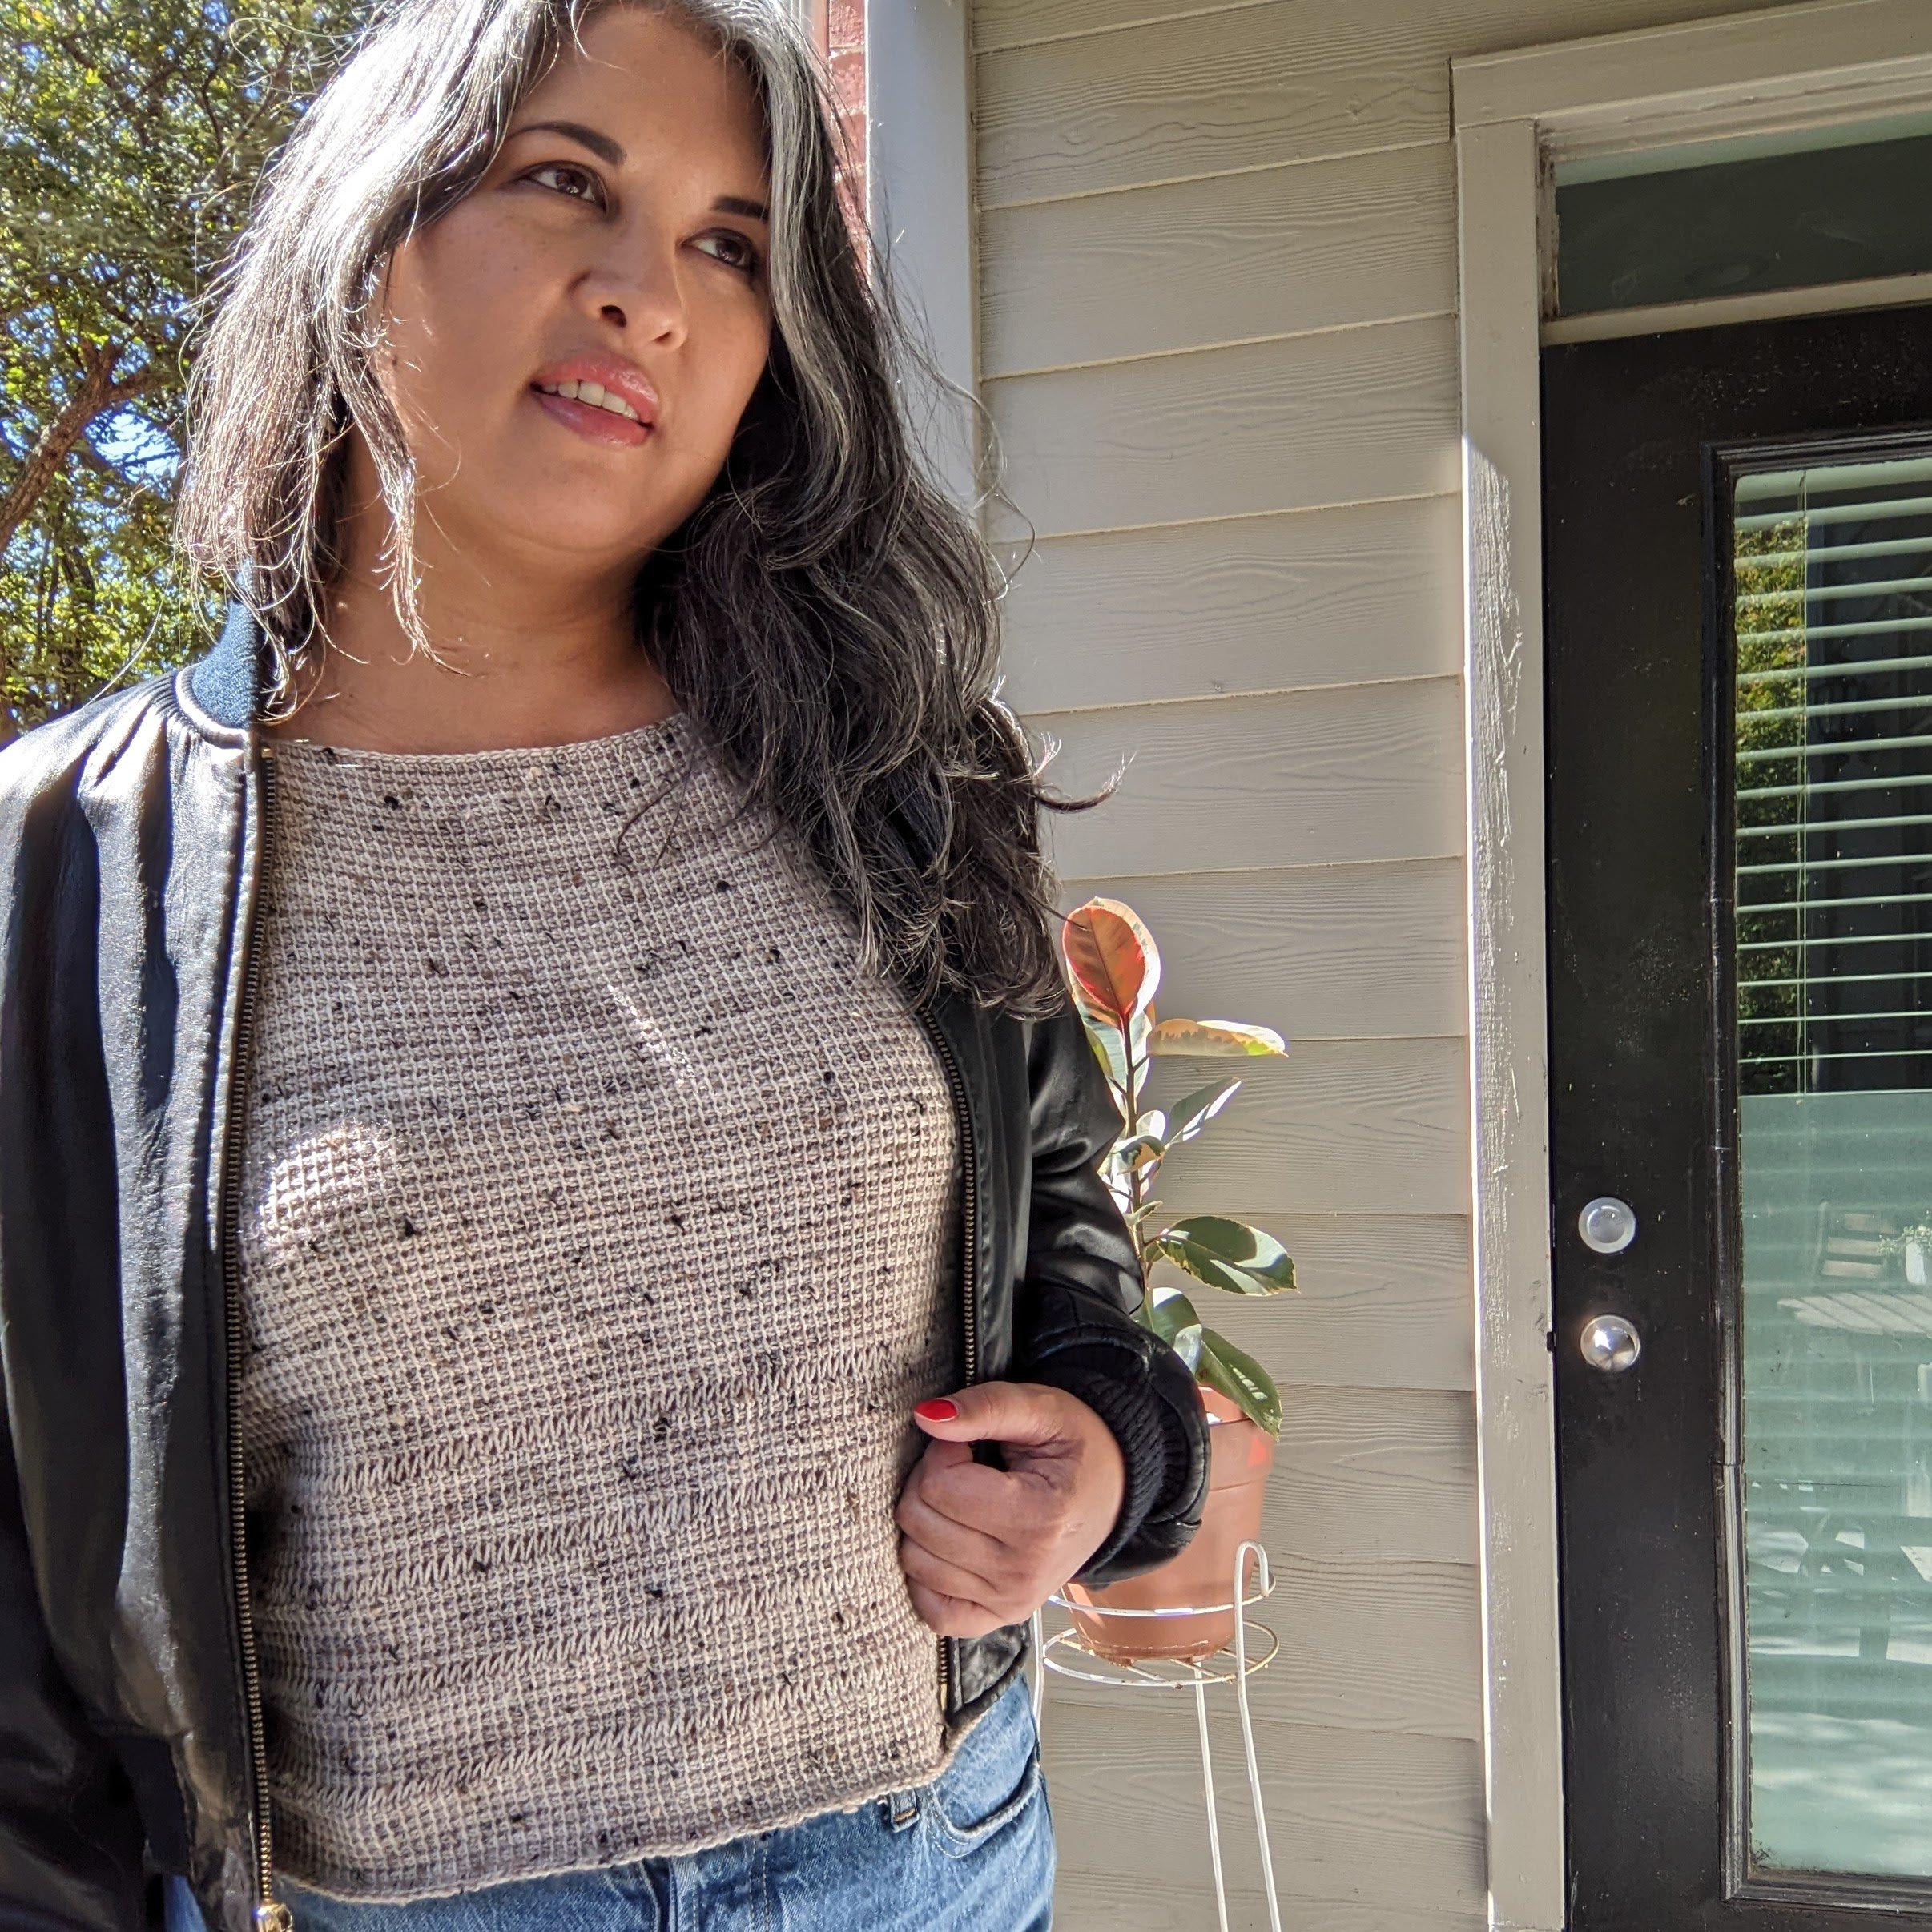
Amy says she used to “dread taking modeled photos” because she thought she needed to invest in a fancy camera, lights and a staged background in her home. The truth is that she gets great photos with her iPhone, “a $20 tripod, my front porch and a willingness to get strange looks from the neighbors.” She also gets compliments from Amazon drivers! I can totally identify with the part about being willing to receive weird looks - in my old backyard, the best place to take photos was in front of a privacy wall that separated my yard from the neighbors’ view (see photo below). If they were in their backyard, they got an eyeful of crochet poses and outfit changes. Amy says her husband helps her with photos. That didn’t go so well for me, but my 14-year-old and 12-year-old take some great photos for me!

This image is from the Harlee Tee pattern test I did in 2021 for @MeghanMakesDo.
I also wanted to highlight a certain photo of Amy’s that caught my attention on Instagram. Many crocheted garments have fun or pretty details on the side or back, and a great way to show them off is to take a photo from an unexpected perspective. Amy says, “for those pieces with a stand out feature such as a lacy border, a strappy back, an intricate stitch patterns, etc., try to take a few photos highlighting the feature.” Another key to keep in mind is to pair neutral clothing colors such as white, cream, grey or black with your colored garments and accessories to “let them shine.” Amy says, “for neutral pieces, use the opportunity to play with some color and brighten the shot, making the pieces stand out.”

Keep reading for tips on taking photos of small and large objects.
TOOLS/SUPPLIES
TRIPOD/PHONE STAND
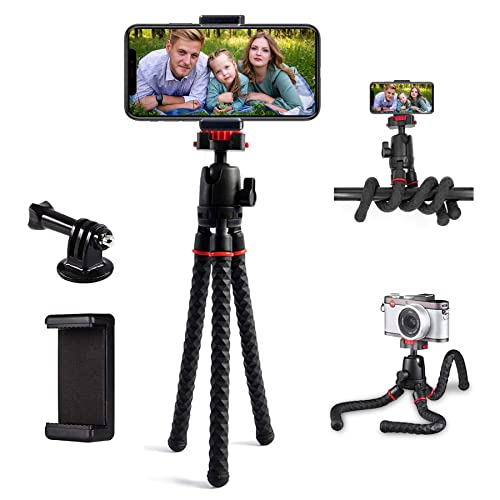
While you don’t need fancy or expensive equipment, there are a few tools that I find helpful. I use a small, inexpensive camera tripod that’s made for traveling. It folds up small and is similar to the one below. Mine is actually smaller, but I find that it’s too short for some sessions so I have to set it up on a box or two to achieve the right height. The first one pictured can be used on uneven surfaces because of the jointed legs. The legs on mine are stationary which works great most of the time, but not as well when I’m outdoors. The jointed leg stand has almost 5,000 reviews and 4.5 stars on Amazon.

“Get a tripod and remote, find your light, snap abundantly and have fun!”
SHUTTER REMOTE FOR SMARTPHONE
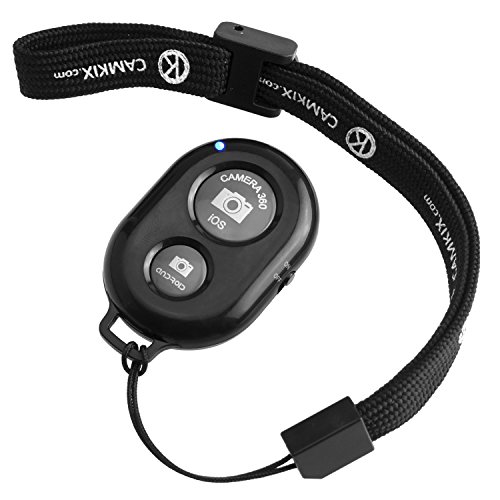
This one is super helpful to have if you take modeled photos on your own! I received one of these camera shutter remotes with my larger phone stand that extends up to my height. I have used it several times, and is super useful if one or more of my hands has to be in the picture. If you are taking modeled photos by yourself and you can put one hand behind your back or in a pocket, behind your head, etc. then this could work beautifully. Disclaimer: I do not own this model but it has good reviews (over 17,000 reviews in total).
TAKING PHOTOS OF LARGE OBJECTS
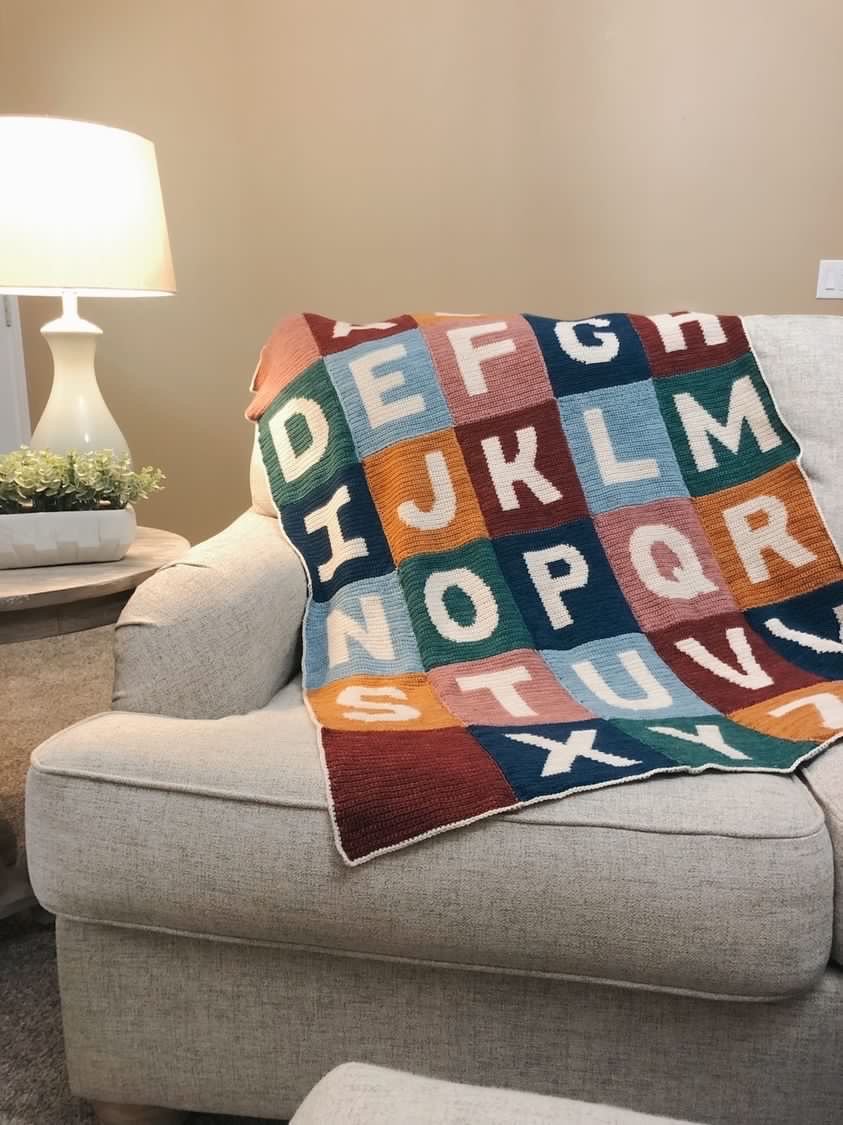
Okay, I called for help on this topic since I don’t have a ton of experience with this. It’s very difficult to photograph large objects such as blankets! Kaitlyn from @sass.and.stitch was gracious enough to send me her tips to share with you all. Kaitlyn has several large projects that really stand out to me, including the famous crochet puff quilt and her alphabet blanket. (Shop patterns here). I think the most difficult part of taking photographs of large objects is how to convey texture or detail at the same time as showing that it’s a large item. Kaitlyn says not to worry too much about that, though.
Here’s Kaitlyn’s advice:
1) Find the space that best suits your object.
If it’s a wall hanging, find a blank wall that has a well-coordinating color. If it’s a blanket, lay it over a couch, railing, or the edge of a bed. If it’s a large item that sits on the floor, consider using a wall corner.
2) Aim for a simple backdrop with minimal distractions.
For me, this is the most difficult look to achieve, because, well… my home is well lived in and I’m not a professional interior decorator. But there are a few things you can do to tidy up the background of a photo. Take those family photos off the wall and side tables. Clear away the coats or anything else hanging in the background. Throw pillows may or may not be useful.

Kaitlyn’s Crochet Puff Quilt Blanket
3) Remember the focus of the object - hint: it’s not always about the size.
“The good thing is that when people see a photo, they will have no idea what your environment looked like behind the camera, or what you looked like getting that perfect shot. ”
The best tip I can give for photographing blankets is not to focus too much in capturing the size of the blanket. You don’t always need to worry about squeezing every square inch of it into the photo. Consider draping the blanket over the couch or on the edge of your bed, and focusing in on the detail and the texture, rather than the size. Your audience will be able to assume its full size, given the context of the photo.
4) Move to the level of the item you’re photographing
If you have a blanket draped over your couch or bed, squat down to the level of the surface, rather than standing in front of the surface and aiming your phone or camera down at the item. This will give you a better vantage point to really capture the detail of the item. If you’re capturing a large wall hanging, consider a step stool to put your camera perspective in the middle of the piece! If your item is positioned on the floor, you might need to lay flat on the floor to get the correct angle.
The good thing is that when people see a photo, they will have no idea what your environment looked like behind the camera, or what you looked like getting that perfect shot.

Lexington Blanket, pattern by me - this is the listing photo that gets the most attention. Find pattern here or use Quick Links on menu for more options.

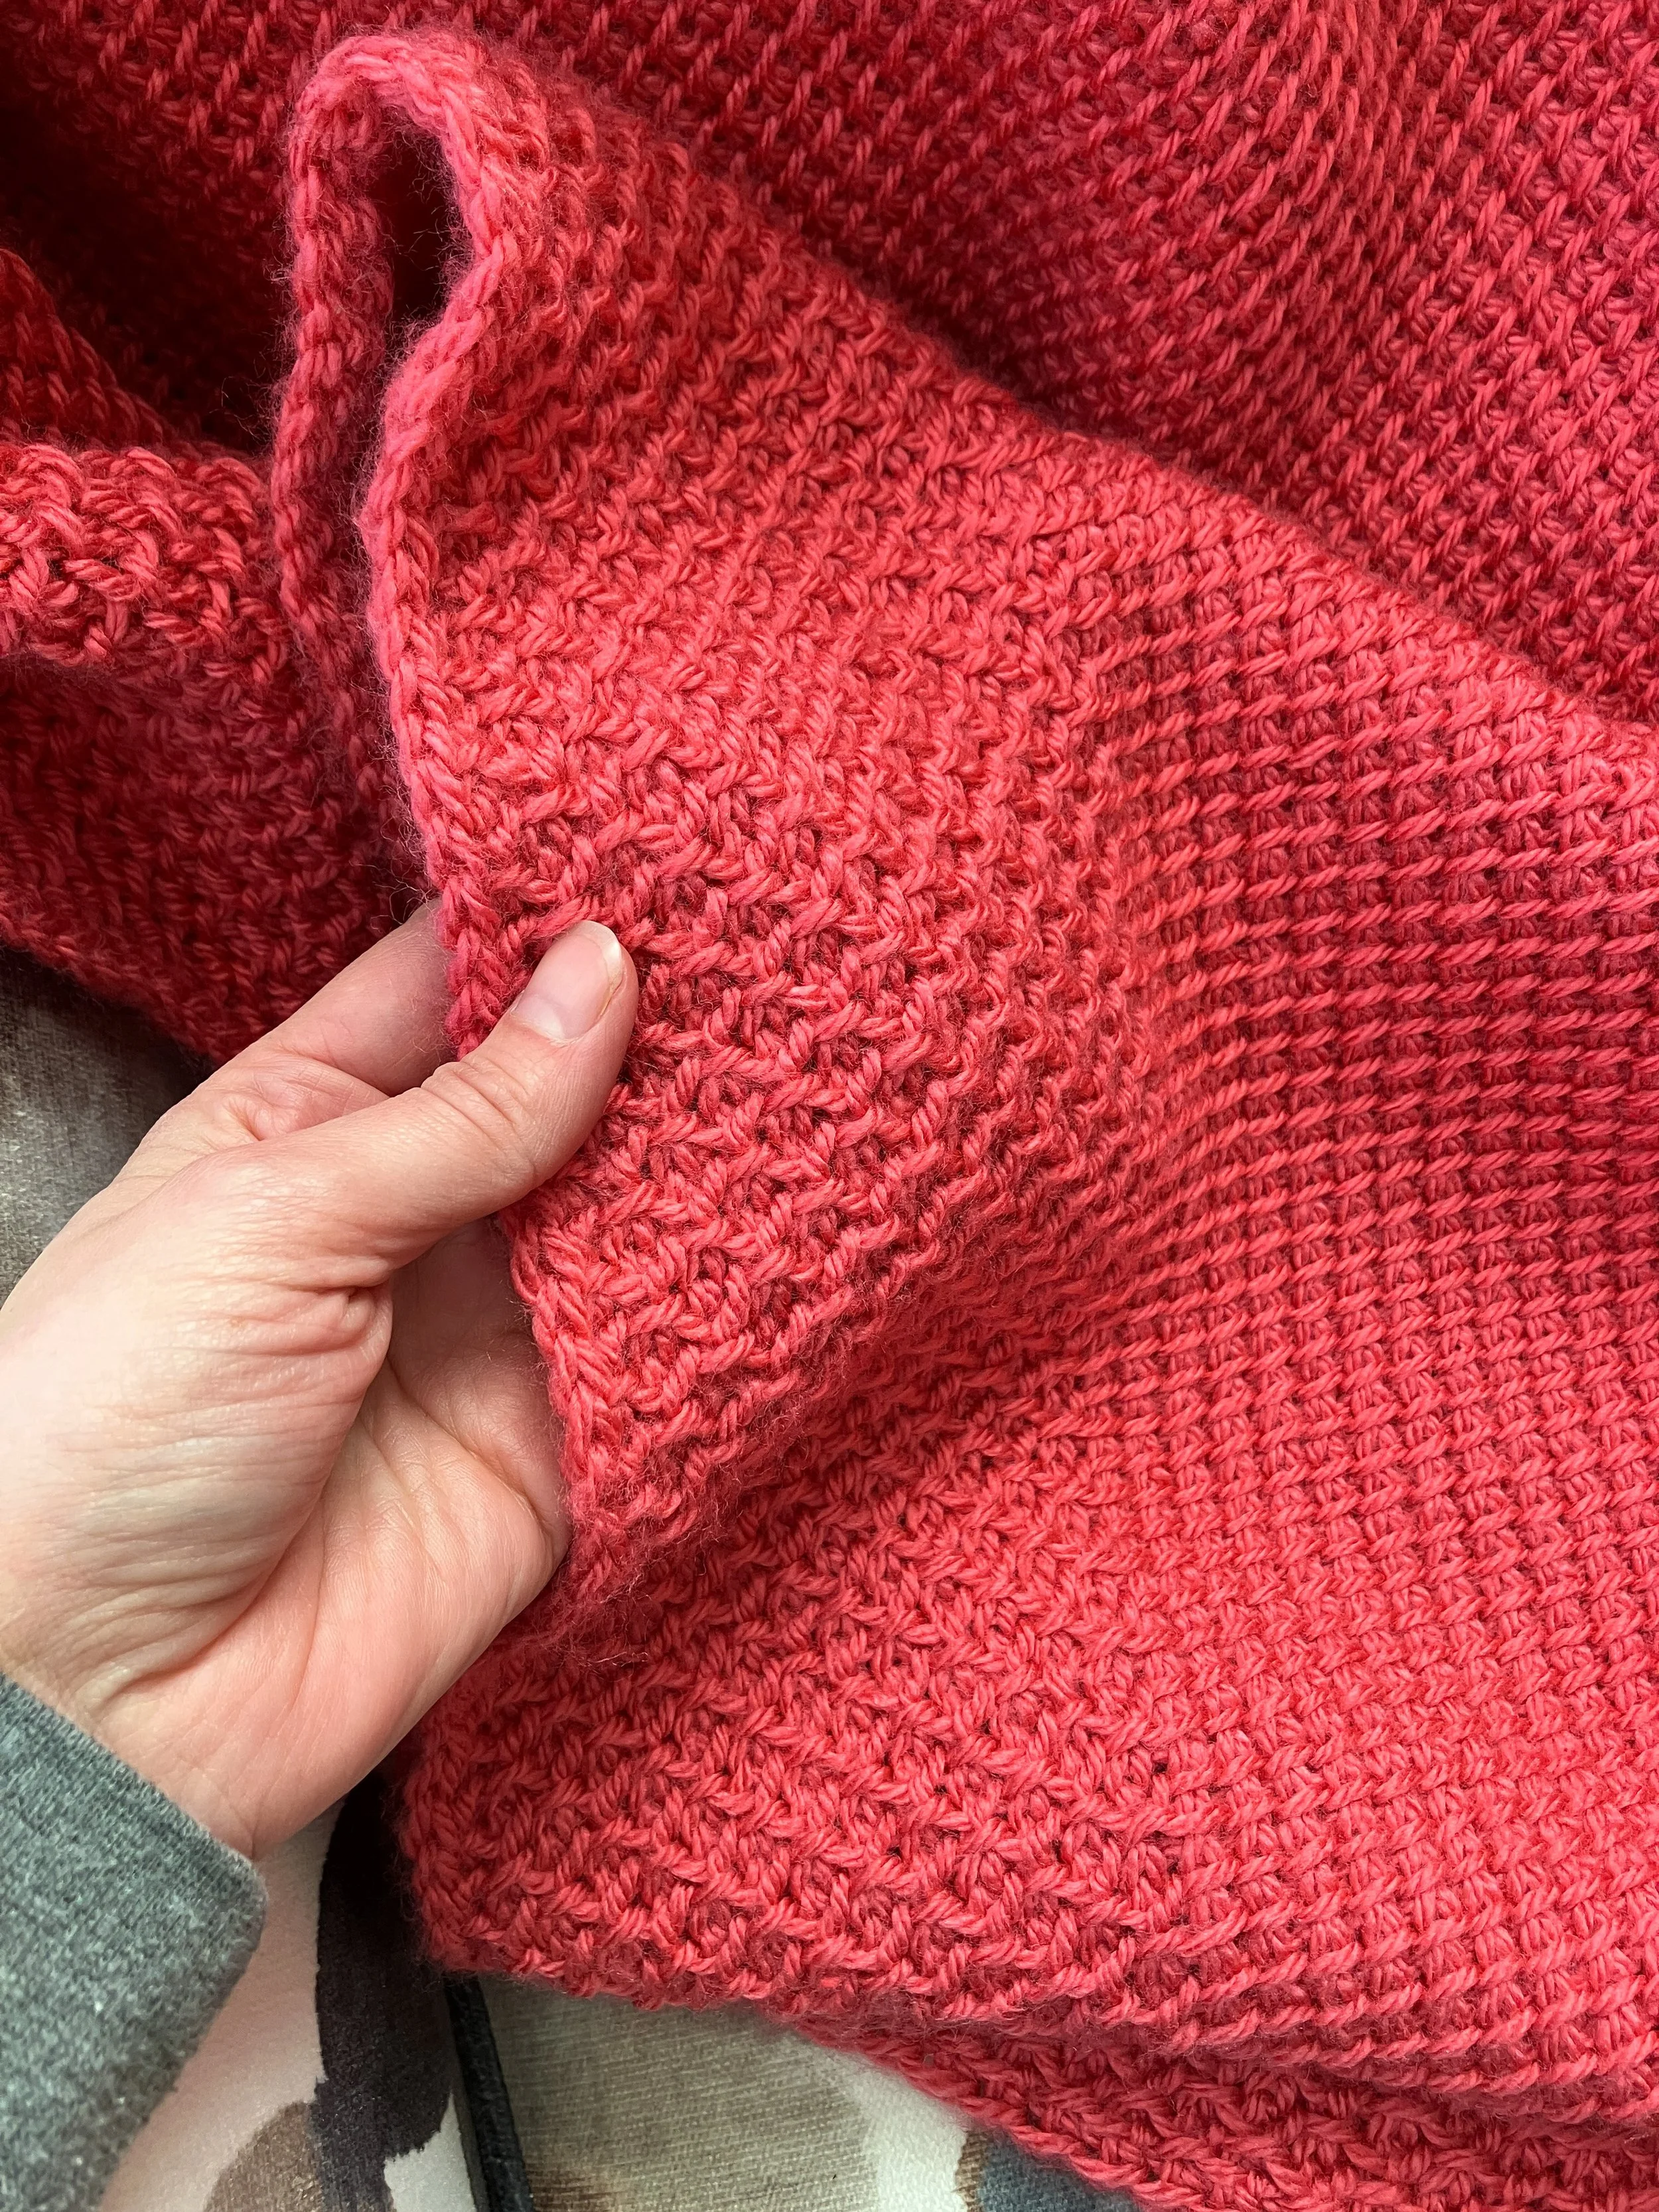
Just as an example of a not-so-great photo, this one shows the entire Lexington Blanket, but it’s really hard to get an idea of the texture. The close up picture really draws your attention to the stitch pattern and you can tell more what the blanket actually looks like.
TAKING PHOTOS OF SMALL OBJECTS
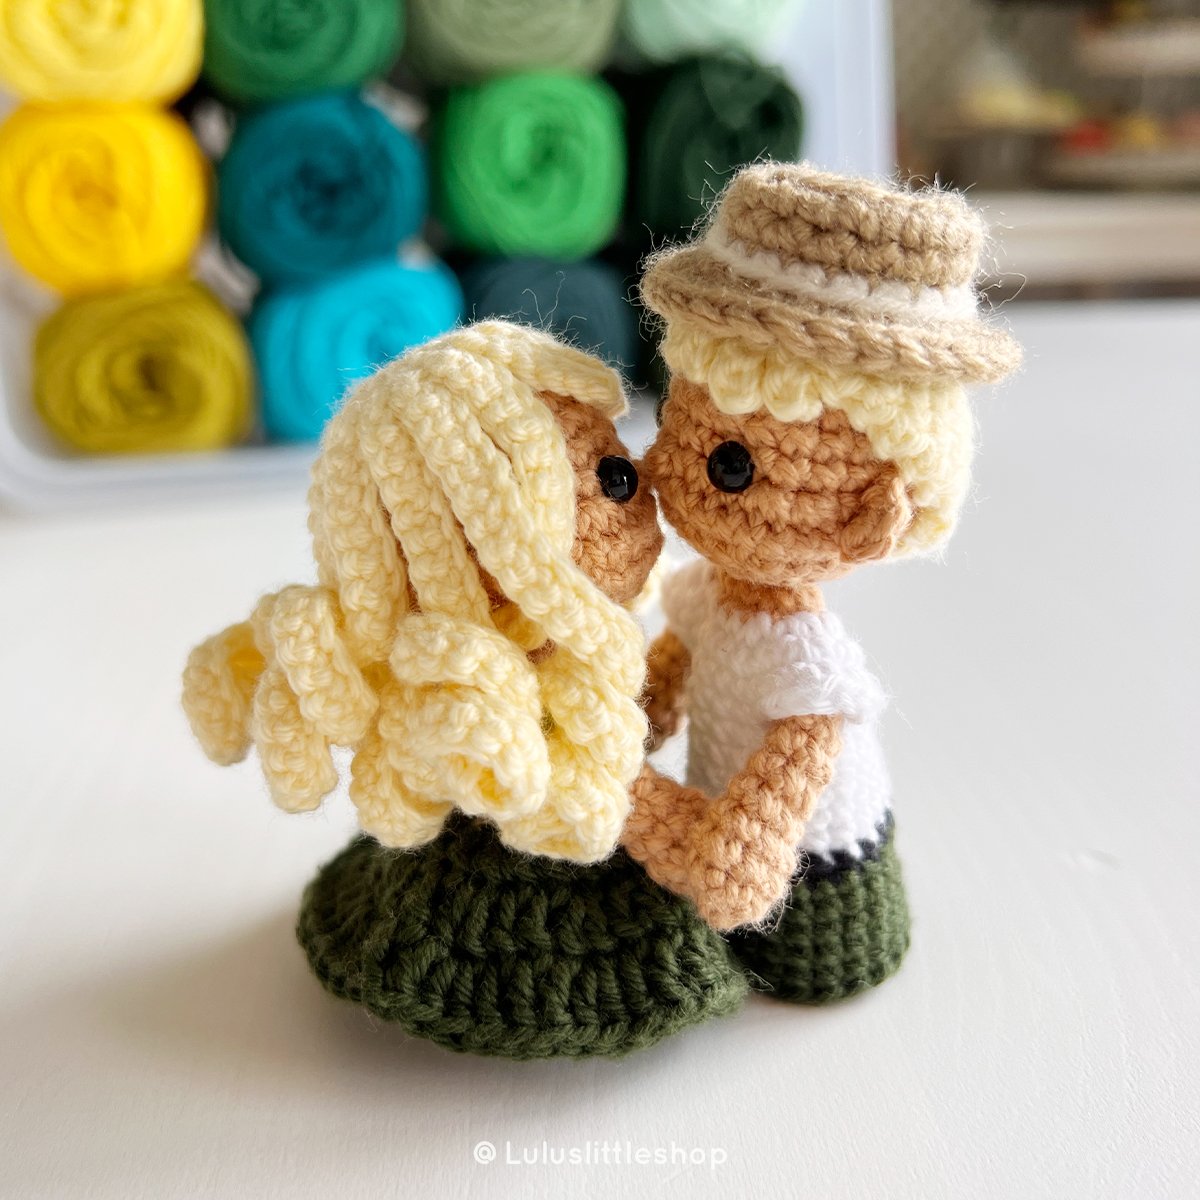
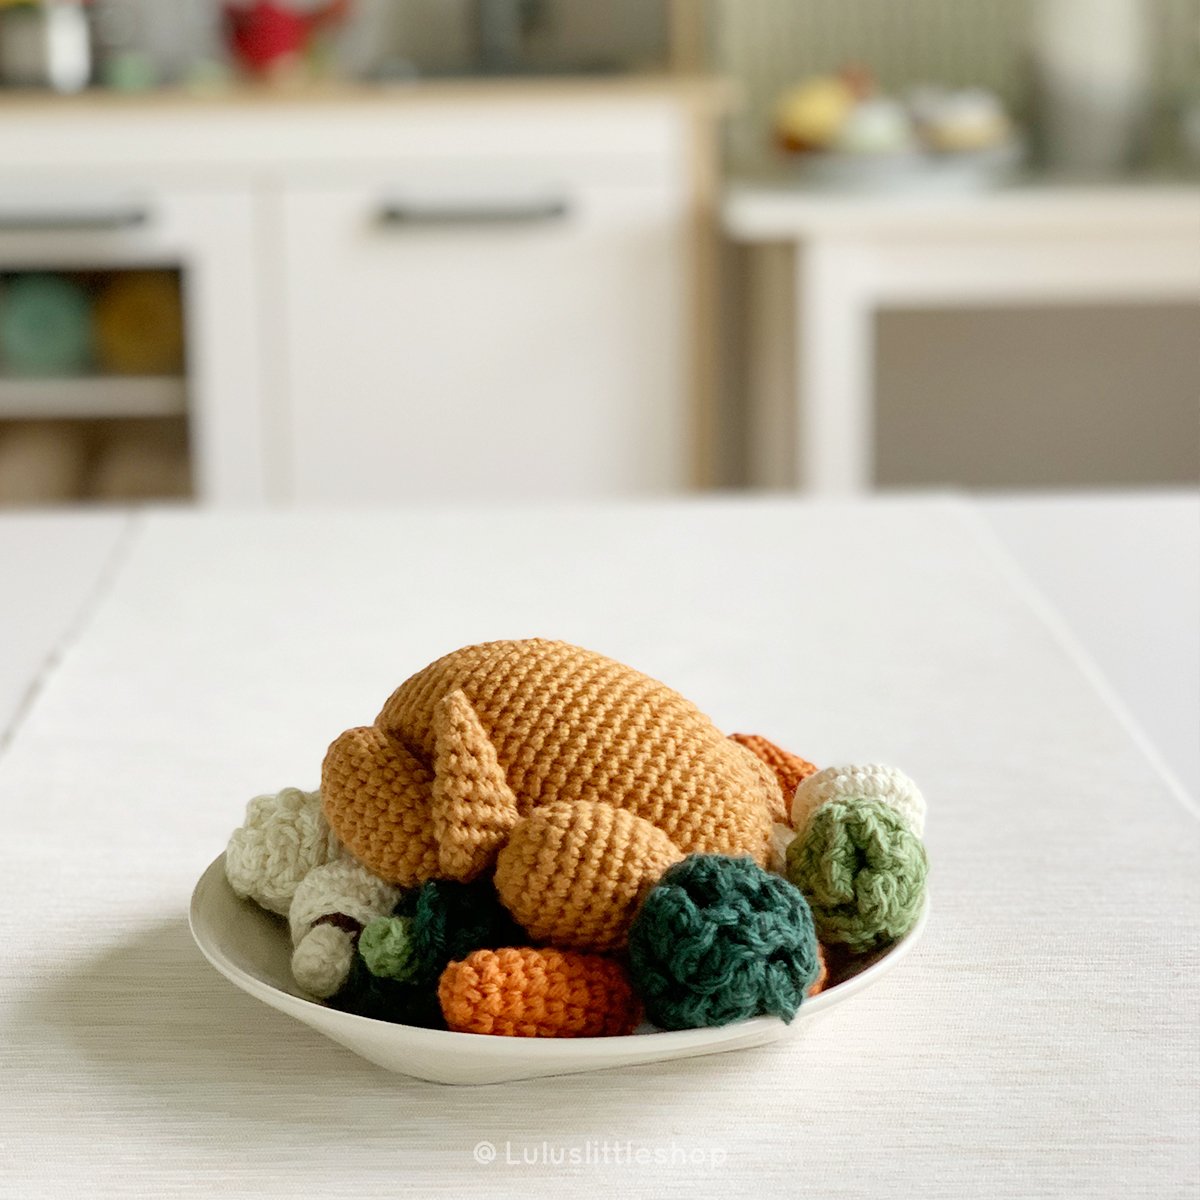
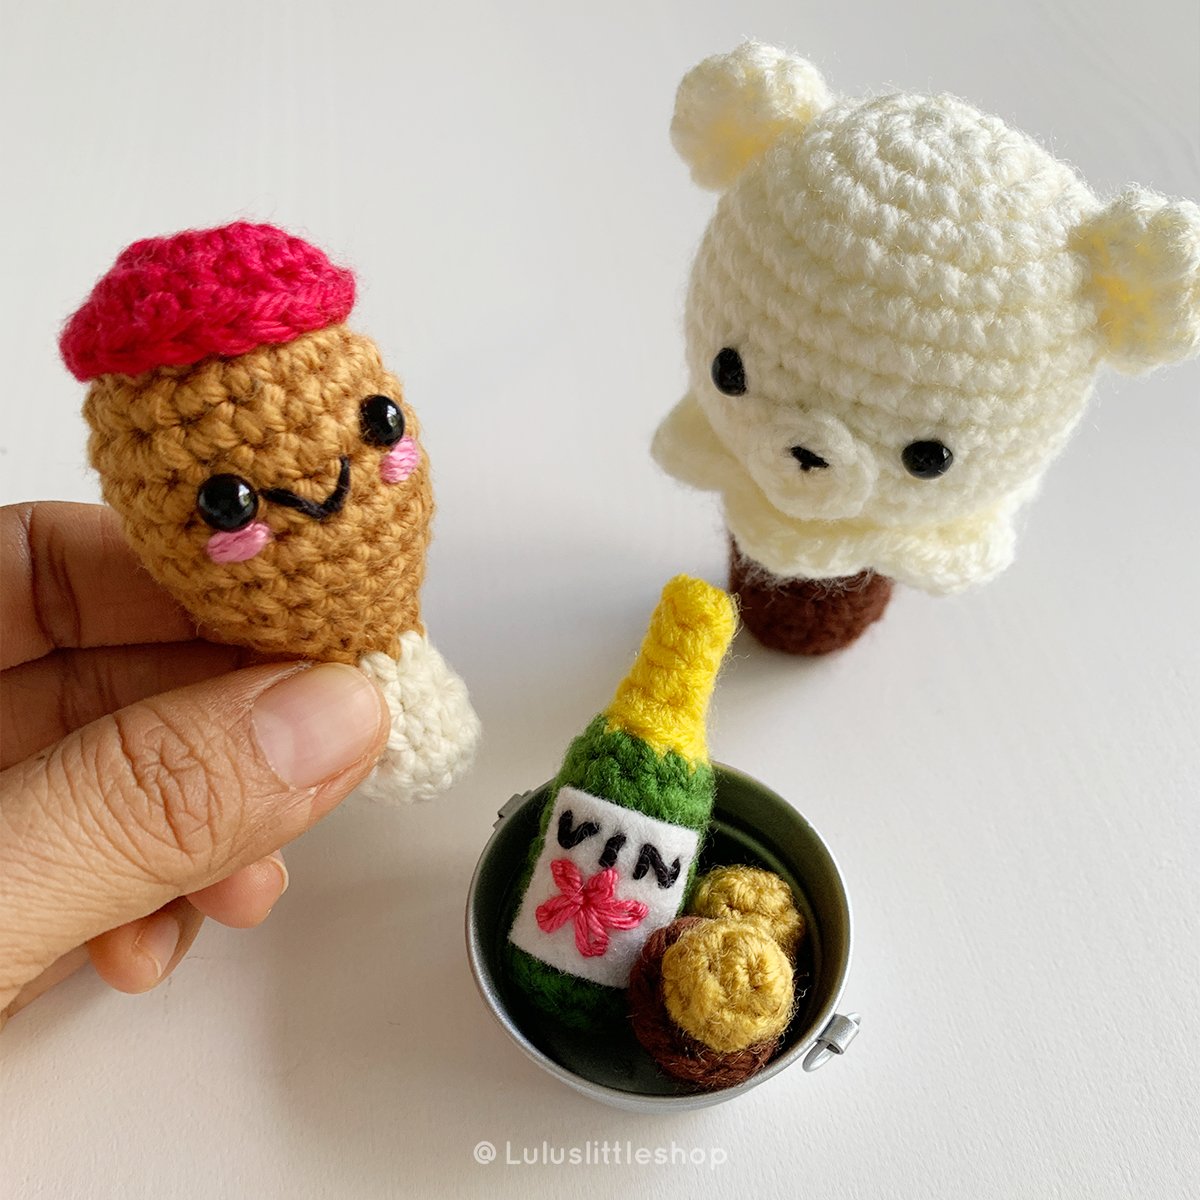
I’m delighted to introduce you to Lu from @Luluslittleshop! I have almost zero experience photographing tiny objects, so I called for help once again. Here are Lu’s thoughtful and specific tips for photographing small crochet projects.
1) Lighting
“If your space doesn’t get much sun, you can try placing tiny fairy lights in the background for a whimsical look.”
To get natural colors in your photos, use indirect sunlight, I usually shoot on warm, overcast days (cloudy, but no dark rain clouds) in early afternoon with objects placed a few feet from a large window and white mat boards to reflect light (see photo below). Unless you know a lot about photography and equipment, don’t buy fancy lights and reflectors because you can actually get great results simply with warm afternoon sun and anything white as a reflector. I find that light coming from either side of your object creates a soft and dreamy effect vs. lighting from the top or front. (Lighting from the back can be tricky, too much will trick your camera into darkening the object to compensate).
If your space doesn’t get much sun, you can try placing tiny fairy lights in the background for a whimsical look. Make sure your lights are not too bright, or placed too closely to your object, because you don’t want the lights to be the focus in your photos.

2) White Balance
The default camera setting is to auto white-balance, which means if you only have 1 or 2 colors in the frame, your camera will think one of them is grey and that the lighting is off. Then it’ll try to change the overall hue of the photo to compensate.
If you don’t have a color card (a card with many colors on it for the camera to recognize), make sure you have white + lots of different colors in the frame. You can do this with small skeins of yarn in the background, craft supplies like pom poms and buttons, etc. Just make sure the shapes are simple and not too distracting.
3) Background
To bring your object to “life,” you’ll need to create a world or a mini environment for it to live in. Instead of placing your object flat up against a small piece of paper background, try bringing it closer to you and have the background recede back at least a couple of feet. This will take away the hard shadow from your object on the background, which could look like a mug shot. Once you move the background, you’ll see that it needs to be of a larger size to fill the frame. You can get creative with it, and use curtains/existing furniture as a backdrop.
4) Practice
As with any skill, the best way to improve is with practice! Take lots and lots of photos at slightly different angles under different lighting conditions, etc. and pick out the best ones. Then, repeat. After a while, you’ll know exactly what works best for you!

I’m so thankful for these tips! I have a couple of things I’ll add here. One of my tips is to get as close as your phone or camera will allow, without losing the focus. This is tricky on some older phones/cameras, while newer ones tend to have a much better close-up focus. Also, another trick is to lightly touch the area of the screen you want the camera to focus on. Also, I noticed while scrolling Instagram that when taking photos of small items, the best pictures were pretty simple. You can also incorporate your small item into a grouping instead of showing just a single item. If you make the same object in several colors, consider photographing them all together as well as individually.

This is my small Meredith Purse pattern listing photo. Find the pattern here.
One other thing I would suggest if the scale of the item is important is to include a normal, everyday item or something such as your hand/fingers, so it will instantly give the viewer an idea of size.
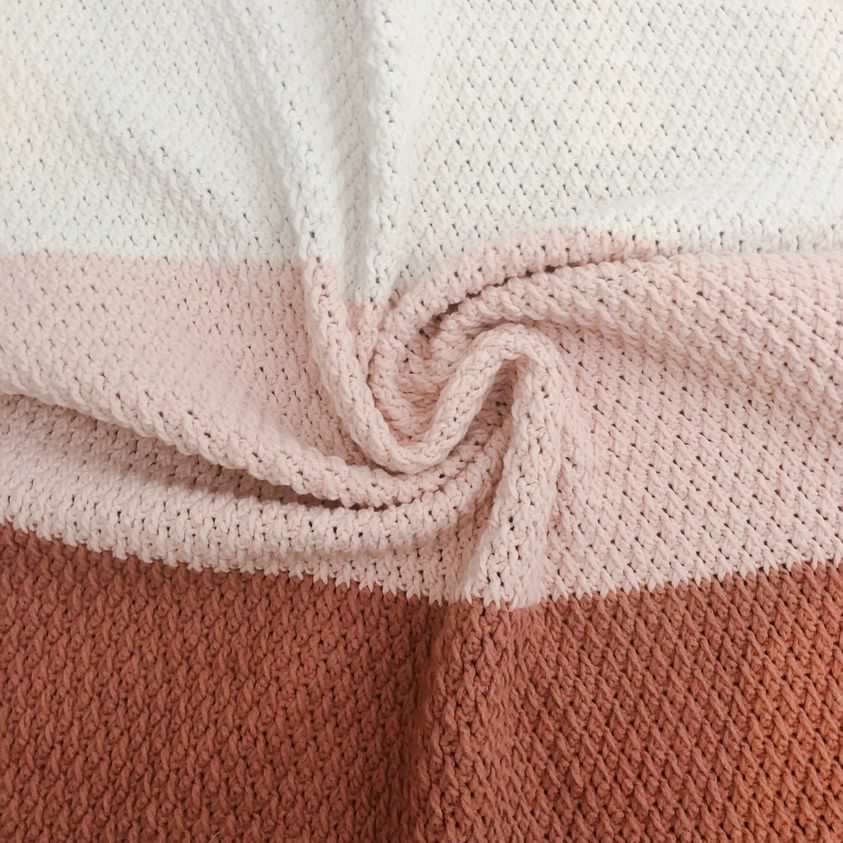
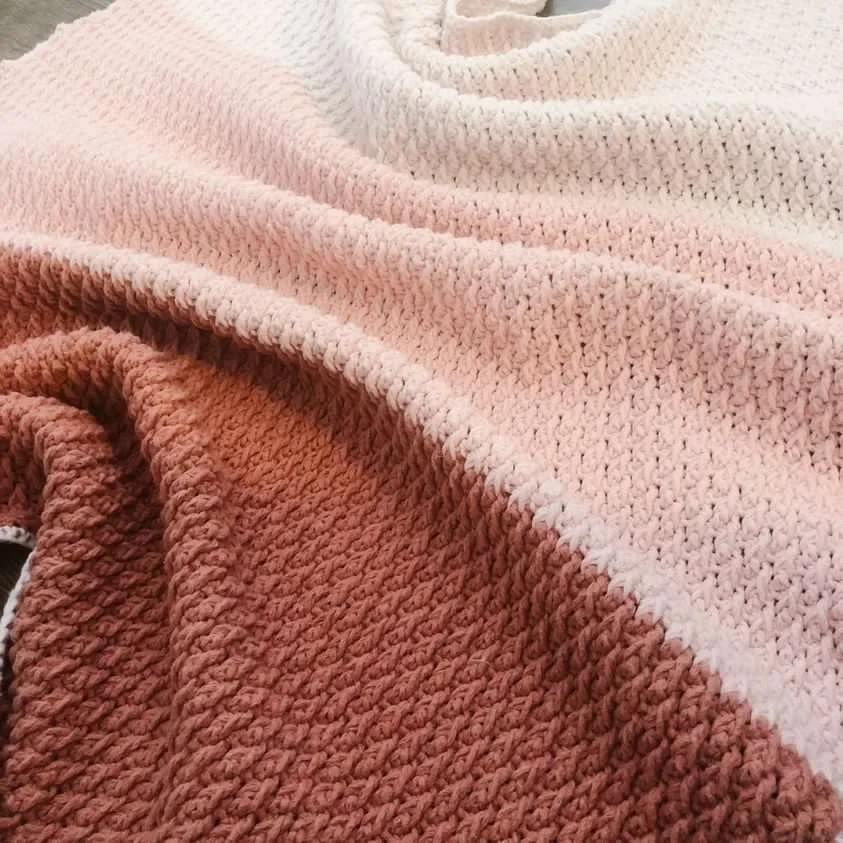
This is a recently finished Tunisian crochet baby blanket.
I have a free download so you can remember the key points of this post - I will also repeat what I said in part one… It’s hard to get everything just right, so don’t worry if your first attempts feel a little awkward. Just keep trying! Thank you so much to Amy, Jenn, Kaitlyn and Lu for contributing so much valuable information to this post, I loved learning more about crochet photography and other makers’ process. Subscribe by email so you don’t miss my upcoming posts. Download your cheat sheet by clicking here.
I’m so glad you took the time to read this post! I have free crochet patterns here on my blog and patterns for sale as well. Thanks for stopping by and let’s stay in touch!
