Simple, Modern Striped Crochet Table Mat - Review of Free Crochet Pattern
This modern, simple pattern has the wow factor! Here’s why it’s a must make:
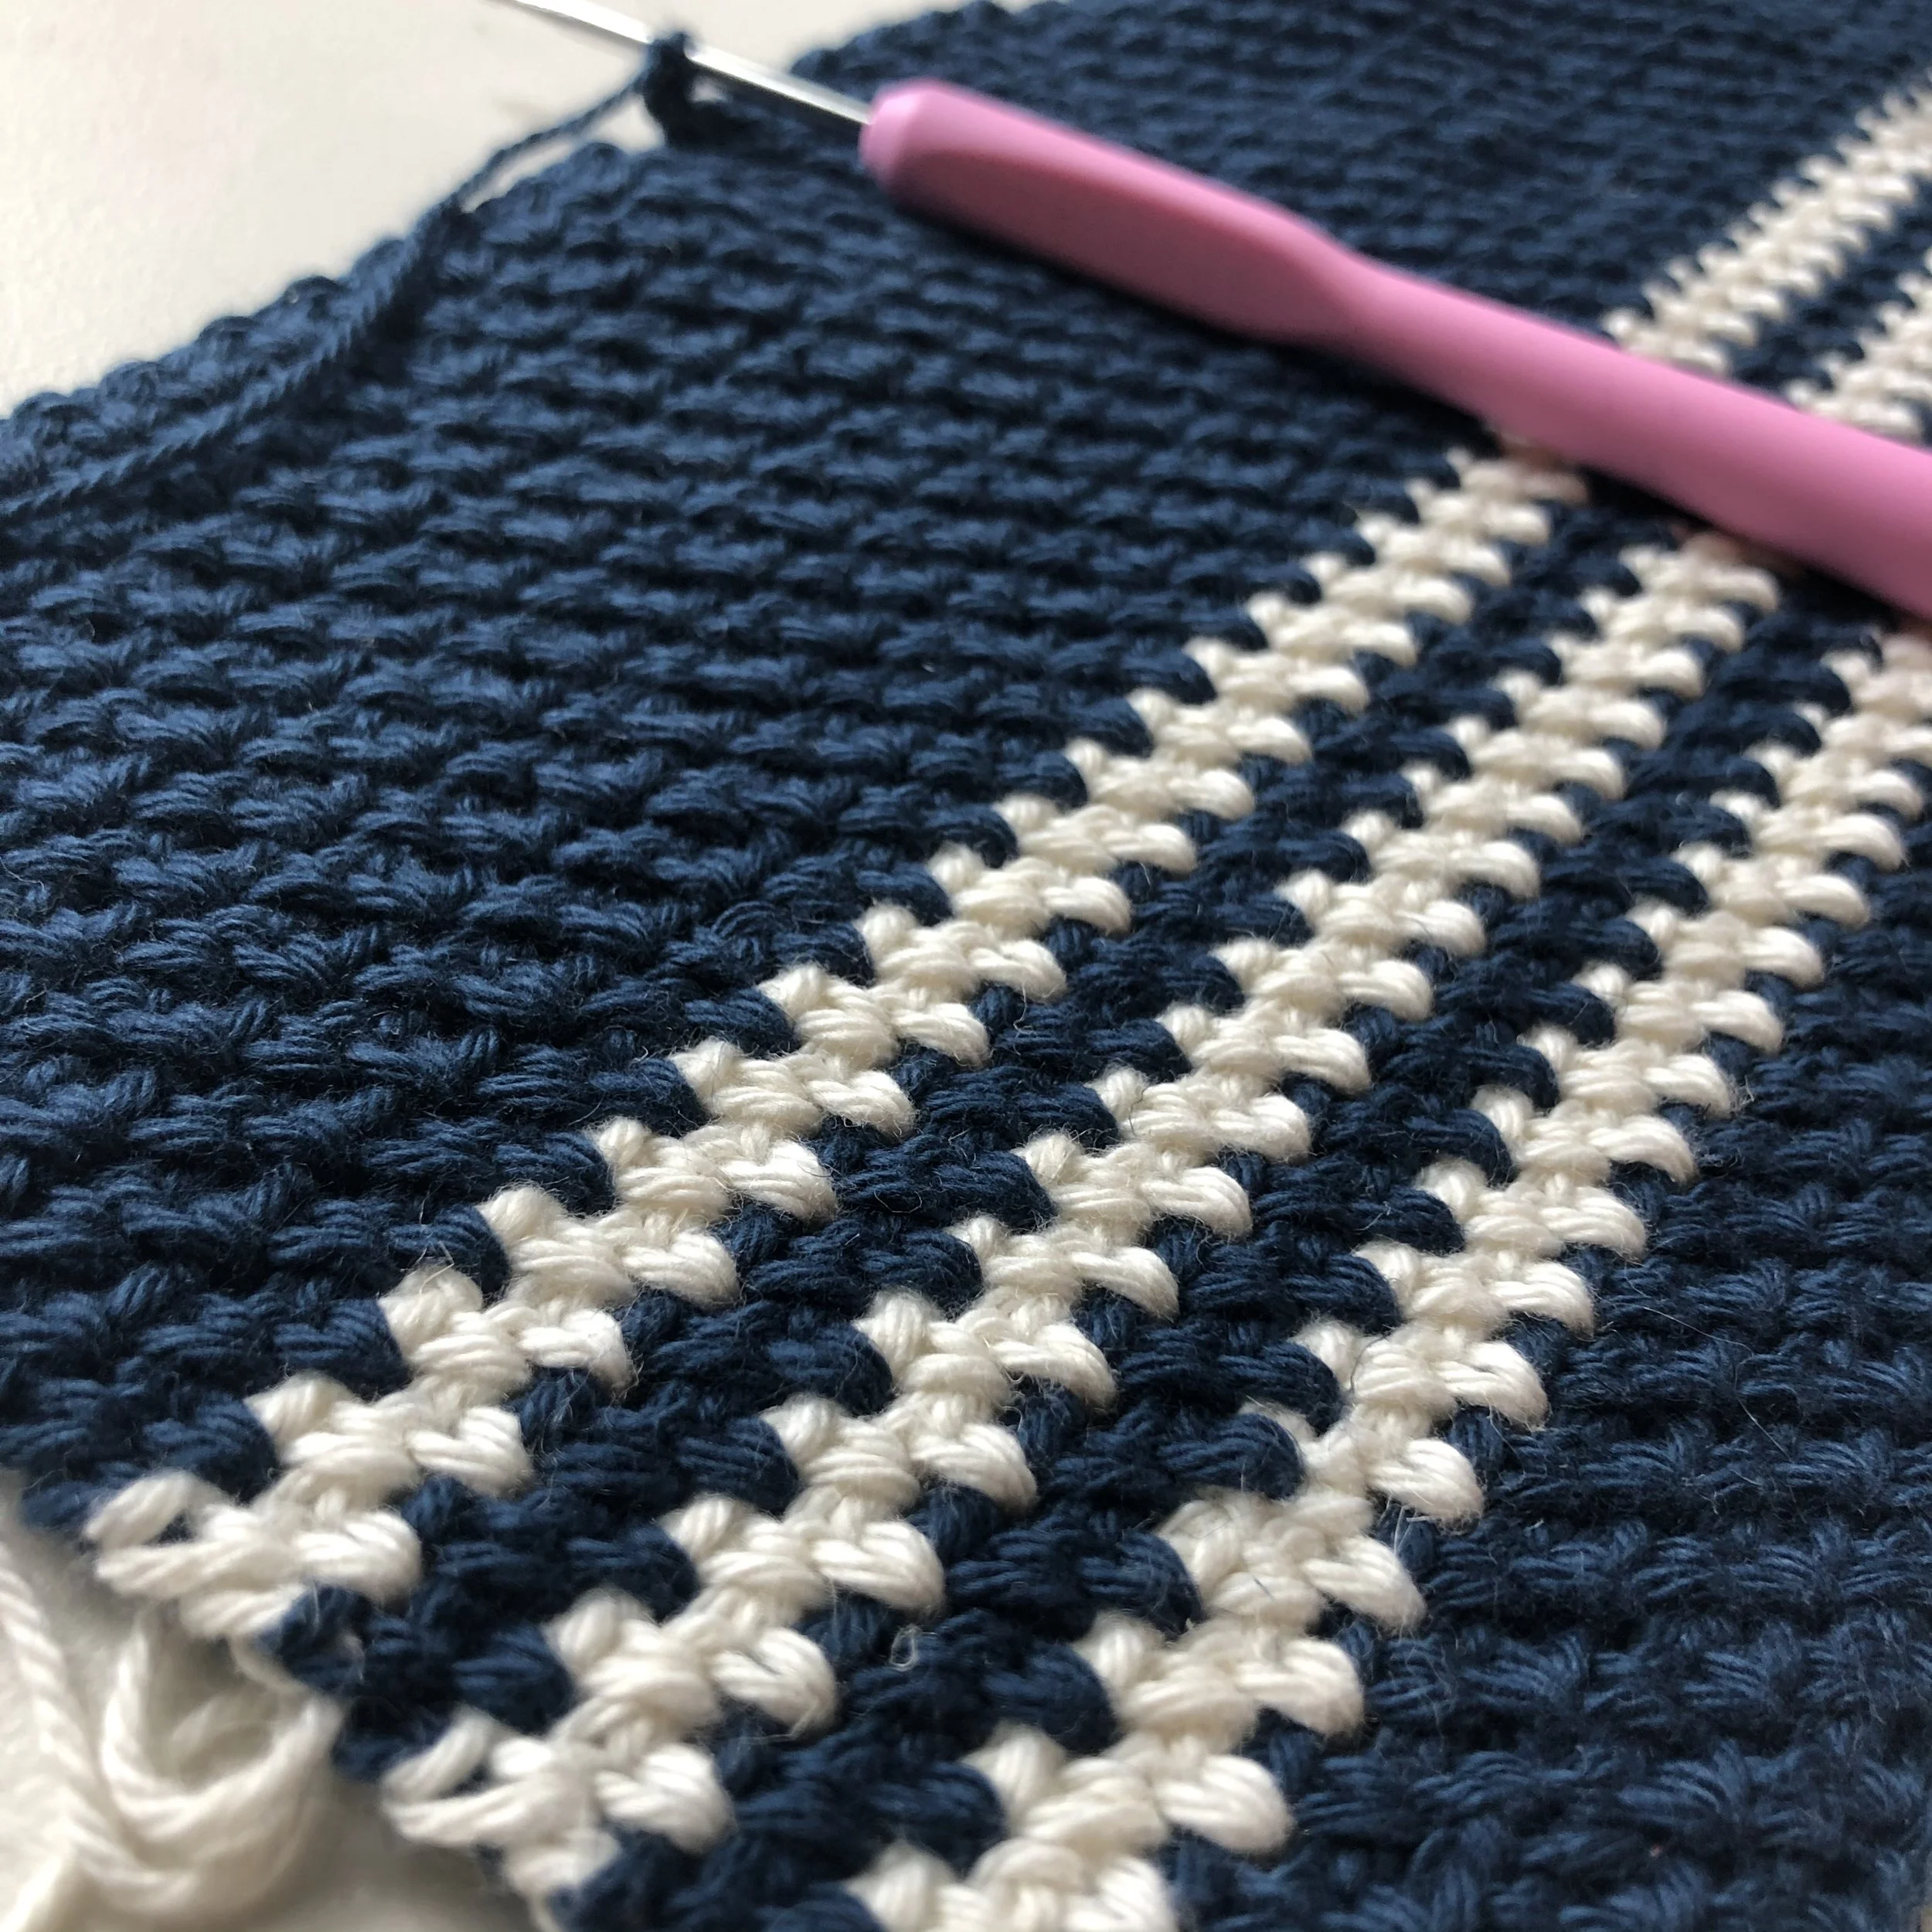
The moss stitch helps this table mat lay flat
Beginner friendly - uses basic single crochet and chaining to make the moss stitch
Make with any colors and space out the stripes however you’d like
Size is customizable as well - can make a placemat size or even a table runner
This is a simple project, but the results are totally giftworthy
*Some of these may be affiliate links, which means I may make a small commission at no additional cost to you*
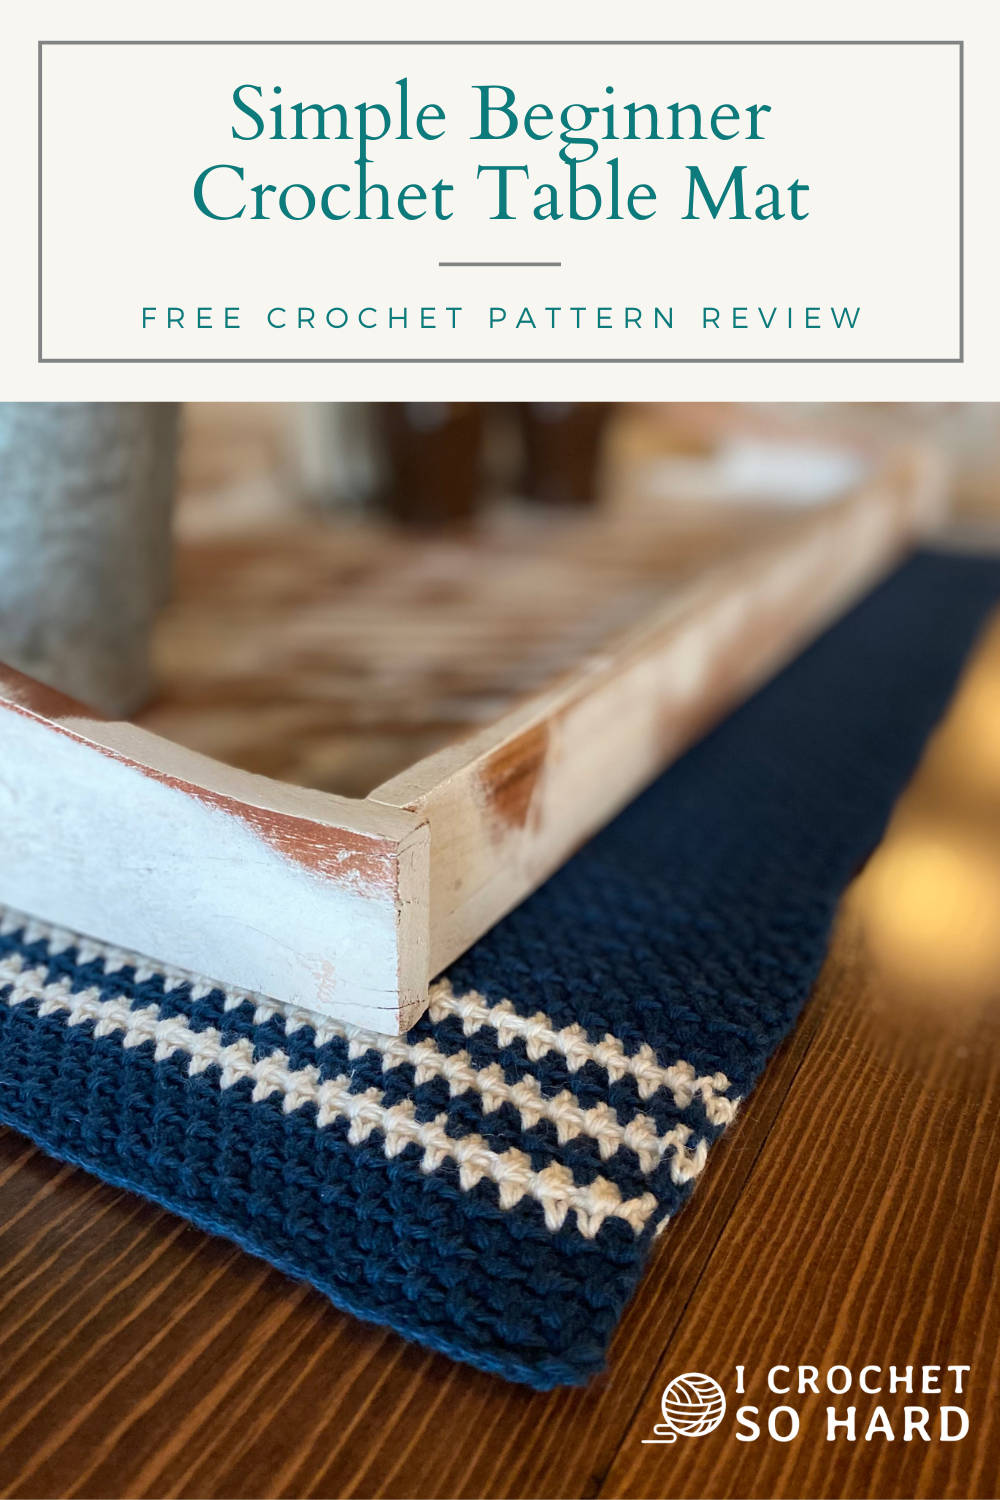
My friend had a custom table made for their newly built home. We went to a junk/craft bazaar and she found this lovely whitewashed tray to put on the table, but the table needed something else... Enter the moss stitch striped table mat! I thought of this pattern right away because it would match their home’s decor and it would be machine washable - essential for a mom of three boys!
The moss stitch helps the mat lay flat (say that five times fast!) because it’s not a bulky stitch. I also made a blanket with the moss stitch earlier this year and it has incredible drape. I had my friend measure the size of the bottom of her tray and I tried to get about 2-2.5” of the mat showing on each side (added 4-5” to the length and width of the tray bottom) so it was pleasing to the eye. I wanted the stripes to show, but didn’t want too much hanging out on the sides.
Yarn & Color
Okay, I have a ton to say about the yarn and color of yarn, so let’s dive right in. The yarn is CotLin from WeCrochet, and it’s a Tanguis Cotton and Linen blend. WeCrochet says it gets softer with each washing, and it starts out very soft. It’s a DK weight and fairly light.
There are so many pretty, modern colors to choose from including the ones I used: Planetarium (close to navy blue), and Swan, a lovely whipped cream white. Some of my other favorites are Conch (a peachy salmon), Whisker (a super neutral light gray), Sagebrush (a sagey aqua), and Thicket (a true medium brown). They are all featured in the photo below.

The only thing I do not love about CotLin is that it was harder than usual to get a clean pull of the tail from the middle. There was plenty of yarn barf and it was a little difficult to untangle. These are a smaller size skein, however, so it didn’t take too long. I used 4 ½ skeins of Planetarium and about ½ skein of Swan when finished. The CotLin feels and behaves like 100% cotton yarn while you’re using it.

Saving my Eyeballs - A Handy Helper!
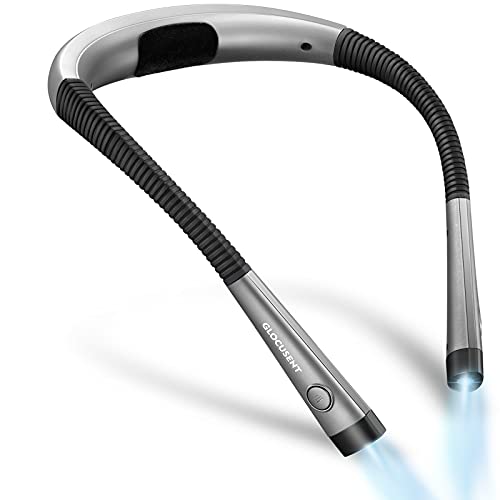
Because I chose the dark blue, I struggled with seeing my stitches until I found a magic solution. I had heard other crocheters say that neck lights were amazing - more than lighted hooks or a regular reading light. So, I purchased one and it made a HUGE difference! I knew I was placing my stitches correctly. With the small crochet hook and lightweight yarn, the stitches were fairly small. We already have overhead recessed lighting in our living room so there is a fair amount of light, even in the evening. This neck light still made a significant impact. There are three brightness settings and you can switch between cool, warm and neutral light.
Below are unedited photos of my living room after dark - with recessed lights on. The first is without the neck light and the next is with the light on the brightest setting. Whoa!


I was totally hands free with the light and the arms are adjustable so I pointed them exactly where I wanted them to shine. Here’s the best part: I could not even tell that light was around my neck, even though I had it on for an hour plus at a time. It’s not noticeable at all, very light weight and curved in the best places so it sits just right. I can now see myself being able to crochet well in the car on a road trip when before it was a bit of a challenge with the overhead lights or a clip on reading light, etc.
This neck light would also be great for working with any small items in front of you (making jewelry, reading, clay modeling, etc.). I just can’t say enough about it. I keep it in my project bag now, it goes everywhere my bag goes. The only thing is the neck light is that it turns itself on sometimes in the bag since the buttons are on the outside of the arms. I just got a case for it, problem solved. Check out the case here.
The arms fold in and it doesn’t take up a lot of space. It is rechargeable with a USB charging cable. When charged, it can light your way for up to 6-80 hours depending on the level of brightness you are using!
Pattern Tips
The beginning of this project had a lot of trial and error and frogging because I was attempting to make it a specific width. My starting chain must have been too loose, because it shrank about 20%. I had 18” with a chain of 96, and it shrank to 14.5” after putting the first row on. You can use any even number for your starting chain, so for the next attempt I chained 120 stitches. It was about 20” (I made them tighter than the first time) and only shrank to 18” after putting the first row on. Since that was my desired width, I continued on with the moss stitch rows. As written, the pattern is worked from side to side, but I made mine from top to bottom because I wanted the stripes to be vertical.

**Note: It does not say to turn your work after Row 1, but you definitely need to turn before starting Row 2 and after every row is complete.**
For the stripes, I carried my blue yarn in between the rows instead of cutting it off - which does make a right side and a wrong side but I didn’t want to weave in every single end for those short stripe rows. I left about 3” on either end of solid color before I started my stripes. I omitted all the stripes in the middle because I just wanted one section of three stripes on each end.

For estimating where to start the second set of three stripes, I took the final measurement of length I was aiming for and used that to measure out half. I then folded the project at the halfway mark a few times while I was working on the second half to see where I should start with the white again to make it symmetrical. Final dimensions were 26½” length by 18½” width before blocking.

Steam Blocking Your Crochet Project
This was my first adventure in blocking, so I wanted to start off fairly simple with mats, pins and steam. I chose this specific blocking set for a few reasons. Number one was that the mats themselves were thicker than most of the mats sold on craft and yarn sites (read reviews and details before buying any blocking mats!). It also came with a carrying case and pins so I didn’t have to buy any additional supplies.
Another benefit is that this set has concentric circles as well as grid lines, and the pieces are all numbered so that you can put them together in order and the lines will match up! Other sets have grids/lines that don’t actually match up unless you spend a ton of time trying to find the correct match and rotation for each piece. I read a bunch of reviews before making my purchase and I’m so glad I did! Yes, I do realize in the photos that I did not put them together in order, but for this project it didn't make a difference.
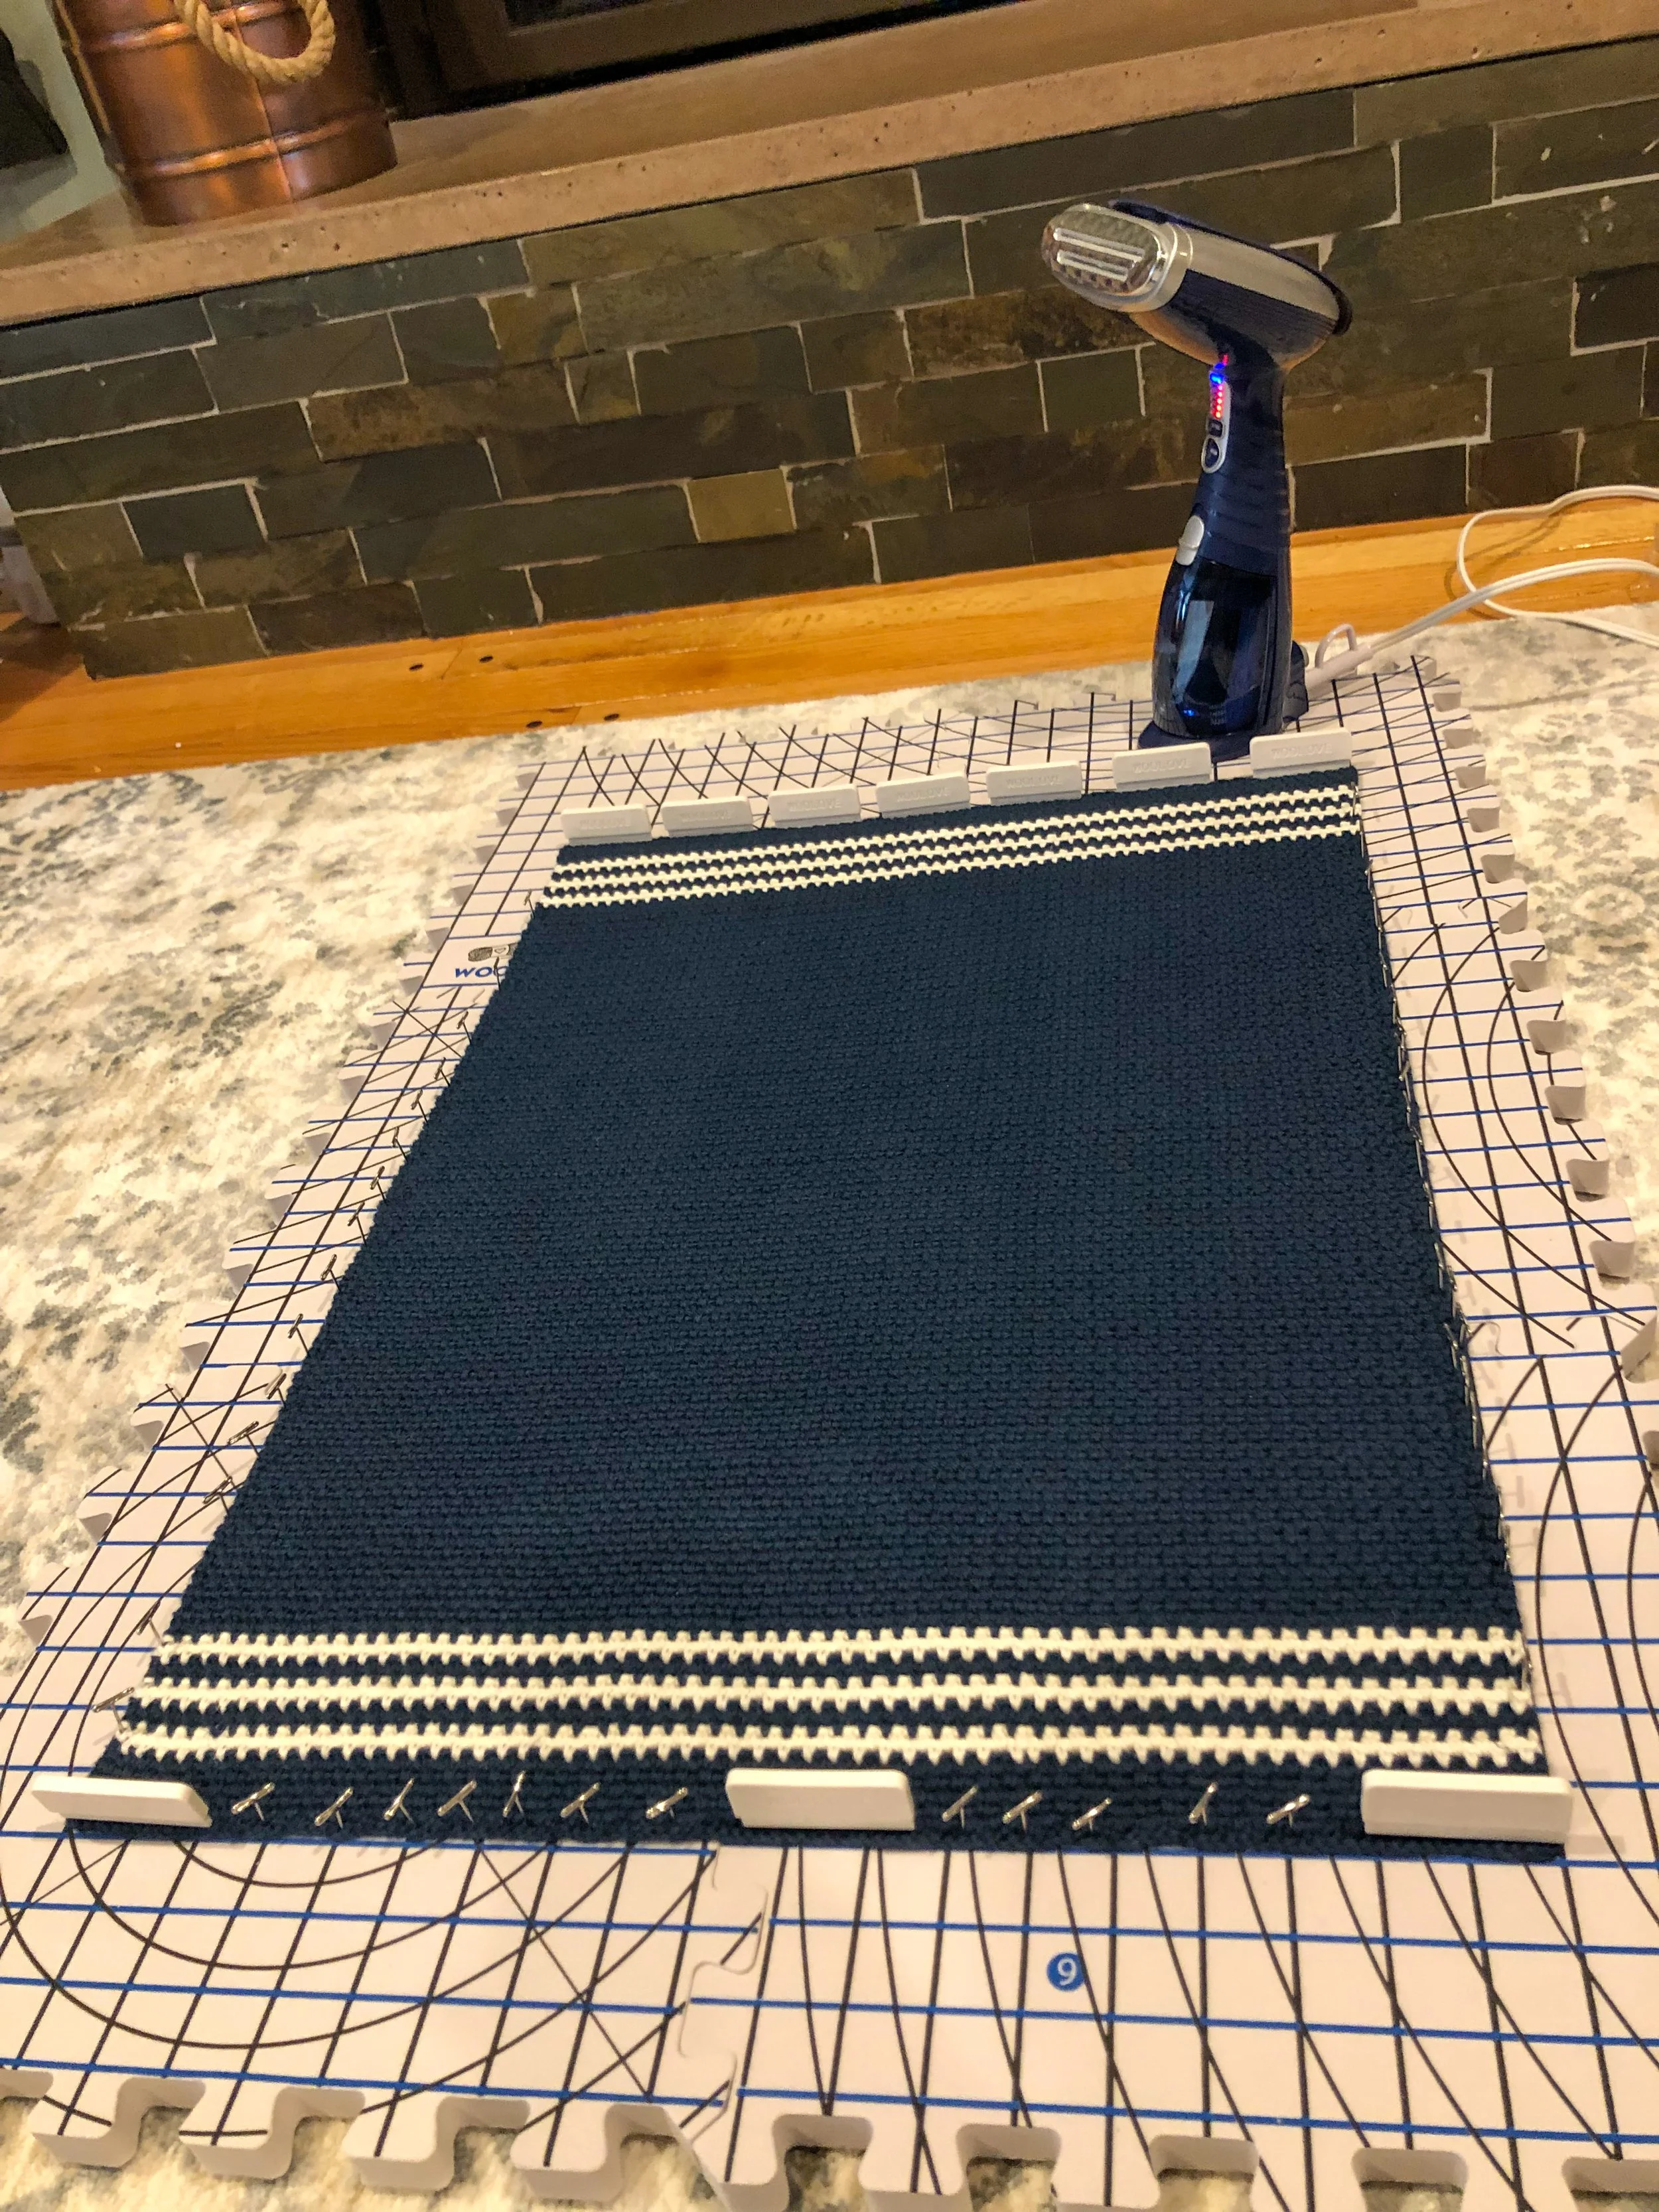
I love my handheld steamer, it’s this same model only a little older. I’ve had it for a few years and use it on everything from dress shirts to ballet costumes (tulle is a pain!) and crochet projects. I do not have a steaming tutorial up yet, but you can get the idea from looking at the photos.

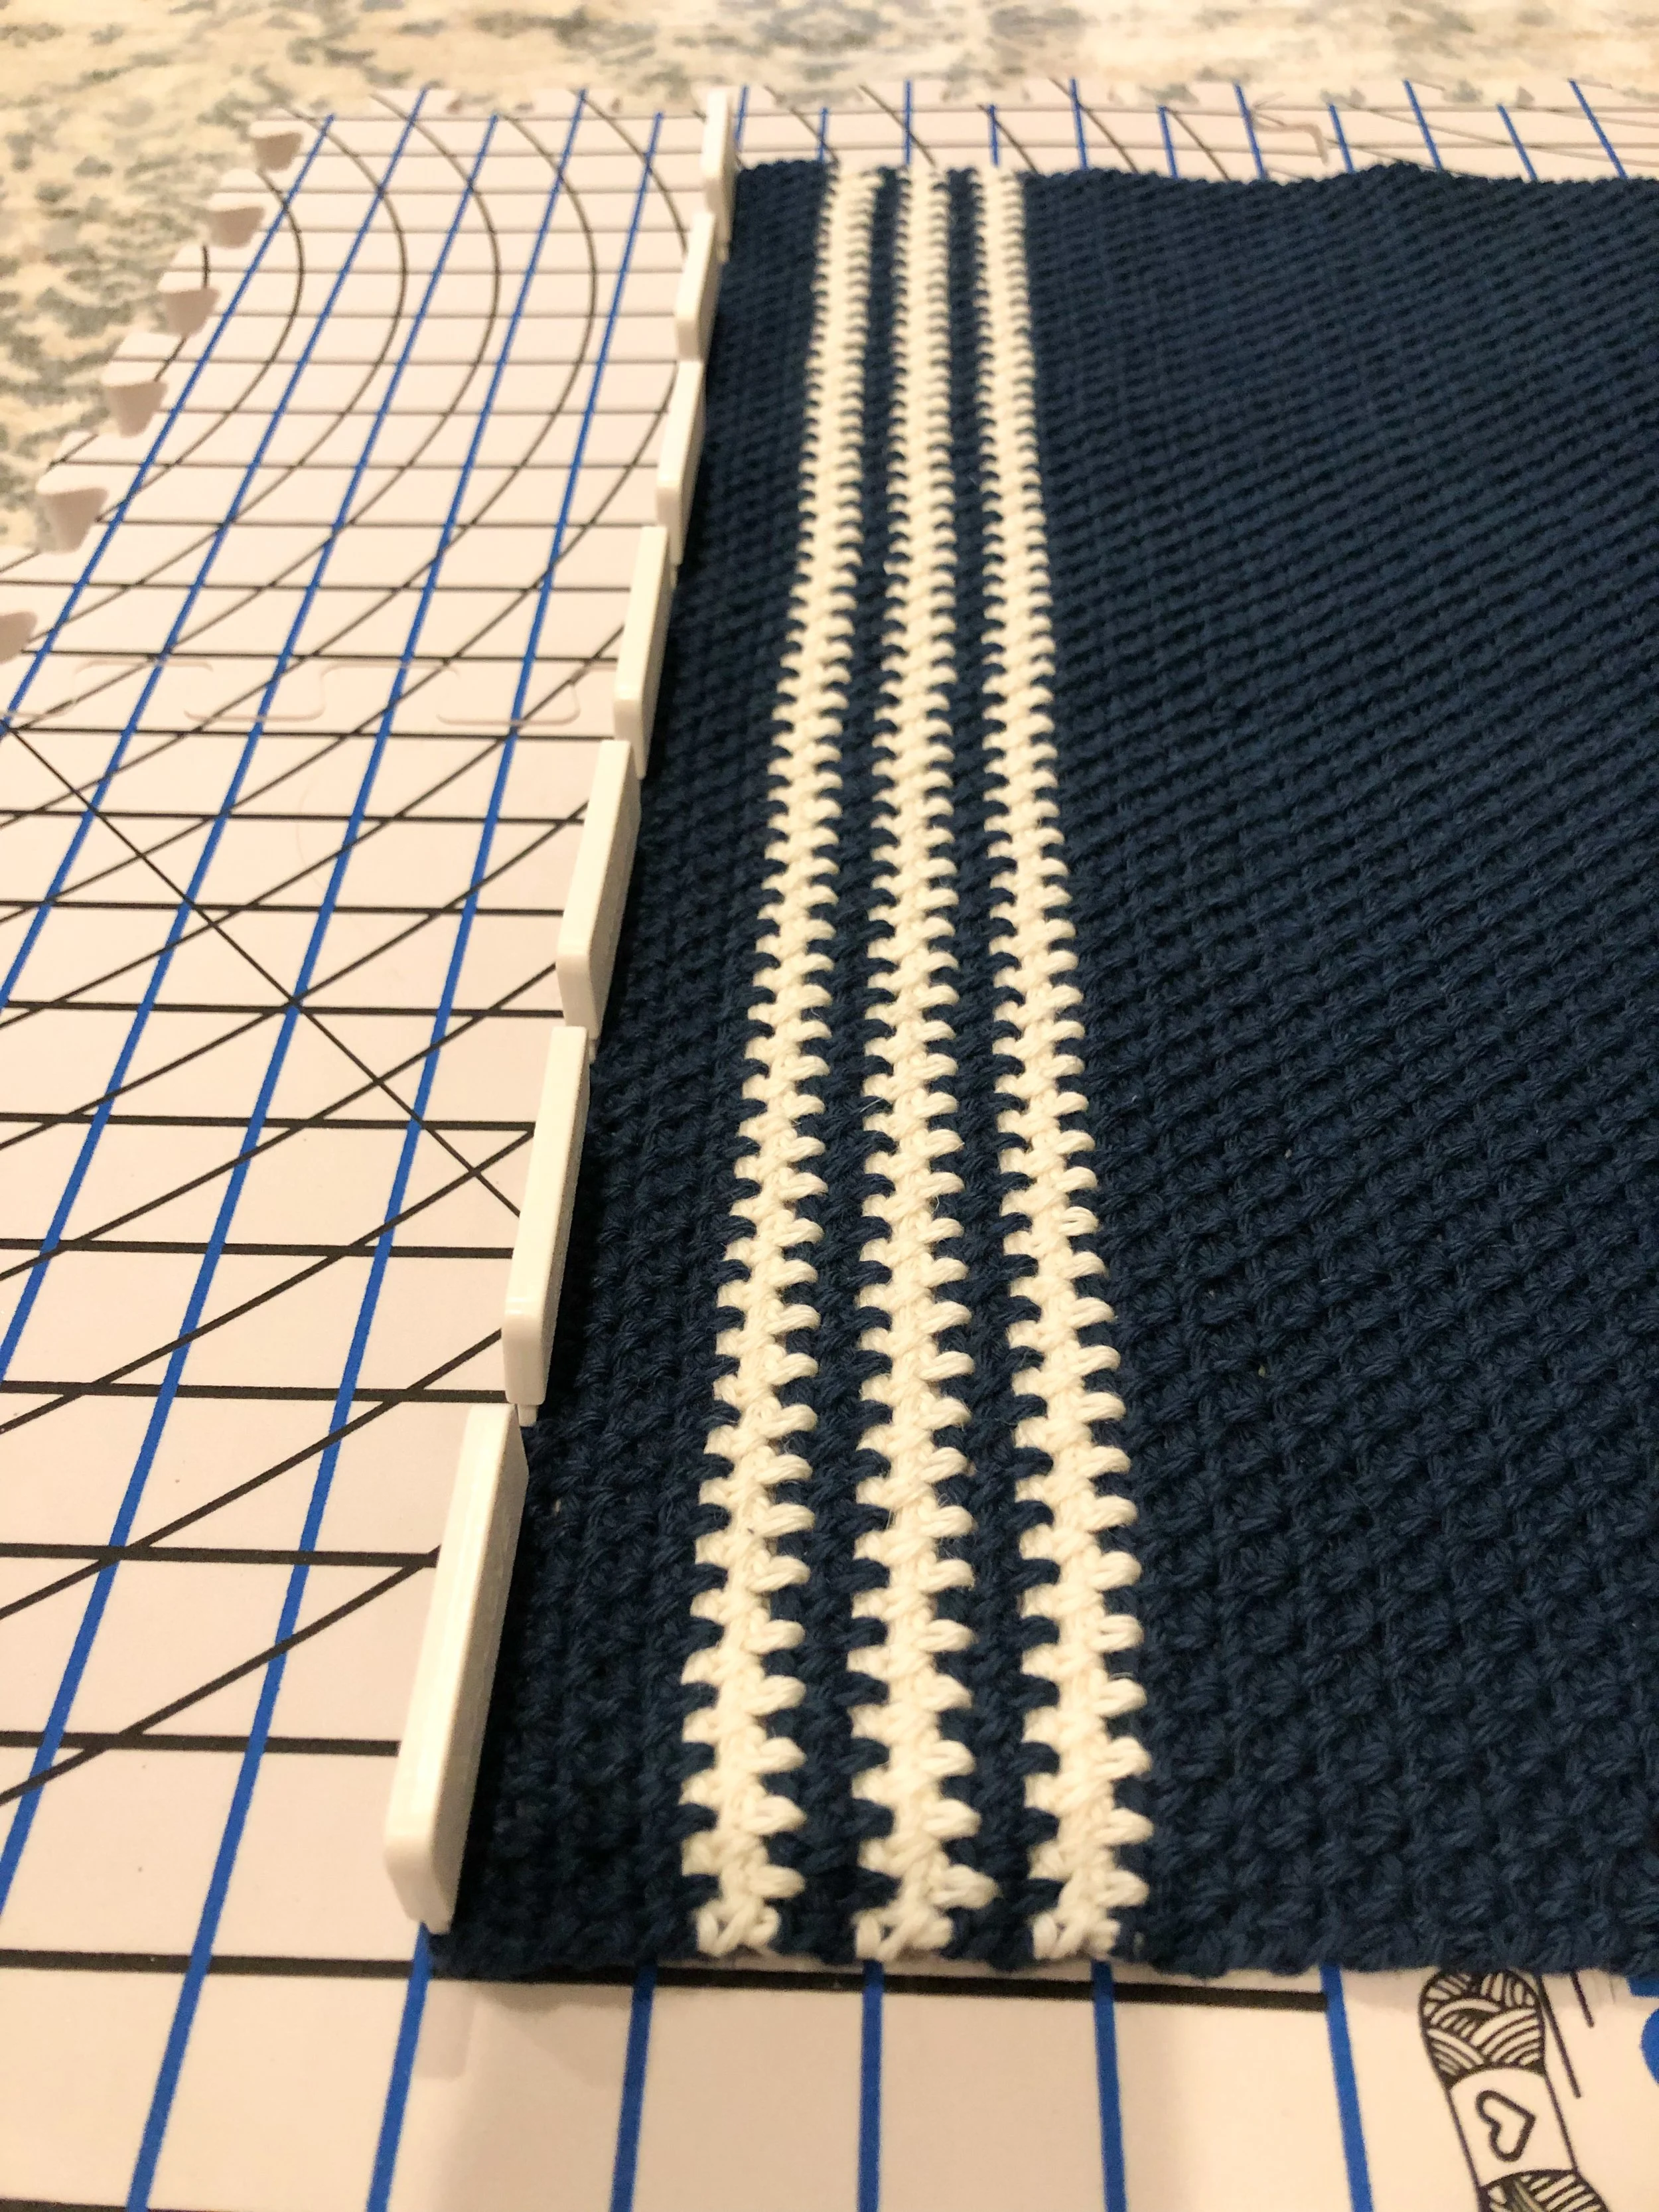
You pin your project into the shape you want (you can see how the sides were a bit wavy before pinning), and use the steam treatment to saturate and relax the fibers so it can take the shape you want it to (I wanted a rectangle!). You then wait for the item to completely dry and remove the pins. Depending on which fiber you are working with, there are different blocking techniques, so make sure to research which method is safe/best. Ruining a finished project by using the wrong blocking method would be so sad.
This was a beginner-friendly, simple piece to work, and it made such a lovely gift for my friend’s new table. I’m so happy their family will eat around the table and have something handmade (with love) to complete the look.

Supplies:
CotLin yarn or any DK weight yarn; I used 5 skeins of dark, 1 skein of light color
Optional: neck light (It's amazing!)
Blocking mats & pins or a kit like this one (1.85cm thickness)
Please tag me on Instagram or Facebook if you make this project (@ICrochetSoHard), and let me know how it went! I’d love to see your finished product and what yarn/colors you chose.
Let's stay connected
Don't forget to join my email list for exclusive discounts, sneak peeks of new patterns, and more! Click here to subscribe. Join our Facebook community here to crochet a long with us! We have crocheters of all skill levels and interests and a lot of fun.