
Plush Baby Playmat - Free Beginner Crochet Pattern using Super Bulky Plush Yarn
*Some of the links in this blog may be affiliate links, which means if you shop through the link, I make a small commission at no additional cost to you. Thank you for supporting my small business!*
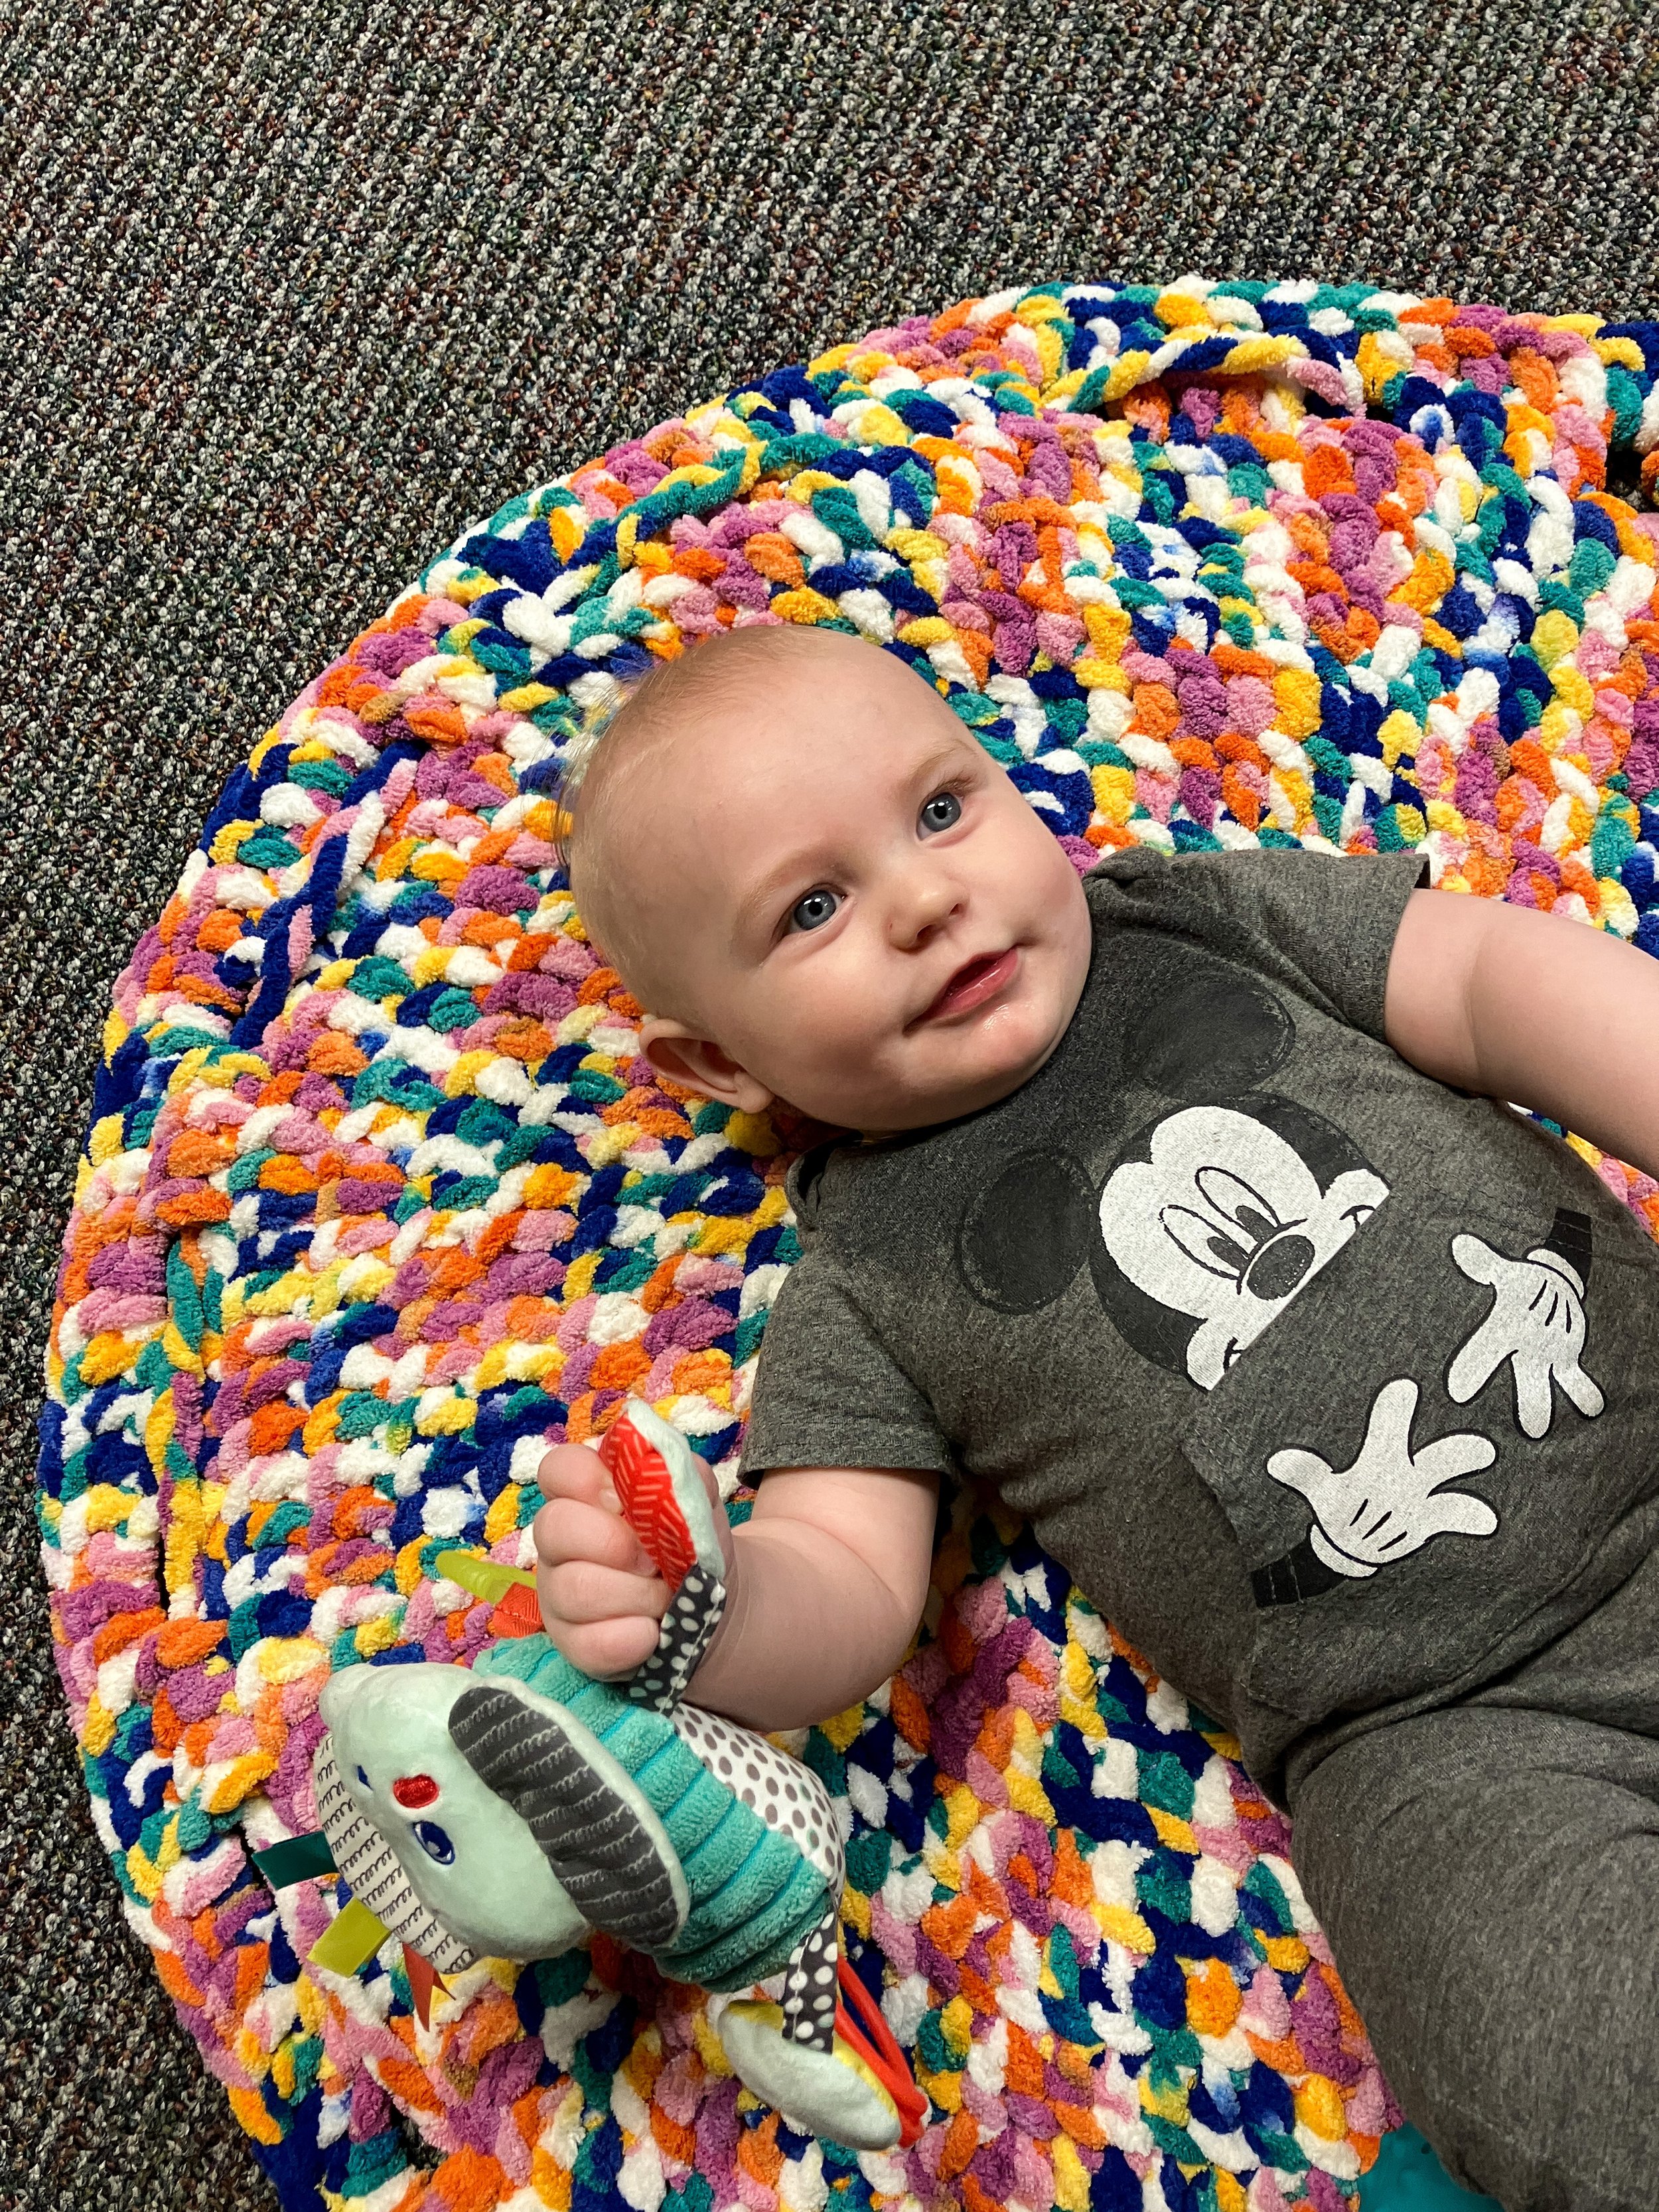
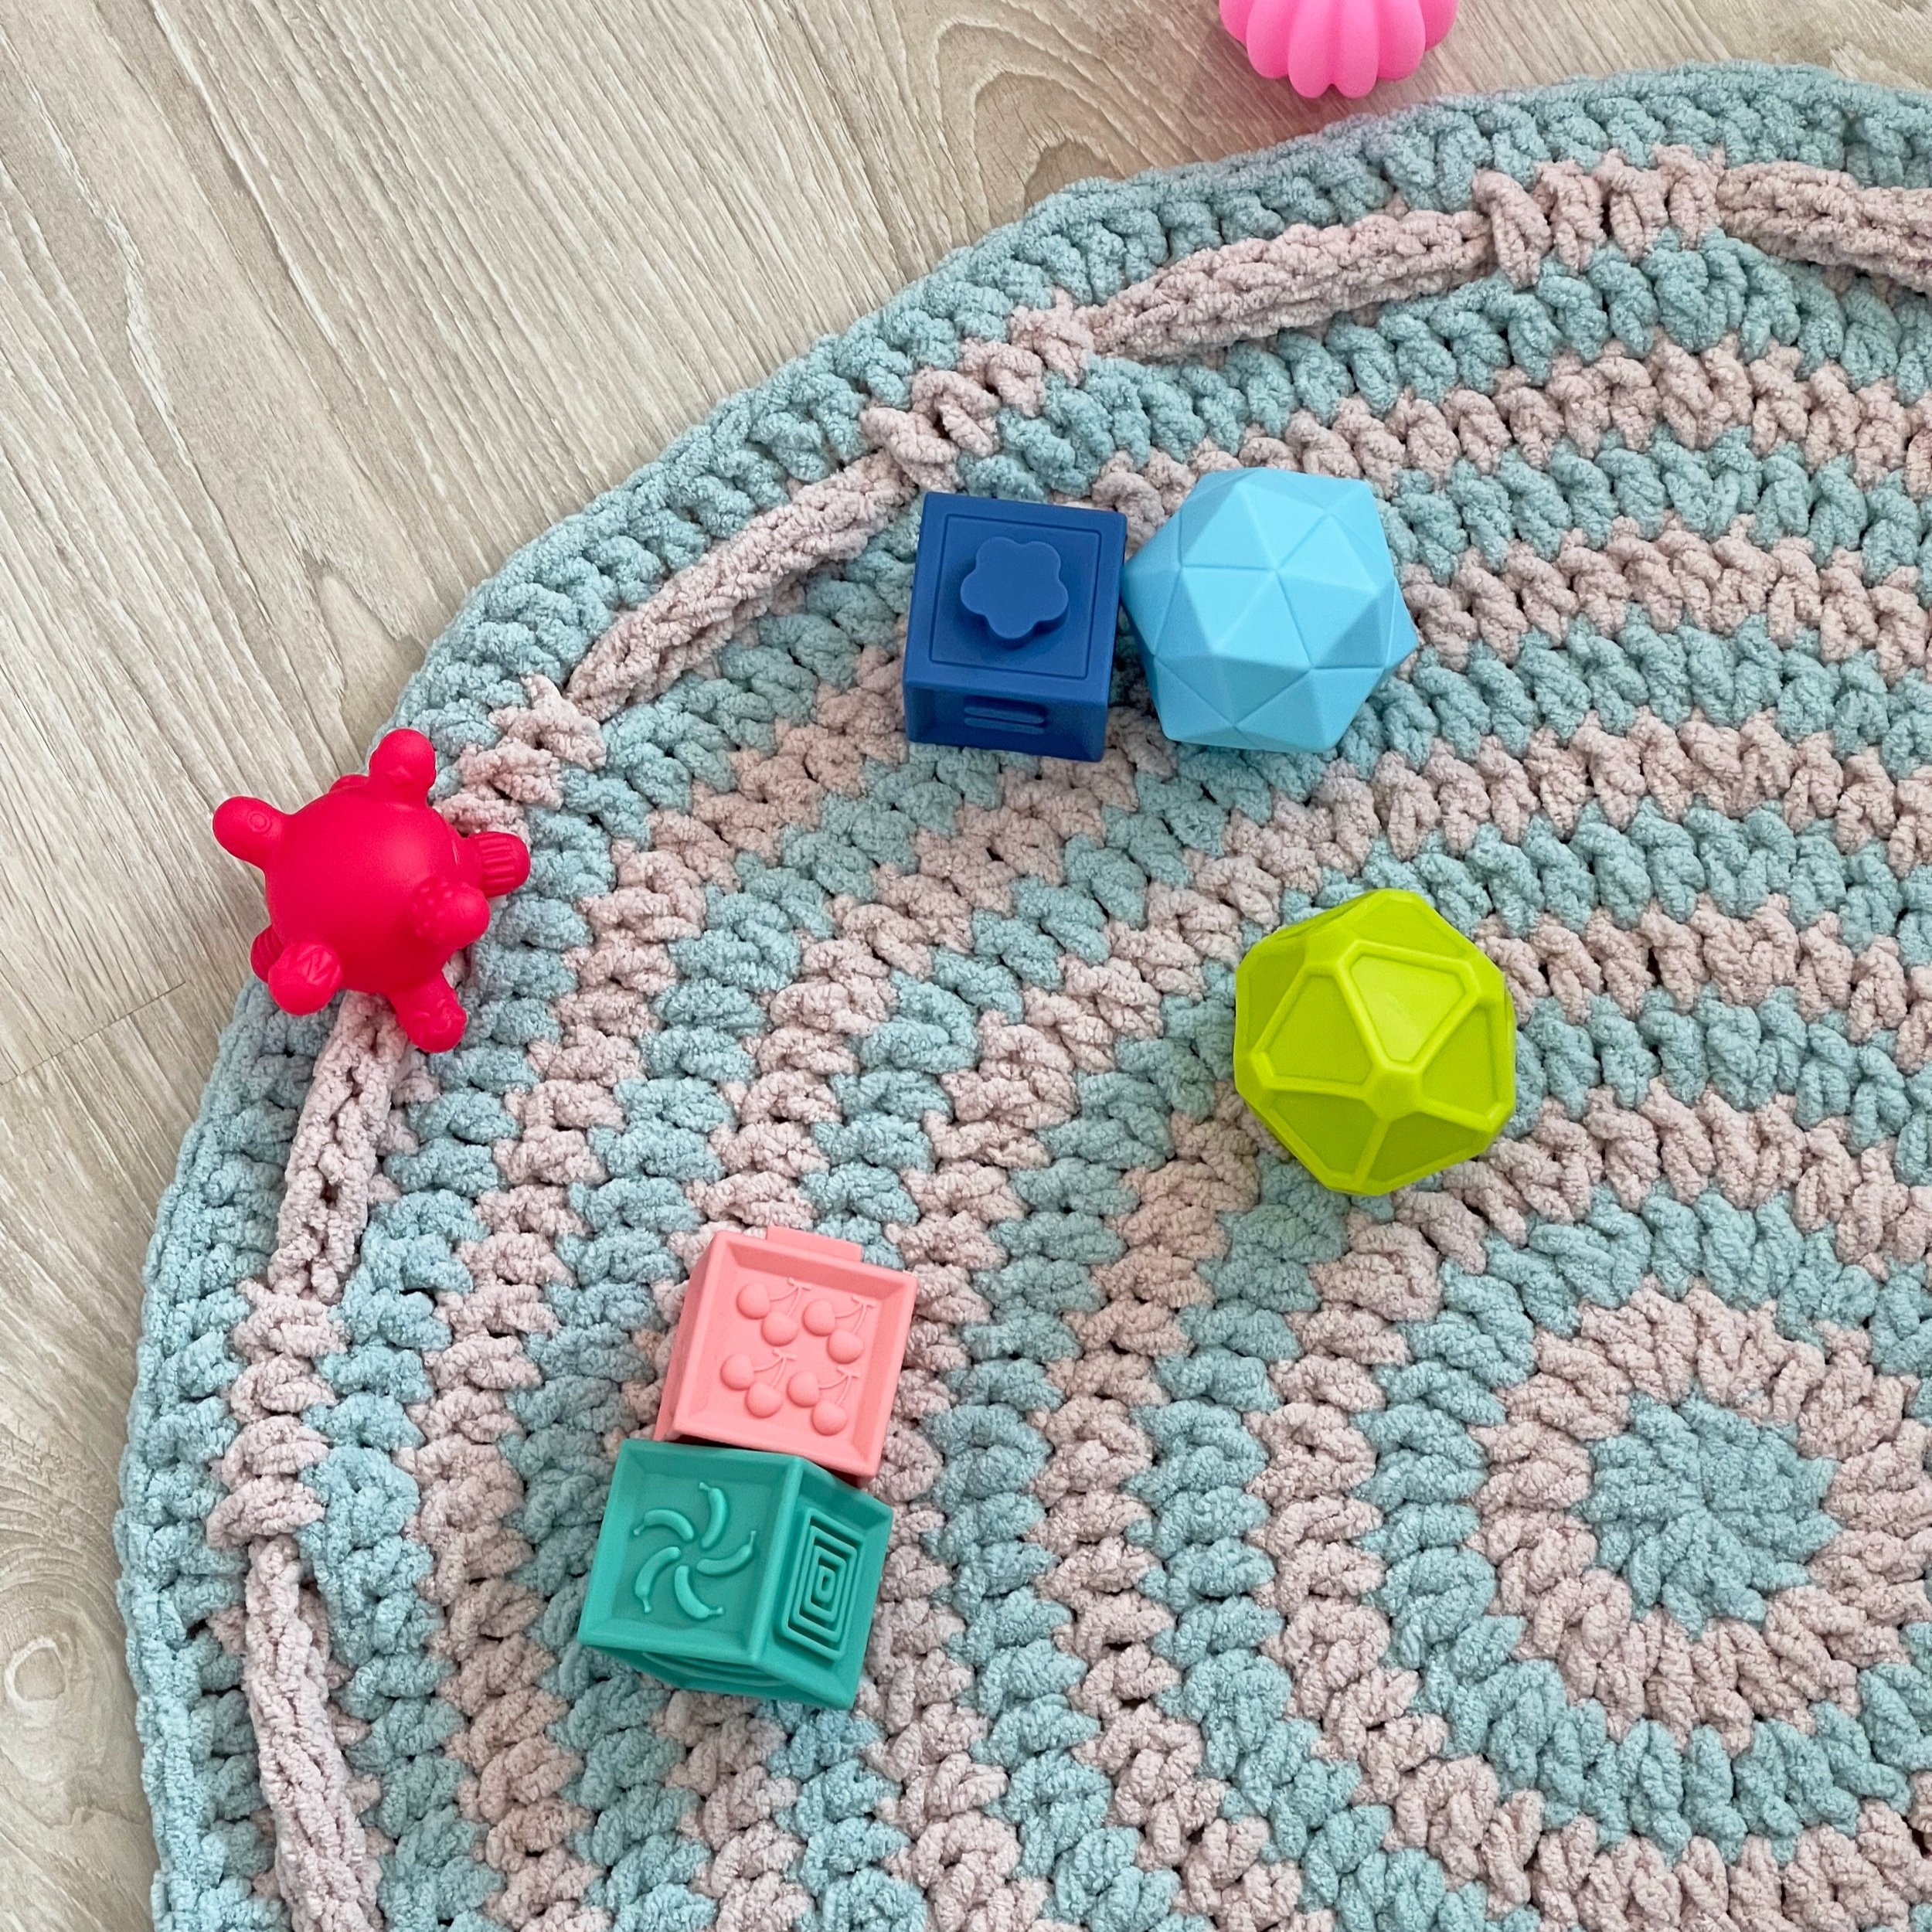
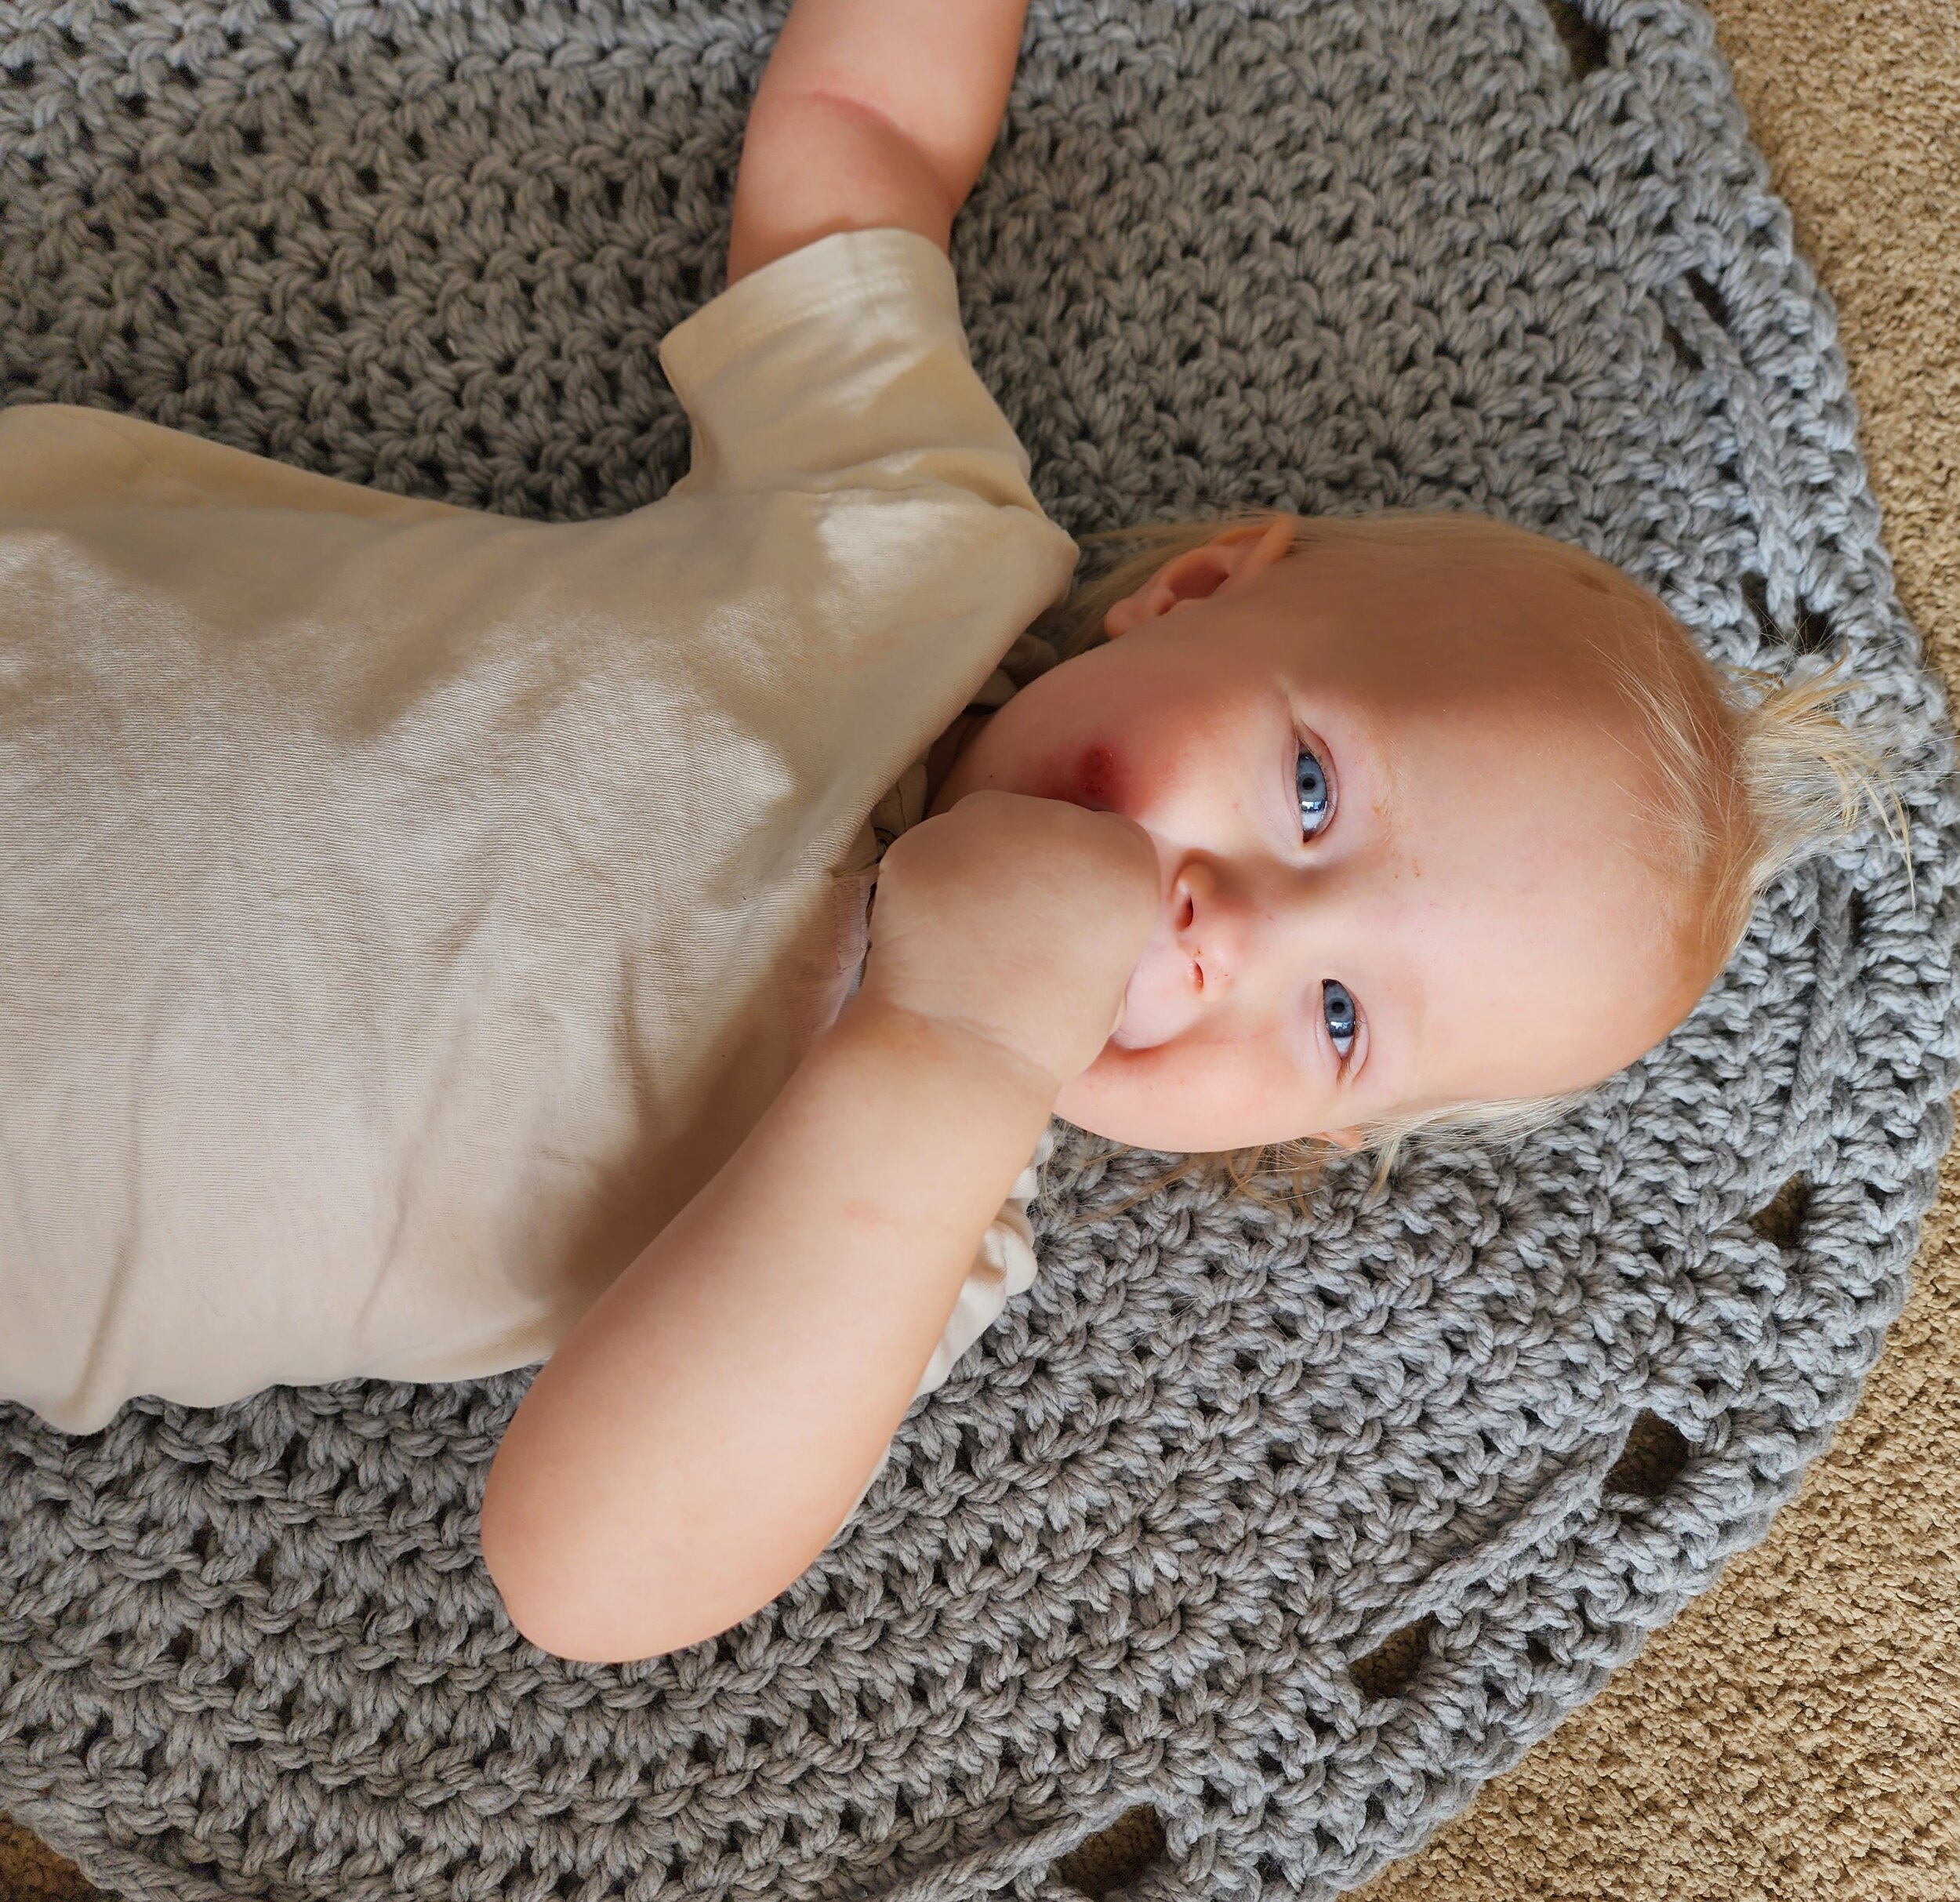
This simple beginner-friendly playmat is great for a first crochet project working in the round!
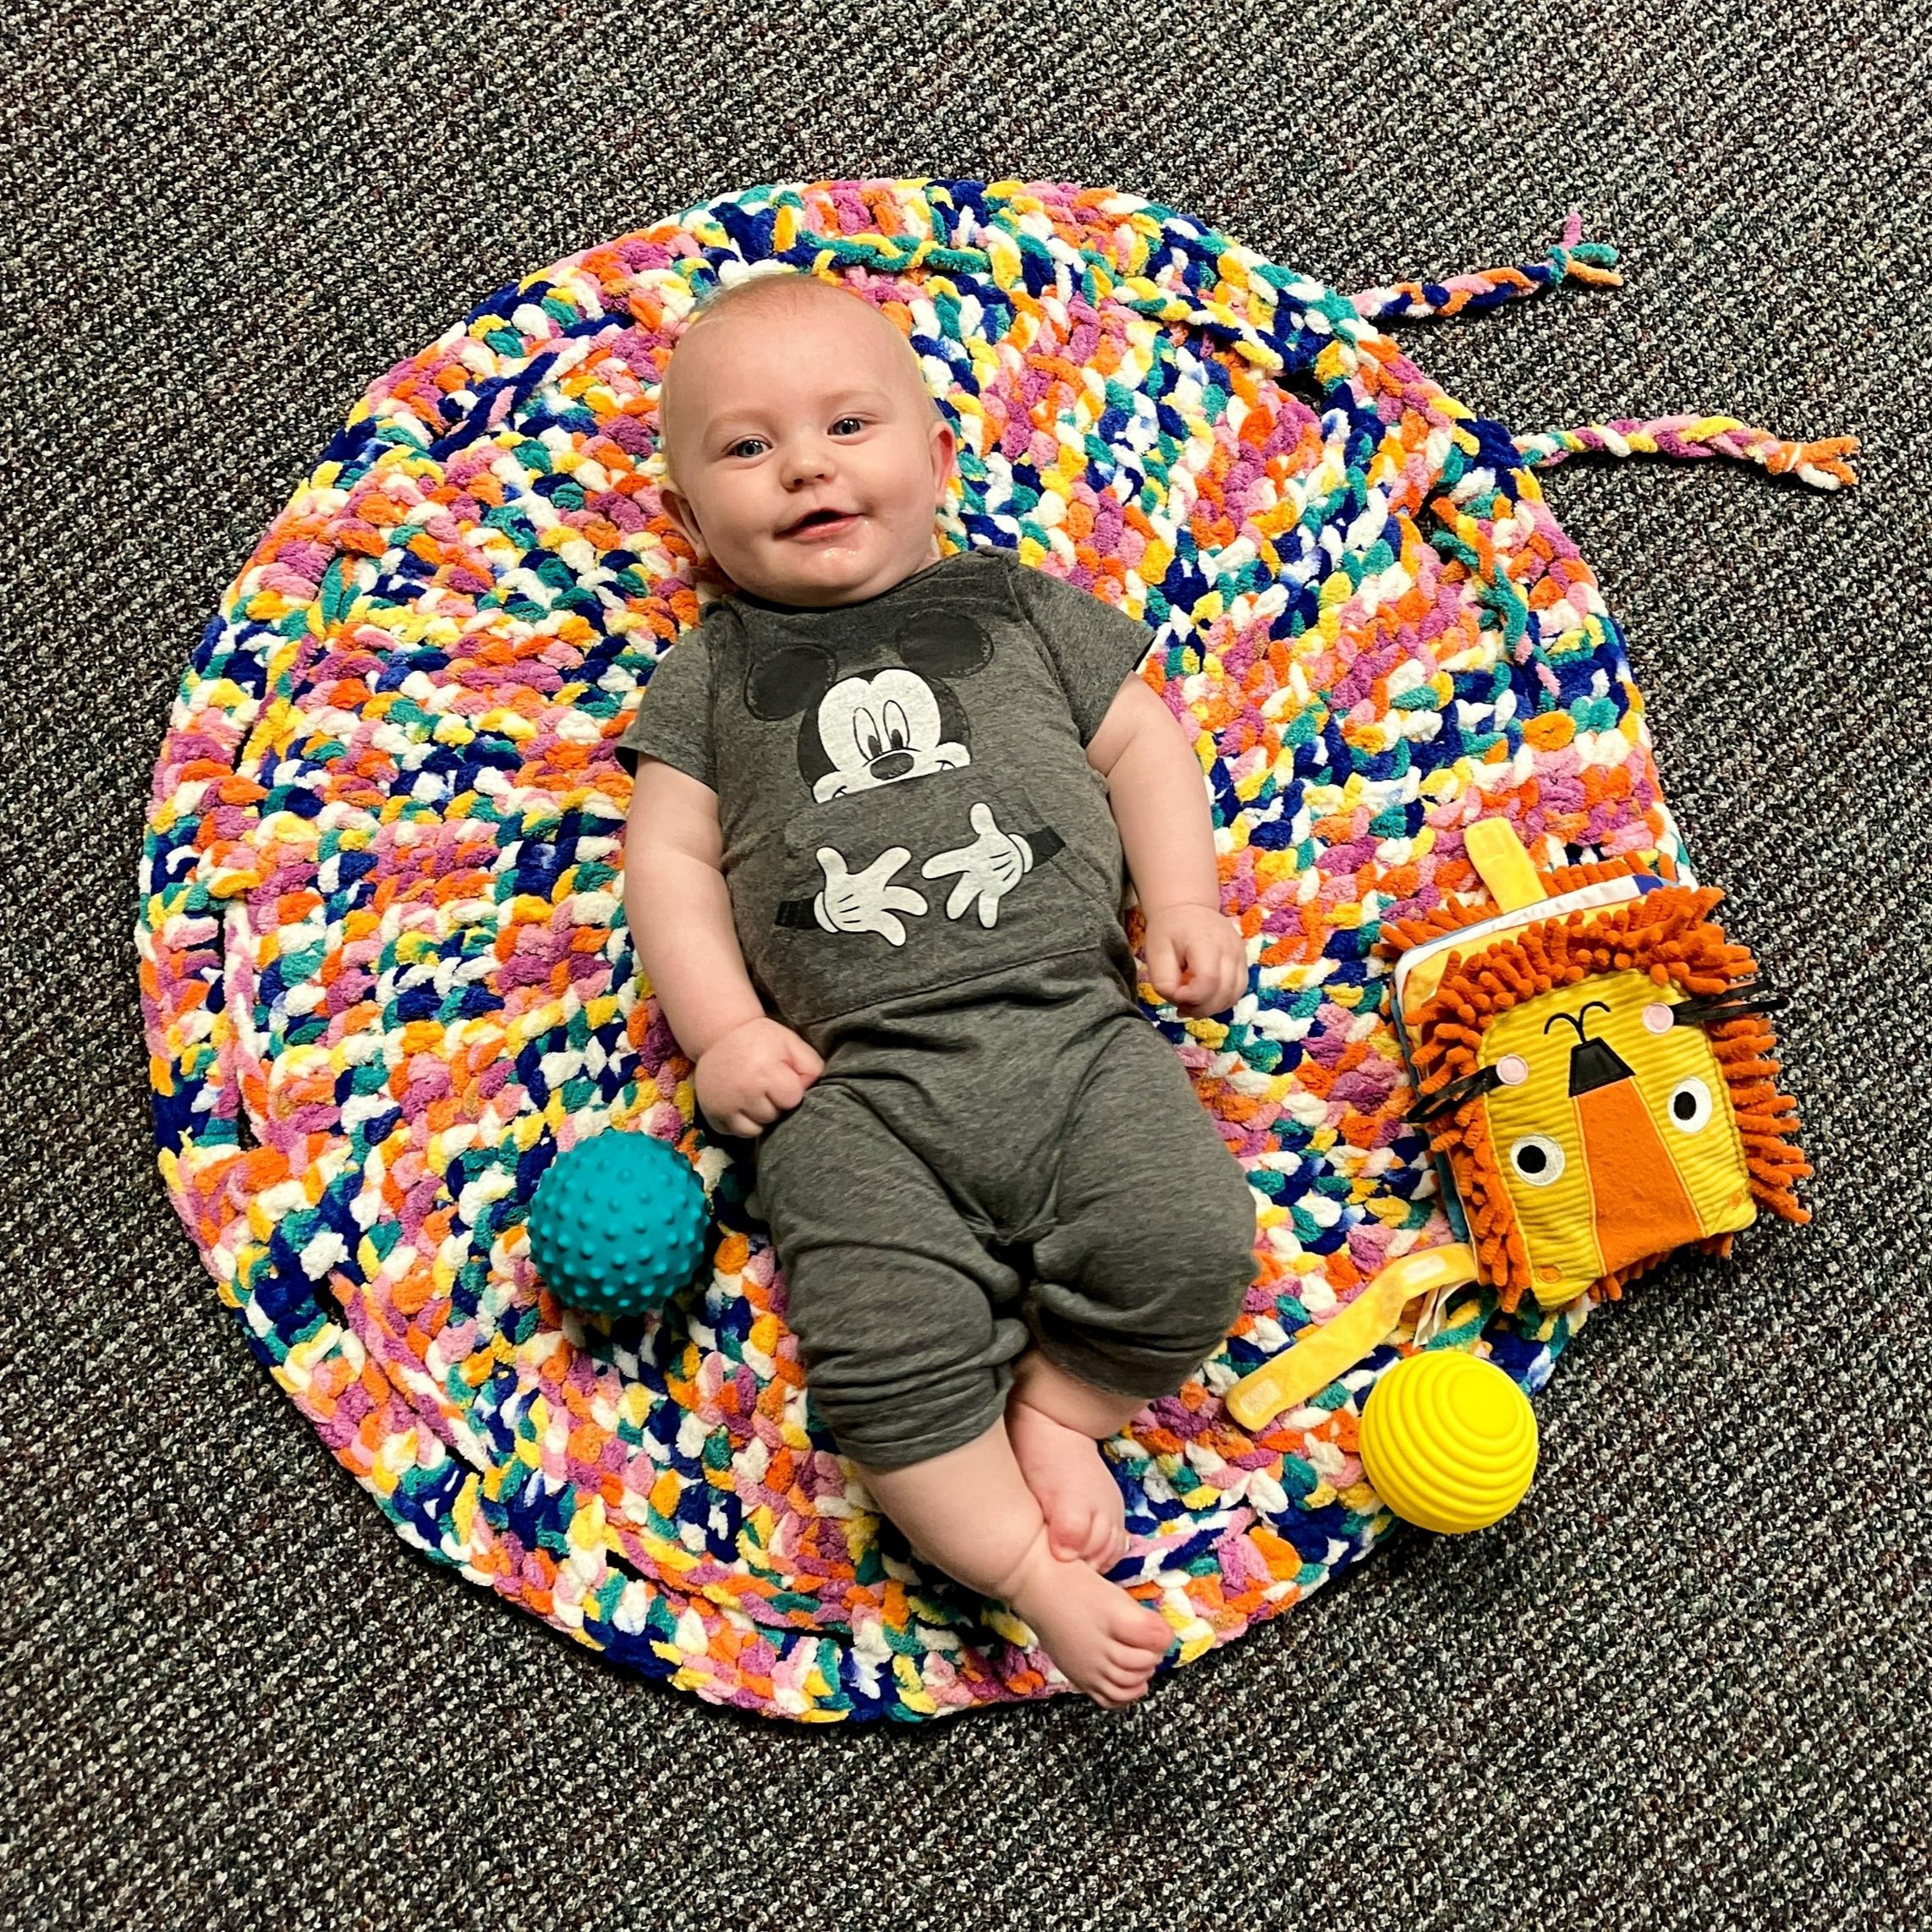
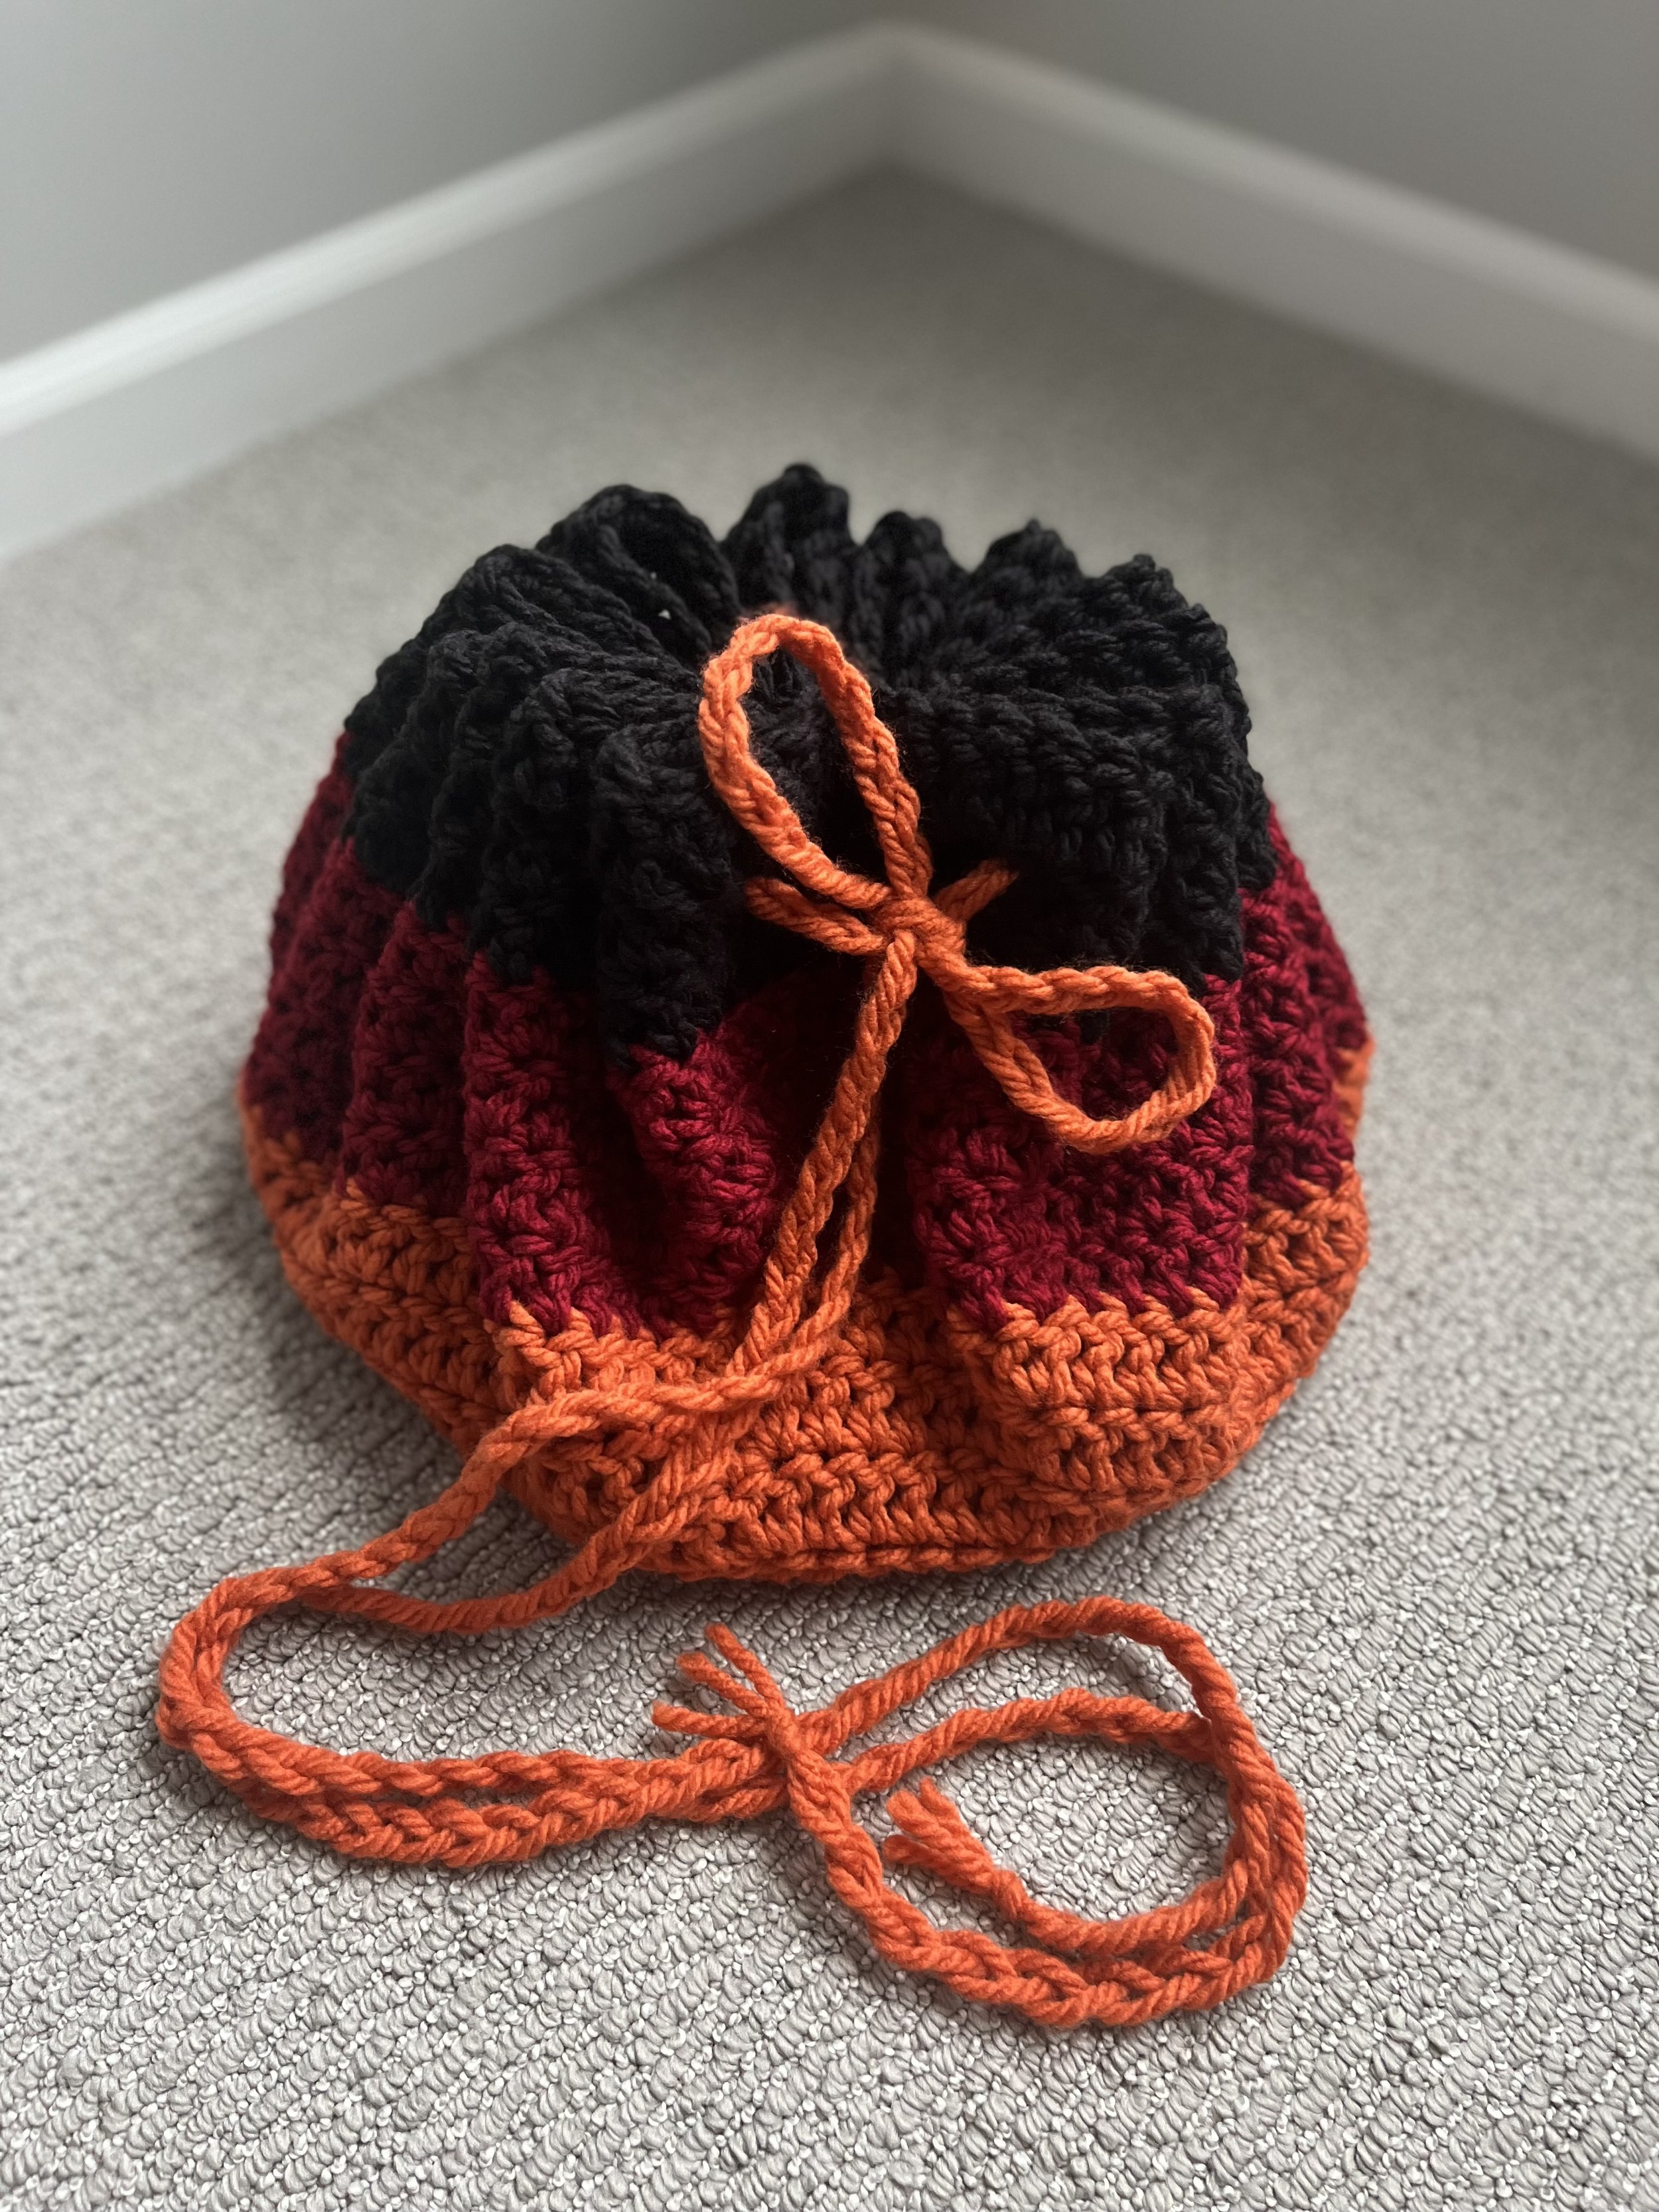
This cushy, plush portable play mat is also a drawstring bag that totes baby's toys! With the ease of a drawstring, setup and clean up are a breeze. Just pile everything on, pull the string and tie. If you would prefer a flat mat with no drawstring - those instructions are also included. I used a washable/dryable yarn so that it would be baby friendly. If you're new to working in the round, this is a great pattern to get started with!
If you can’t read the full post now, Pin the image below for later :)

I definitely recommend a plush or higher pile yarn for this project, although you can use any Super Bulky (6) weight yarn. My pattern testers who used Bernat Softee Chunky for example, needed to add a few extra rows to get their samples the same diameter as the playmat I made with Big Twist Plush from Joann (a 100% polyester plush yarn). This modification for extra rows can be found in the free pattern below. Another favorite is Cover Story from Lion Brand, available here or at Joann Stores. I haven’t made a playmat yet with a faux fur yarn like Go For Faux, but I’m really curious to see one!
Before we get into the pattern, I wanted to mention there is an ad-free, nicely formatted PDF version available in my shops!

Pattern Notes
This is a crochet pattern written in US terms and measurements.
Skill level: Beginner
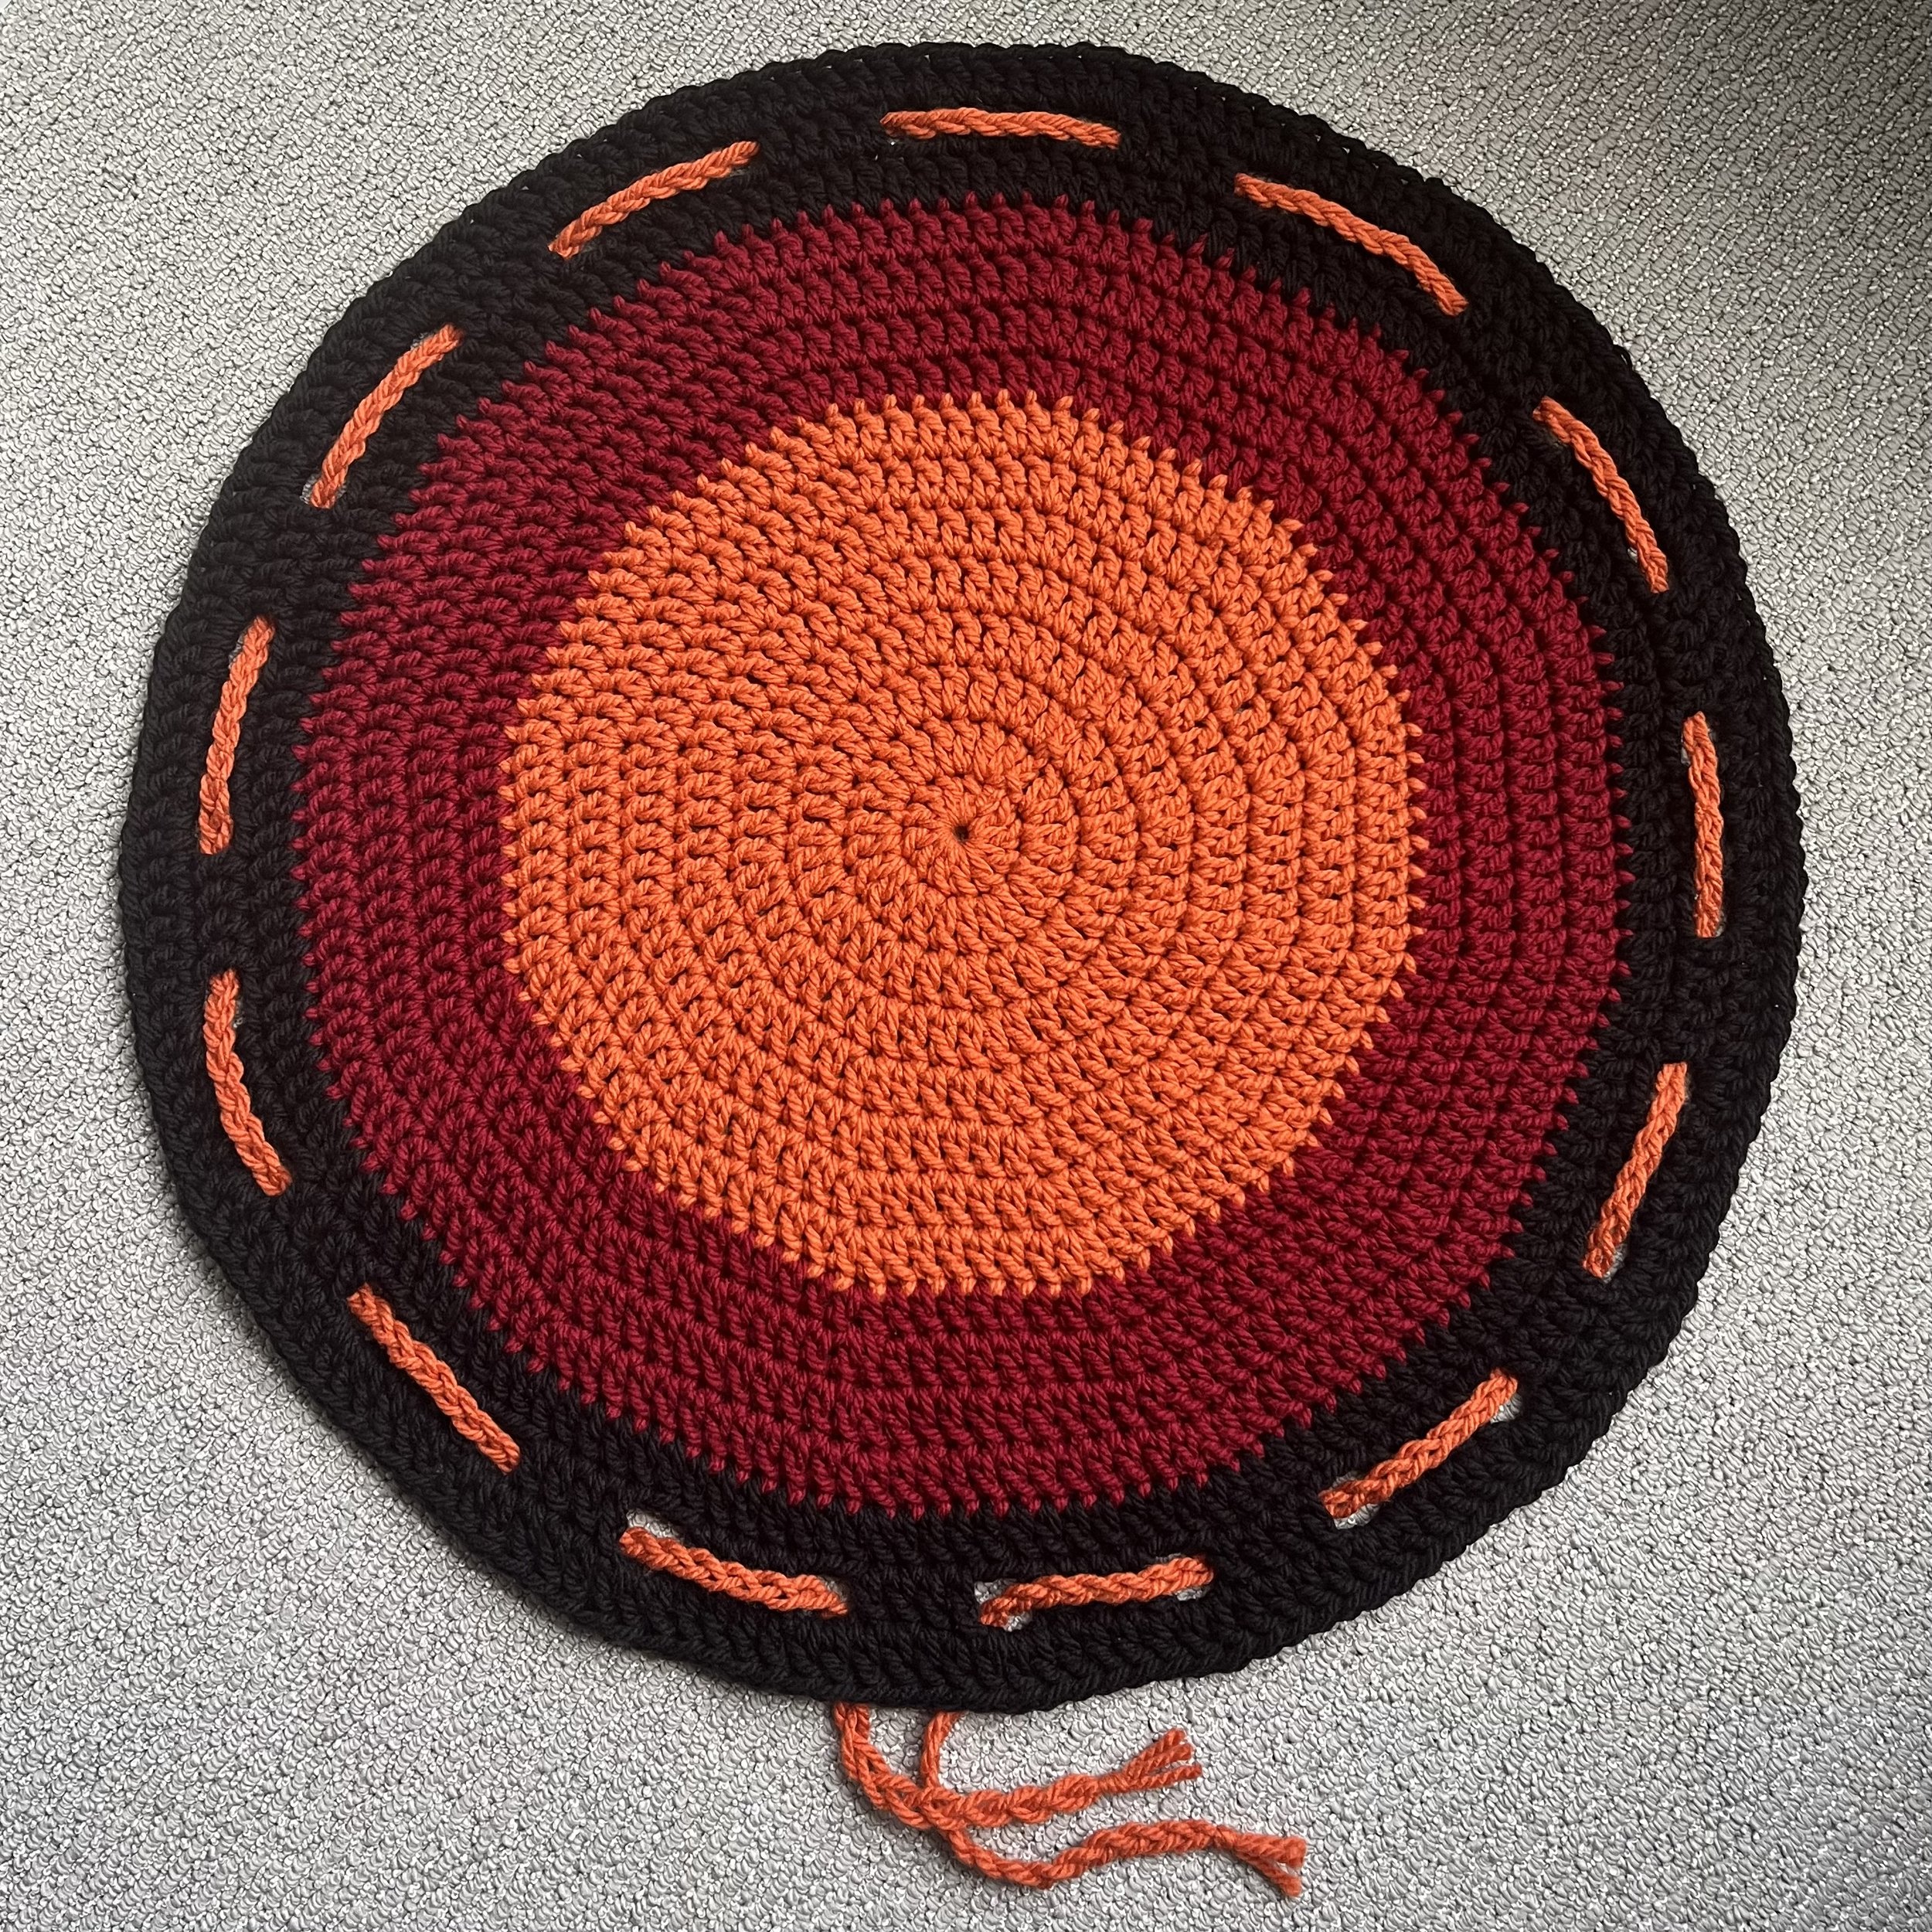
Finished Measurements (approx): 30 3/4” diameter
Abbreviations:
ch = chain
ch sp = chain space
dc = double crochet
sk = skip
st = stitch
sts = stitches
sl st = slip stitch
* * = repeat instructions between the asterisks as many times as directed
Supplies:
N (10mm) hook or hook to meet gauge
250-320 yards of a Super Bulky (6) yarn such as Cover Story from Lion Brand (a plush fiber yarn is recommended). 320 yards needed if you are making an icord for the drawstring.
Gauge: Follow pattern as written, but stop after Round 2 is complete. Your circle should be 5" across at this point. After Round 3, my mat was 7.5" across. Exact gauge is not crucial to this pattern.
Note: The working side is the outside/right side of the mat.
Safety: Never leave your baby unattended with this playmat! Any string/cord can be a choking or injury hazard.
More Notes…
Chaining & Joining
Ignore the ch 2 at the beginning of each round. Just pretend like it's not there at all. Don't count it in the st count. When you join a round, ignore it completely, and make your join to the 1st st of last round, NOT the top of the ch 2. Also ignore your join st (sl st). If you are just starting to learn working in the round, it may be helpful to use st markers to mark your first and last st of each round so you can see them clearly.
Curling
Your project should be fairly flat as you are working, but the round you’re currently working might curl up slightly. If your project is curling quite a bit, you may be using a hook that is too small, or you need to loosen your tension. Be sure to re-check your gauge if you adjust anything, just to make sure you're on track.
Instructions
Make a slip knot and slide the loop onto your hook or make a magic circle.
Round 1: Ch 2. 12 dc into slip knot loop/magic circle. (Reminder: do not count ch 2 as a st). (12 sts) Join to 1st st of the round with a sl st. Tighten up your knot/magic circle.
Round 2: Ch 2. 2 dc into same (1st) st and each st around. (24 sts) Join to 1st st with a sl st.
Round 3: Ch 2. Dc into same (1st) st. 2 dc in next st. *Dc, 2 dc in next st* to end of round. (36 sts) Join to 1st st with a sl st.

Round 4: Ch 2. Dc into same (1st) st and following st. 2 dc in next st. *Dc in next 2 sts, 2 dc in next st* to end of round. (48 sts) Join to 1st st with a sl st.
Round 5: Ch 2. Dc into same (1st) st and next 2 sts. 2 dc in next st. *Dc in next 3 sts, 2 dc in next st* to end of round. (60 sts) Join to 1st st with a sl st.
Round 6: Ch 2. Dc into same (1st) st and next 3 sts. 2 dc in next st. *Dc in next 4 sts, 2 dc in next st* to end of round. (72 sts) Join to 1st st with a sl st.
Round 7: Ch 2. Dc into same (1st) st and next 4 sts. 2 dc in next st. *Dc in next 5 sts, 2 dc in next st* to end of round. (84 sts) Join to 1st st with a sl st.
Round 8: Ch 2. Dc into same (1st) st and next 5 sts. 2 dc in next st. *Dc in next 6 sts, 2 dc in next st* to end of round. (96 sts) Join to 1st st with a sl st.
Round 9: Ch 2. Dc into same (1st) st and next 6 sts. 2 dc in next st. *Dc in next 7 sts, 2 dc in next st* to end of round. (108 sts) Join to 1st st with a sl st.
Round 10: Ch 2. Dc into same (1st) st and next 7 sts. 2 dc in next st. *Dc in next 8 sts, 2 dc in next st* to end of round. (120 sts) Join to 1st st with a sl st.

Round 11: Ch 2. Dc into same (1st) st and next 8 sts. 2 dc in next st. *Dc in next 9 sts, 2 dc in next st* to end of round. (132 sts) Join to 1st st with a sl st.
—> Stop here and measure your mat.
If you are about 4" shy of desired size, and want your mat to have a drawstring, skip down to directions for Rounds 12 & 13 and continue working. If you don't want a drawstring or want to increase the size before final two rounds, continue to the directions for the Extra Rounds below.
**Extra Round 1: Ch 2. Dc into same (1st) st and next 9 sts. 2 dc in next st. *Dc in next 10 sts, 2 dc in next st* to end of round. (144 sts) Join to 1st st with a sl st.
**Extra Round 2: Ch 2. Dc into same (1st) st and next 10 sts. 2 dc in next st. *Dc in next 11 sts, 2 dc in next st* to end of round. (156 sts) Join to 1st st with a sl st. (If you do not want a drawstring, you are finished! Fasten off, cut yarn and weave in all ends. Otherwise, proceed to Rounds 12 & 13.)
In Rounds 12 & 13, st counts in italics are for mats with extra rounds.
Round 12 (or second to last round): In this row, ch loosely. Ch 2. Dc into same (1st) st and next 3 sts. Ch 2, sk next 2 sts. *Dc in next 4 sts, ch 2, sk next 2 sts* to end of round. (132 sts/156 sts) Join to 1st st with a sl st.
Round 13 (or last round): Ch 2. Dc into same (1st) st and next 3 sts. 2 dc into ch sp. *Dc in next 4 sts. 3 dc in ch sp. Dc in next 4 sts. 2 dc in ch sp* until there are 6 sts left. Dc in next 4 sts. 3 dc in ch sp. (143 sts/167 sts). Join to 1st st with a sl st. Fasten off and cut yarn, leaving a 6" tail. Weave in all ends on the backside.
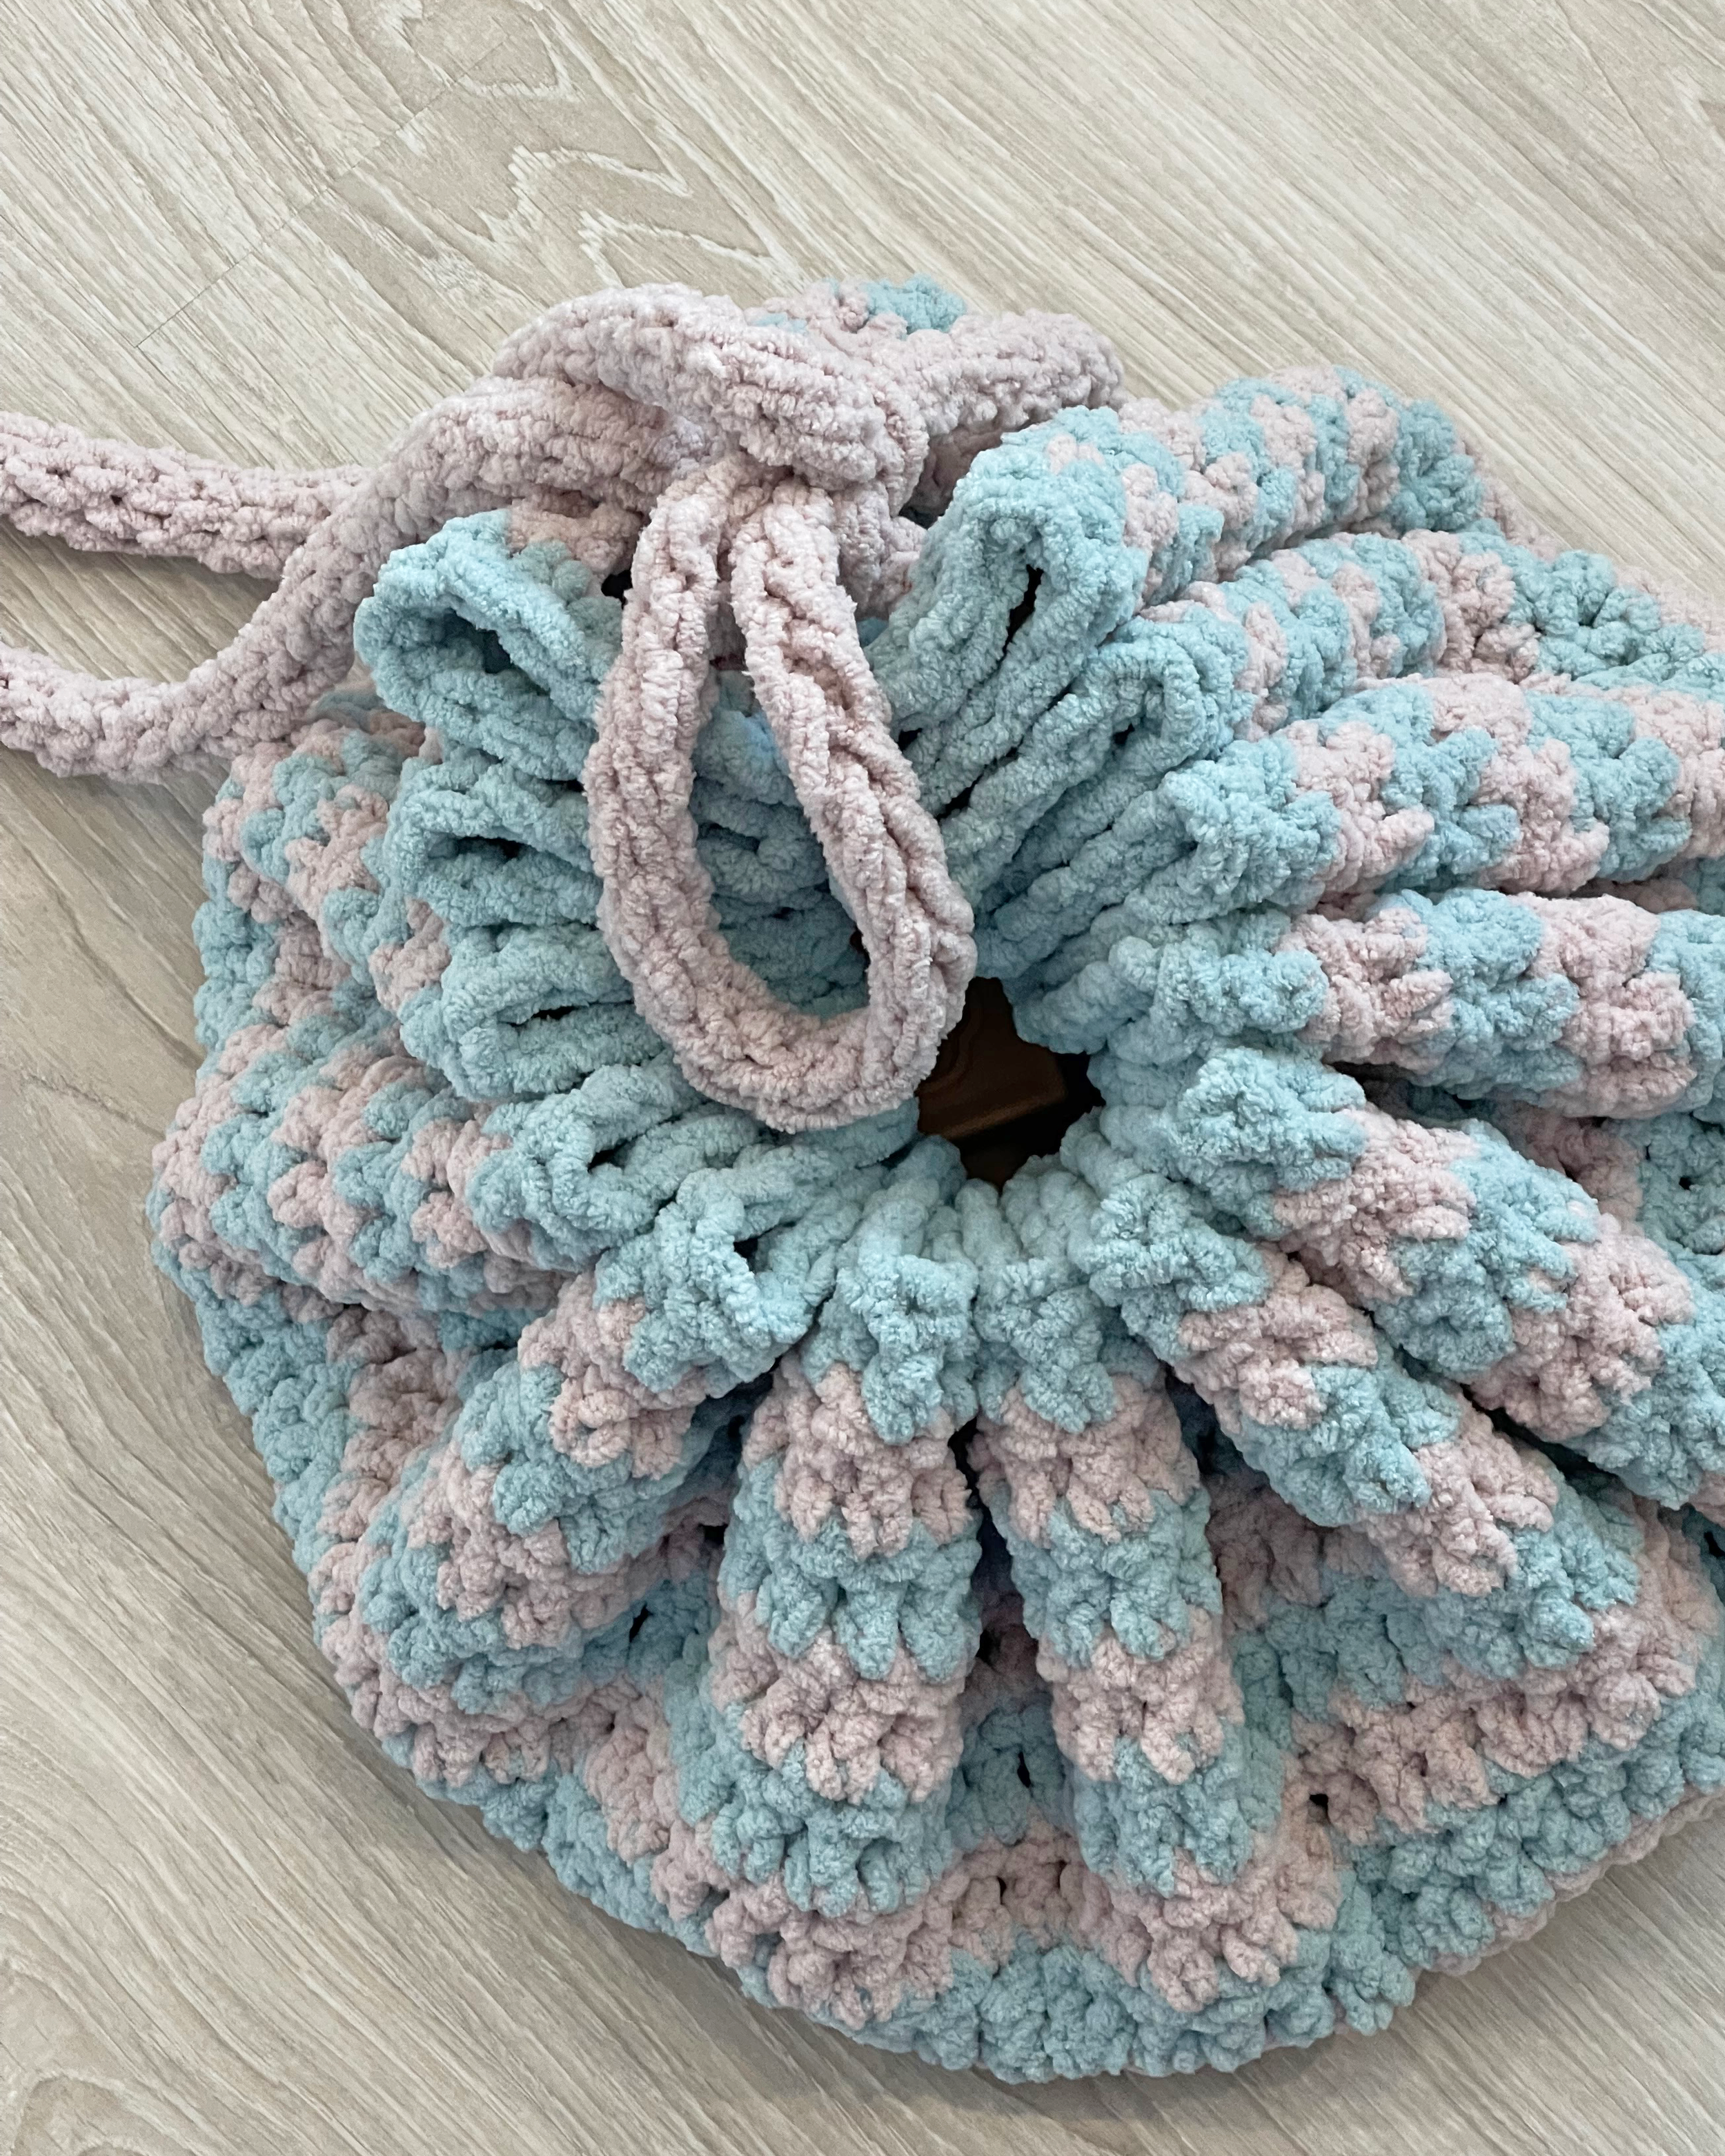
Drawstring
BRAID: Cut 3 lengths of yarn, 104" each or measure each strand to be double the length needed to go in a circle around your row 12. Knot all 3 strands together about 1” from one end. Braid the three strands together. Stop about 1” from the end and tie a knot there.
I braided mine fairly loosely in order to not crush the pile of the fiber. If you want to braid tightly, you will need more yardage. Weave the drawstring through the holes in round 12 (or your second to last round) in an over/under method. To close your bag up, cinch up and tie the strings.
ICORD: There are many tutorials for different types of icords on Instagram and YouTube. It will take more yardage but results in a thicker, round cord. You just need to make sure it will fit through the holes in your drawstring round.
Congratulations! You have finished your Plush Baby Playmat! I would absolutely love to see your projects - use hashtag #plushbabyplaymat and tag me @icrochetsohard on Instagram & Facebook!
To care for your new crochet item, always follow instructions on yarn label.
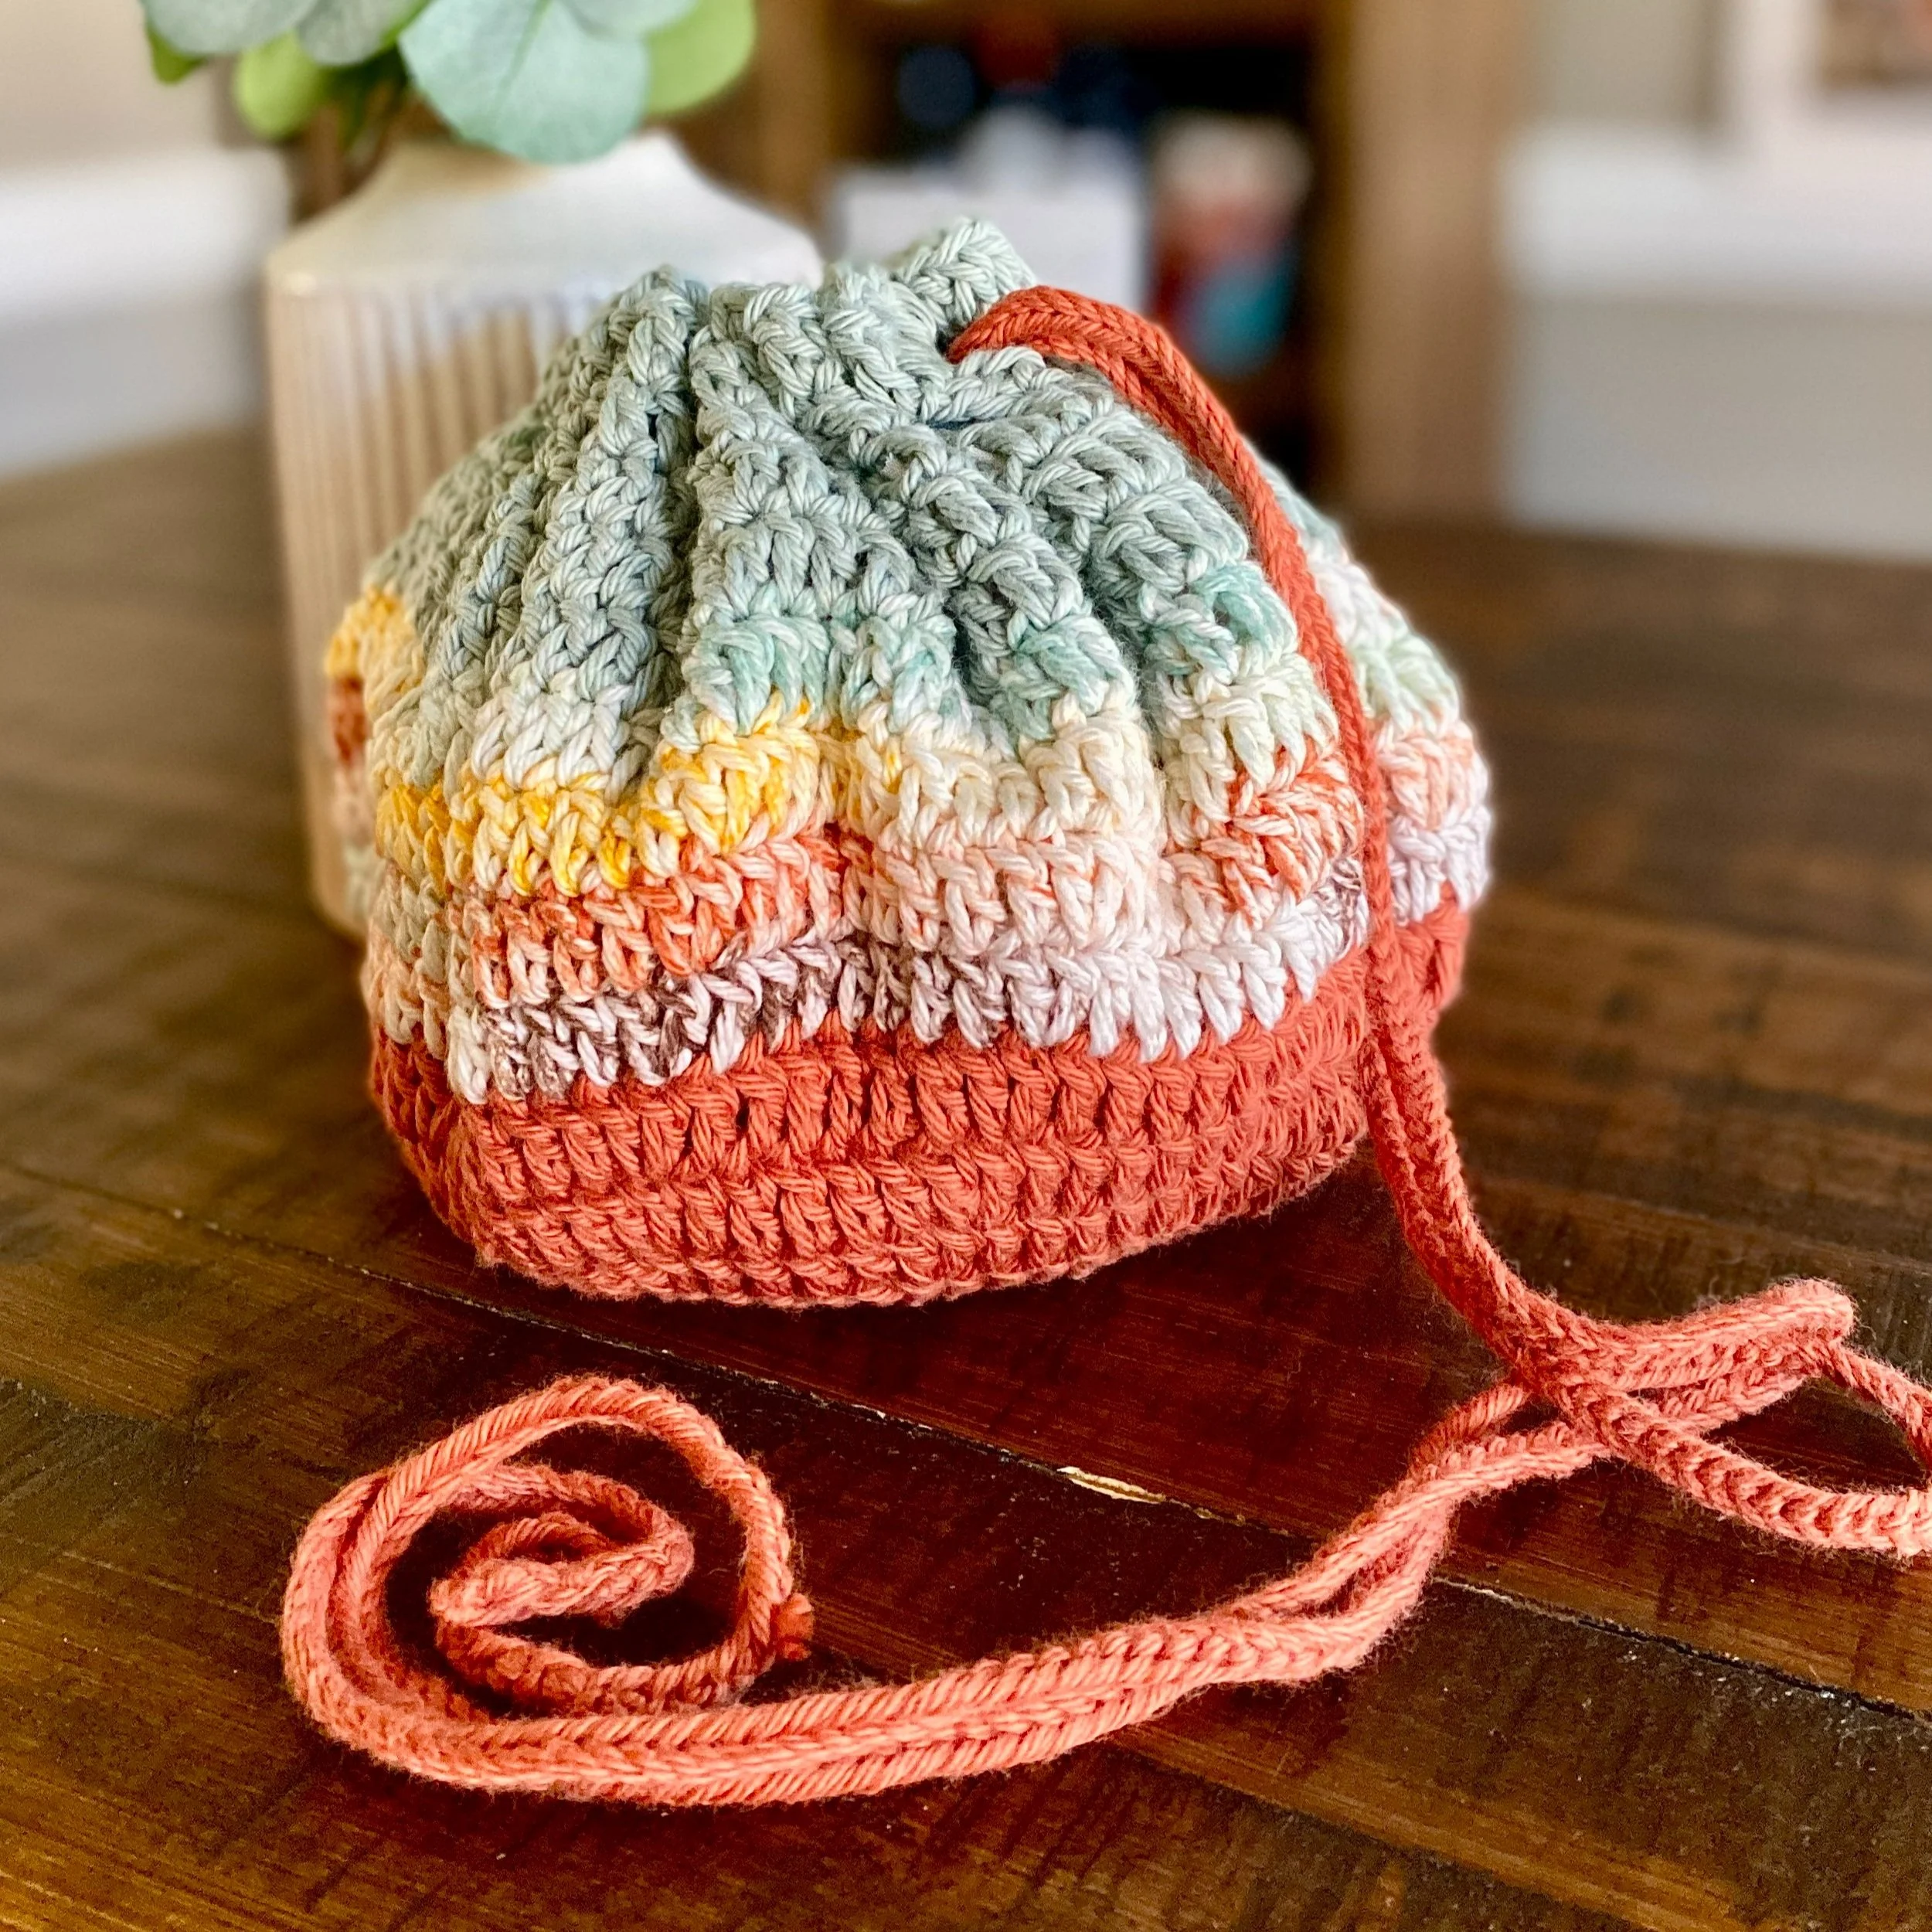
If you love this project, try my Emery Drawstring Bag!
Let's stay connected
Don't forget to join my email list for exclusive discounts, sneak peeks of new patterns, and more! Click here to subscribe. Come join our group over on Facebook and crochet with us! We have crocheters of many skill levels sharing all kinds of projects and knowledge.

Please do not sell or distribute this pattern, or claim it as your own.
You may sell products made from this pattern but please credit the design to I Crochet So Hard.
Pattern and photos ⓒ 2023 I Crochet So Hard, LLC