
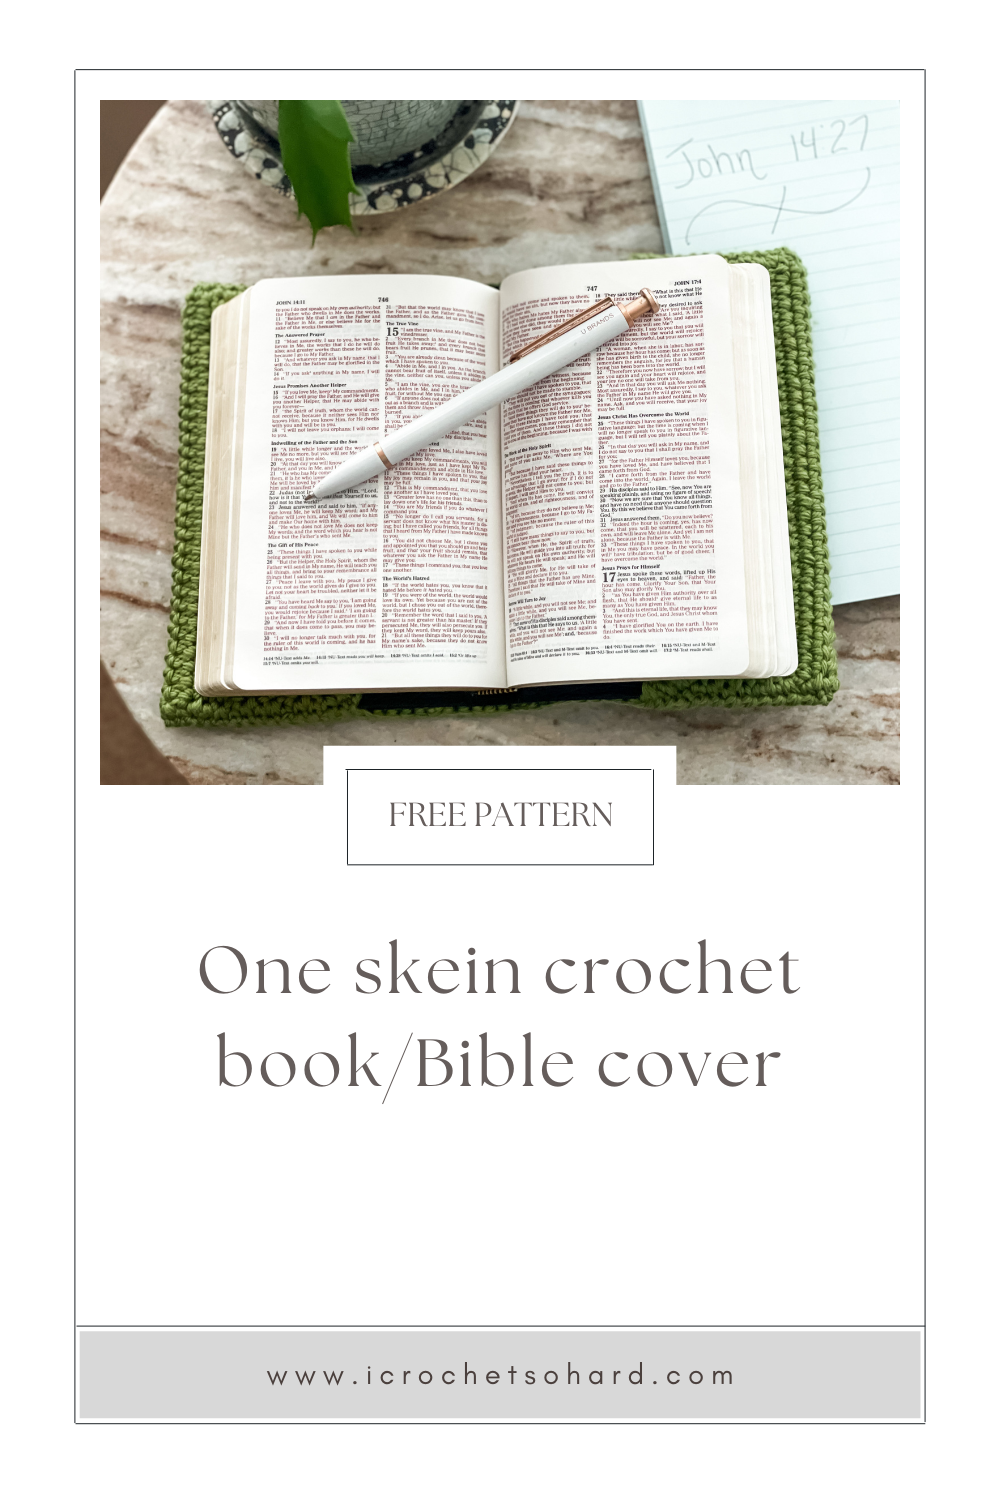
Free one skein crochet pattern - Margie Book and Bible Cover

One skein of cotton yarn is all you need to protect a precious book or Bible
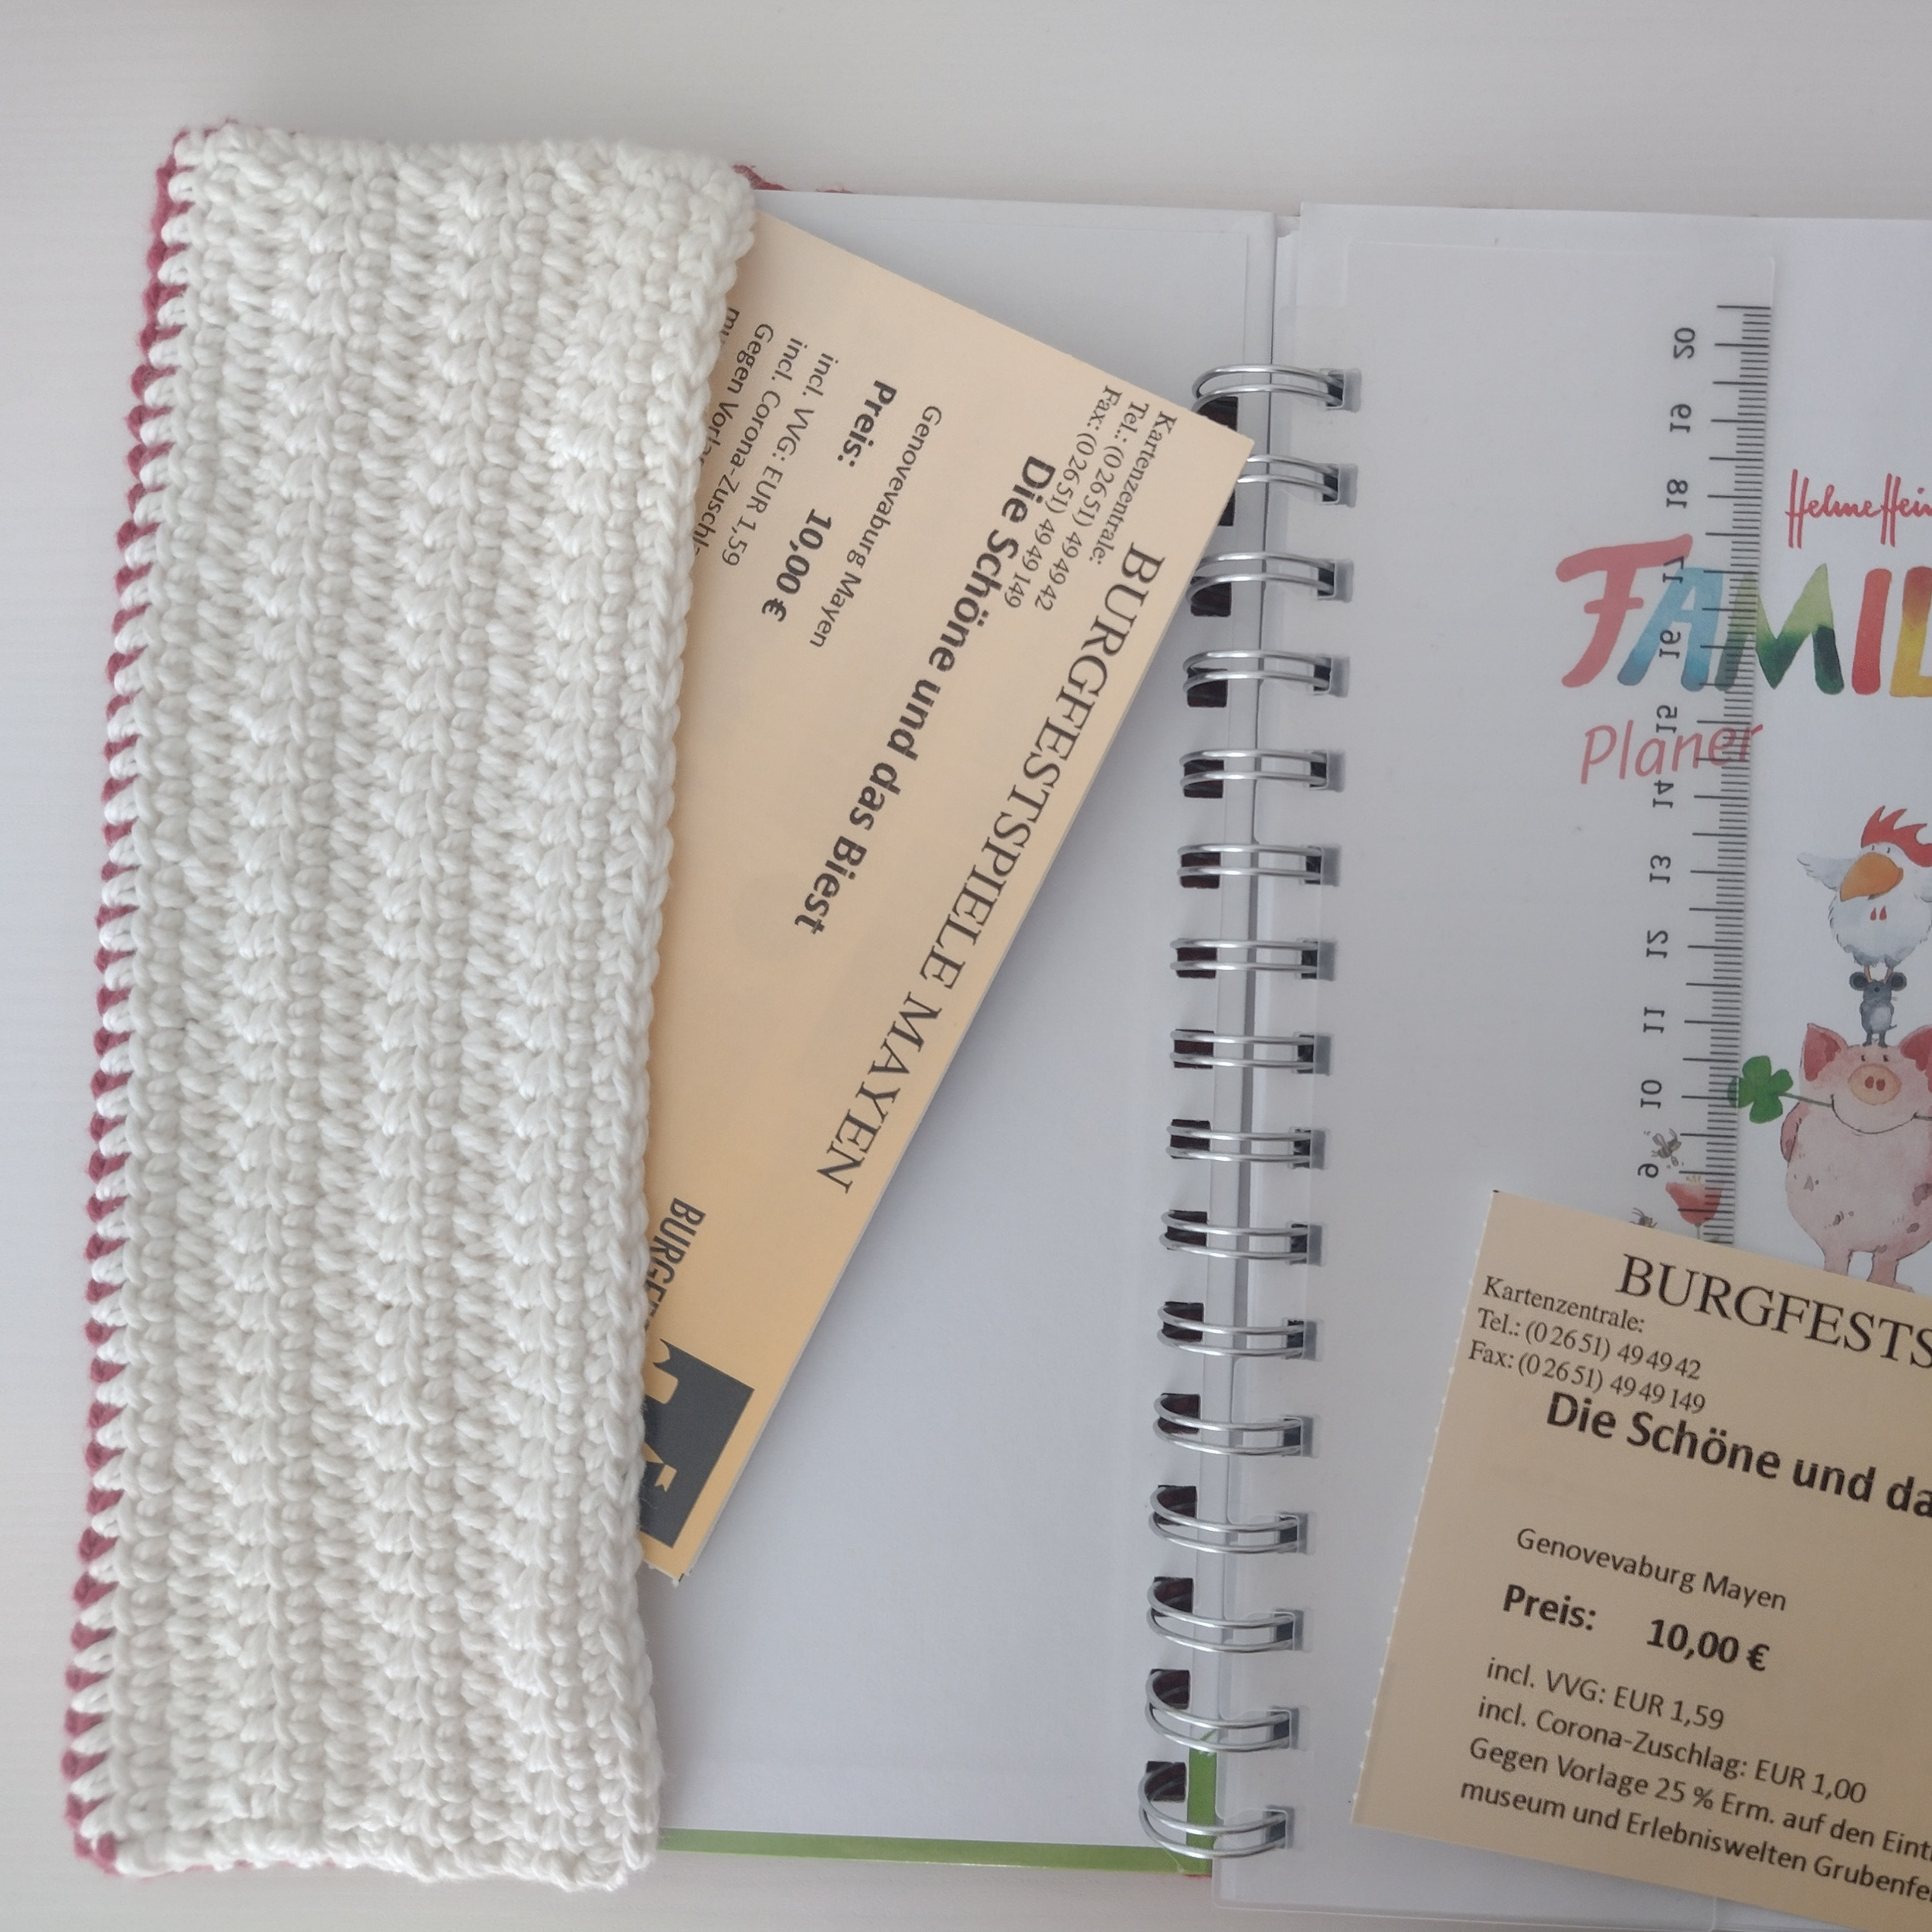
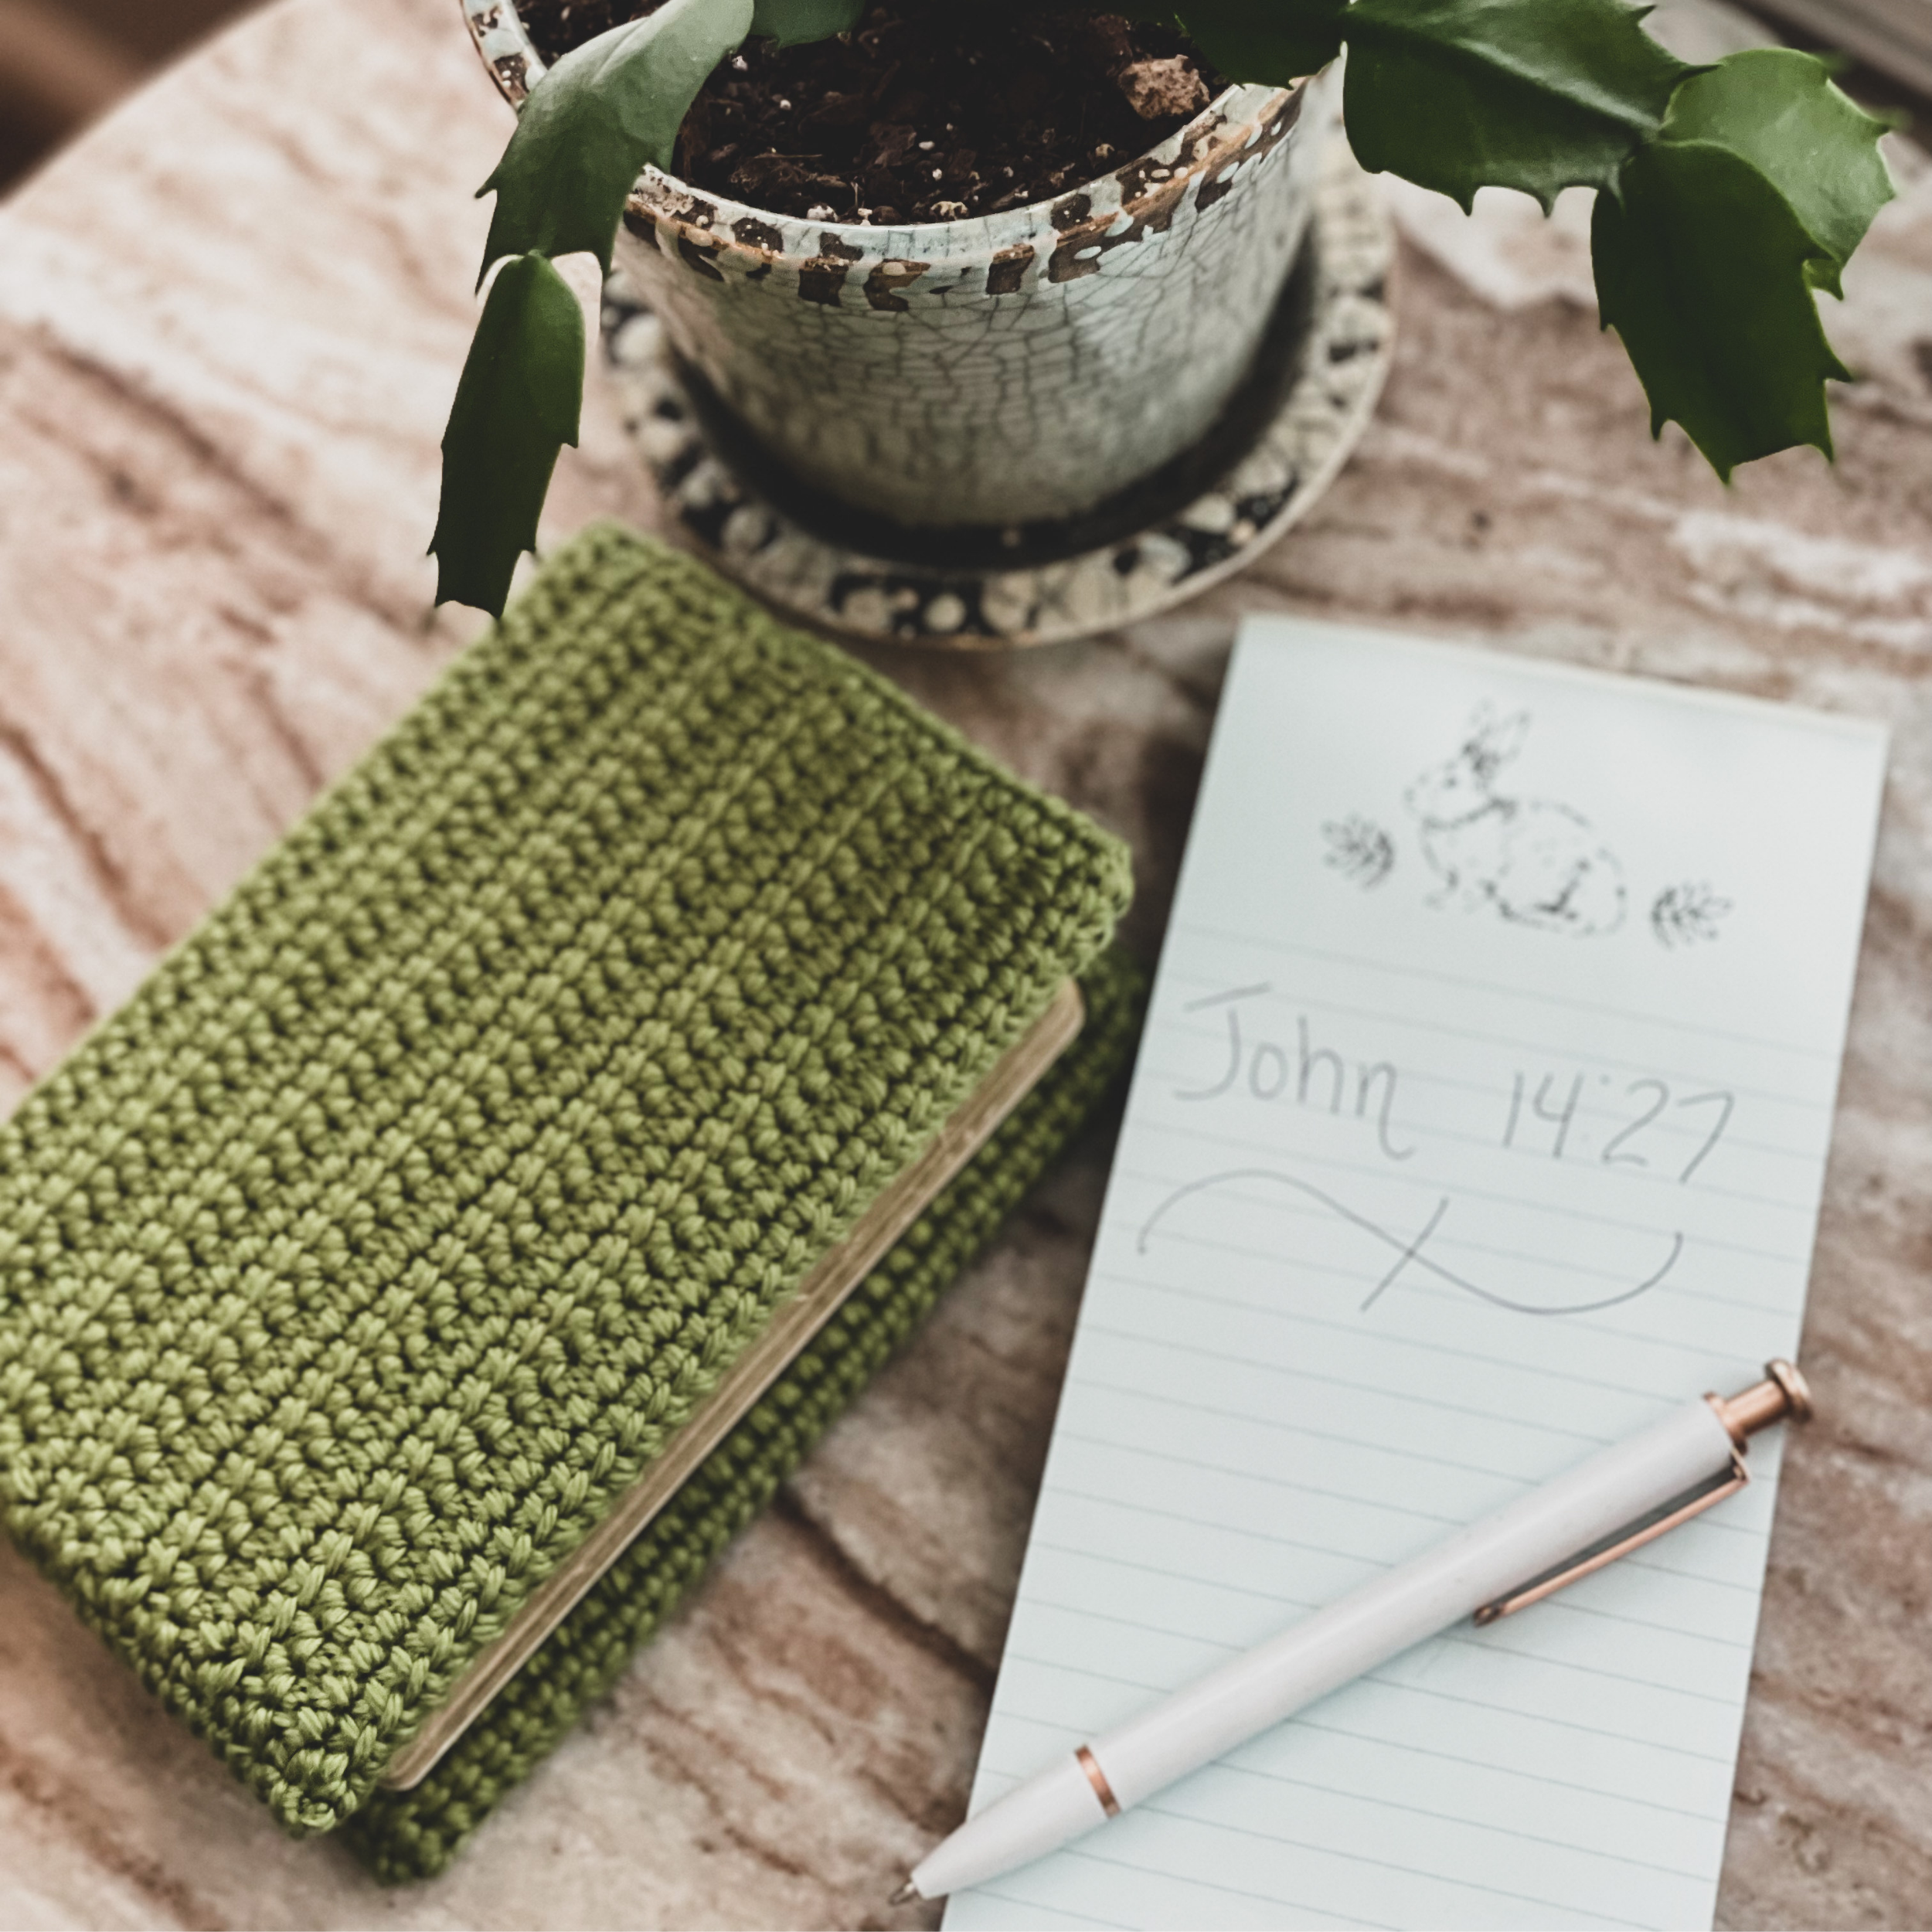
This book and Bible cover is so special to me. I created it out of a desire to protect my purse-size Bible, which had a cover that was slowly peeling off. I wanted to keep using it because it was a gift from my family on Mother's Day about 10 years ago. The cover can be made in any size, so hopefully it will fit the Bible or book that is special to you. If you aren't familiar with linked double crochet, the tight weave is useful and versatile. For yarn choice, I love 100% cotton Dishie from WeCrochet. It's super soft and glides right over your hook. Margie is a very special woman in my life - she's a part of our family and a spiritual mentor. She also crochets!
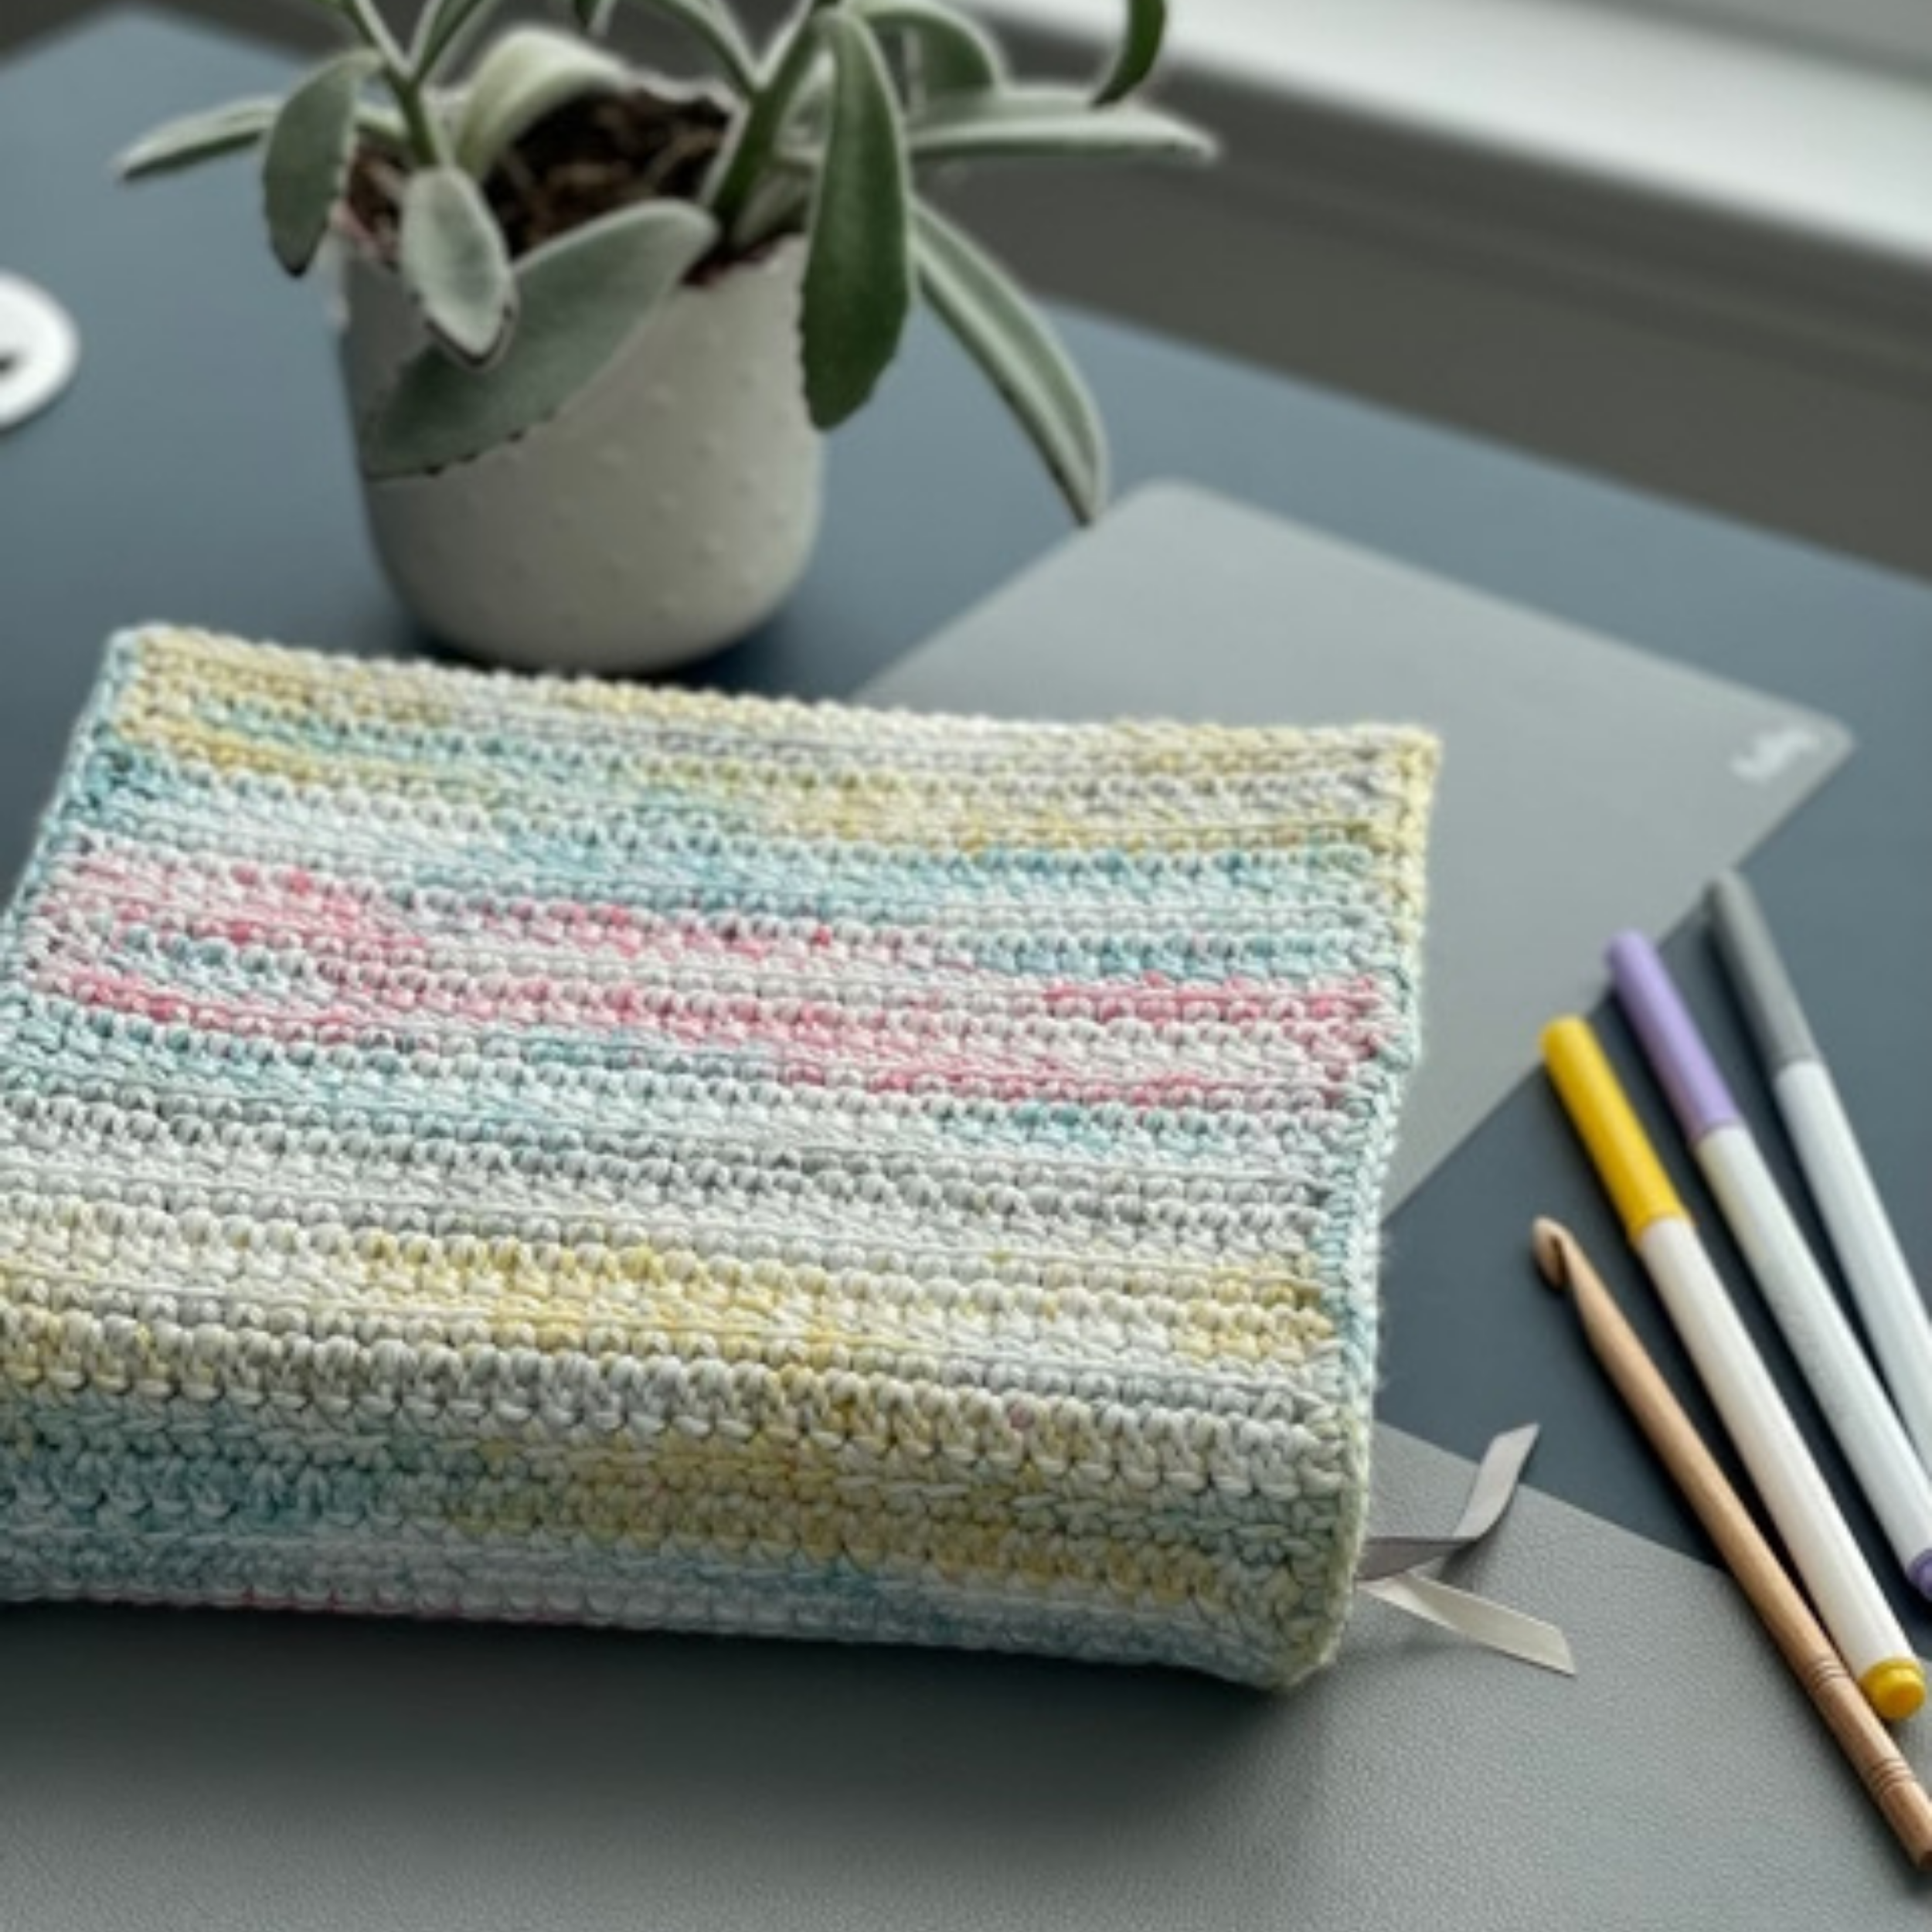
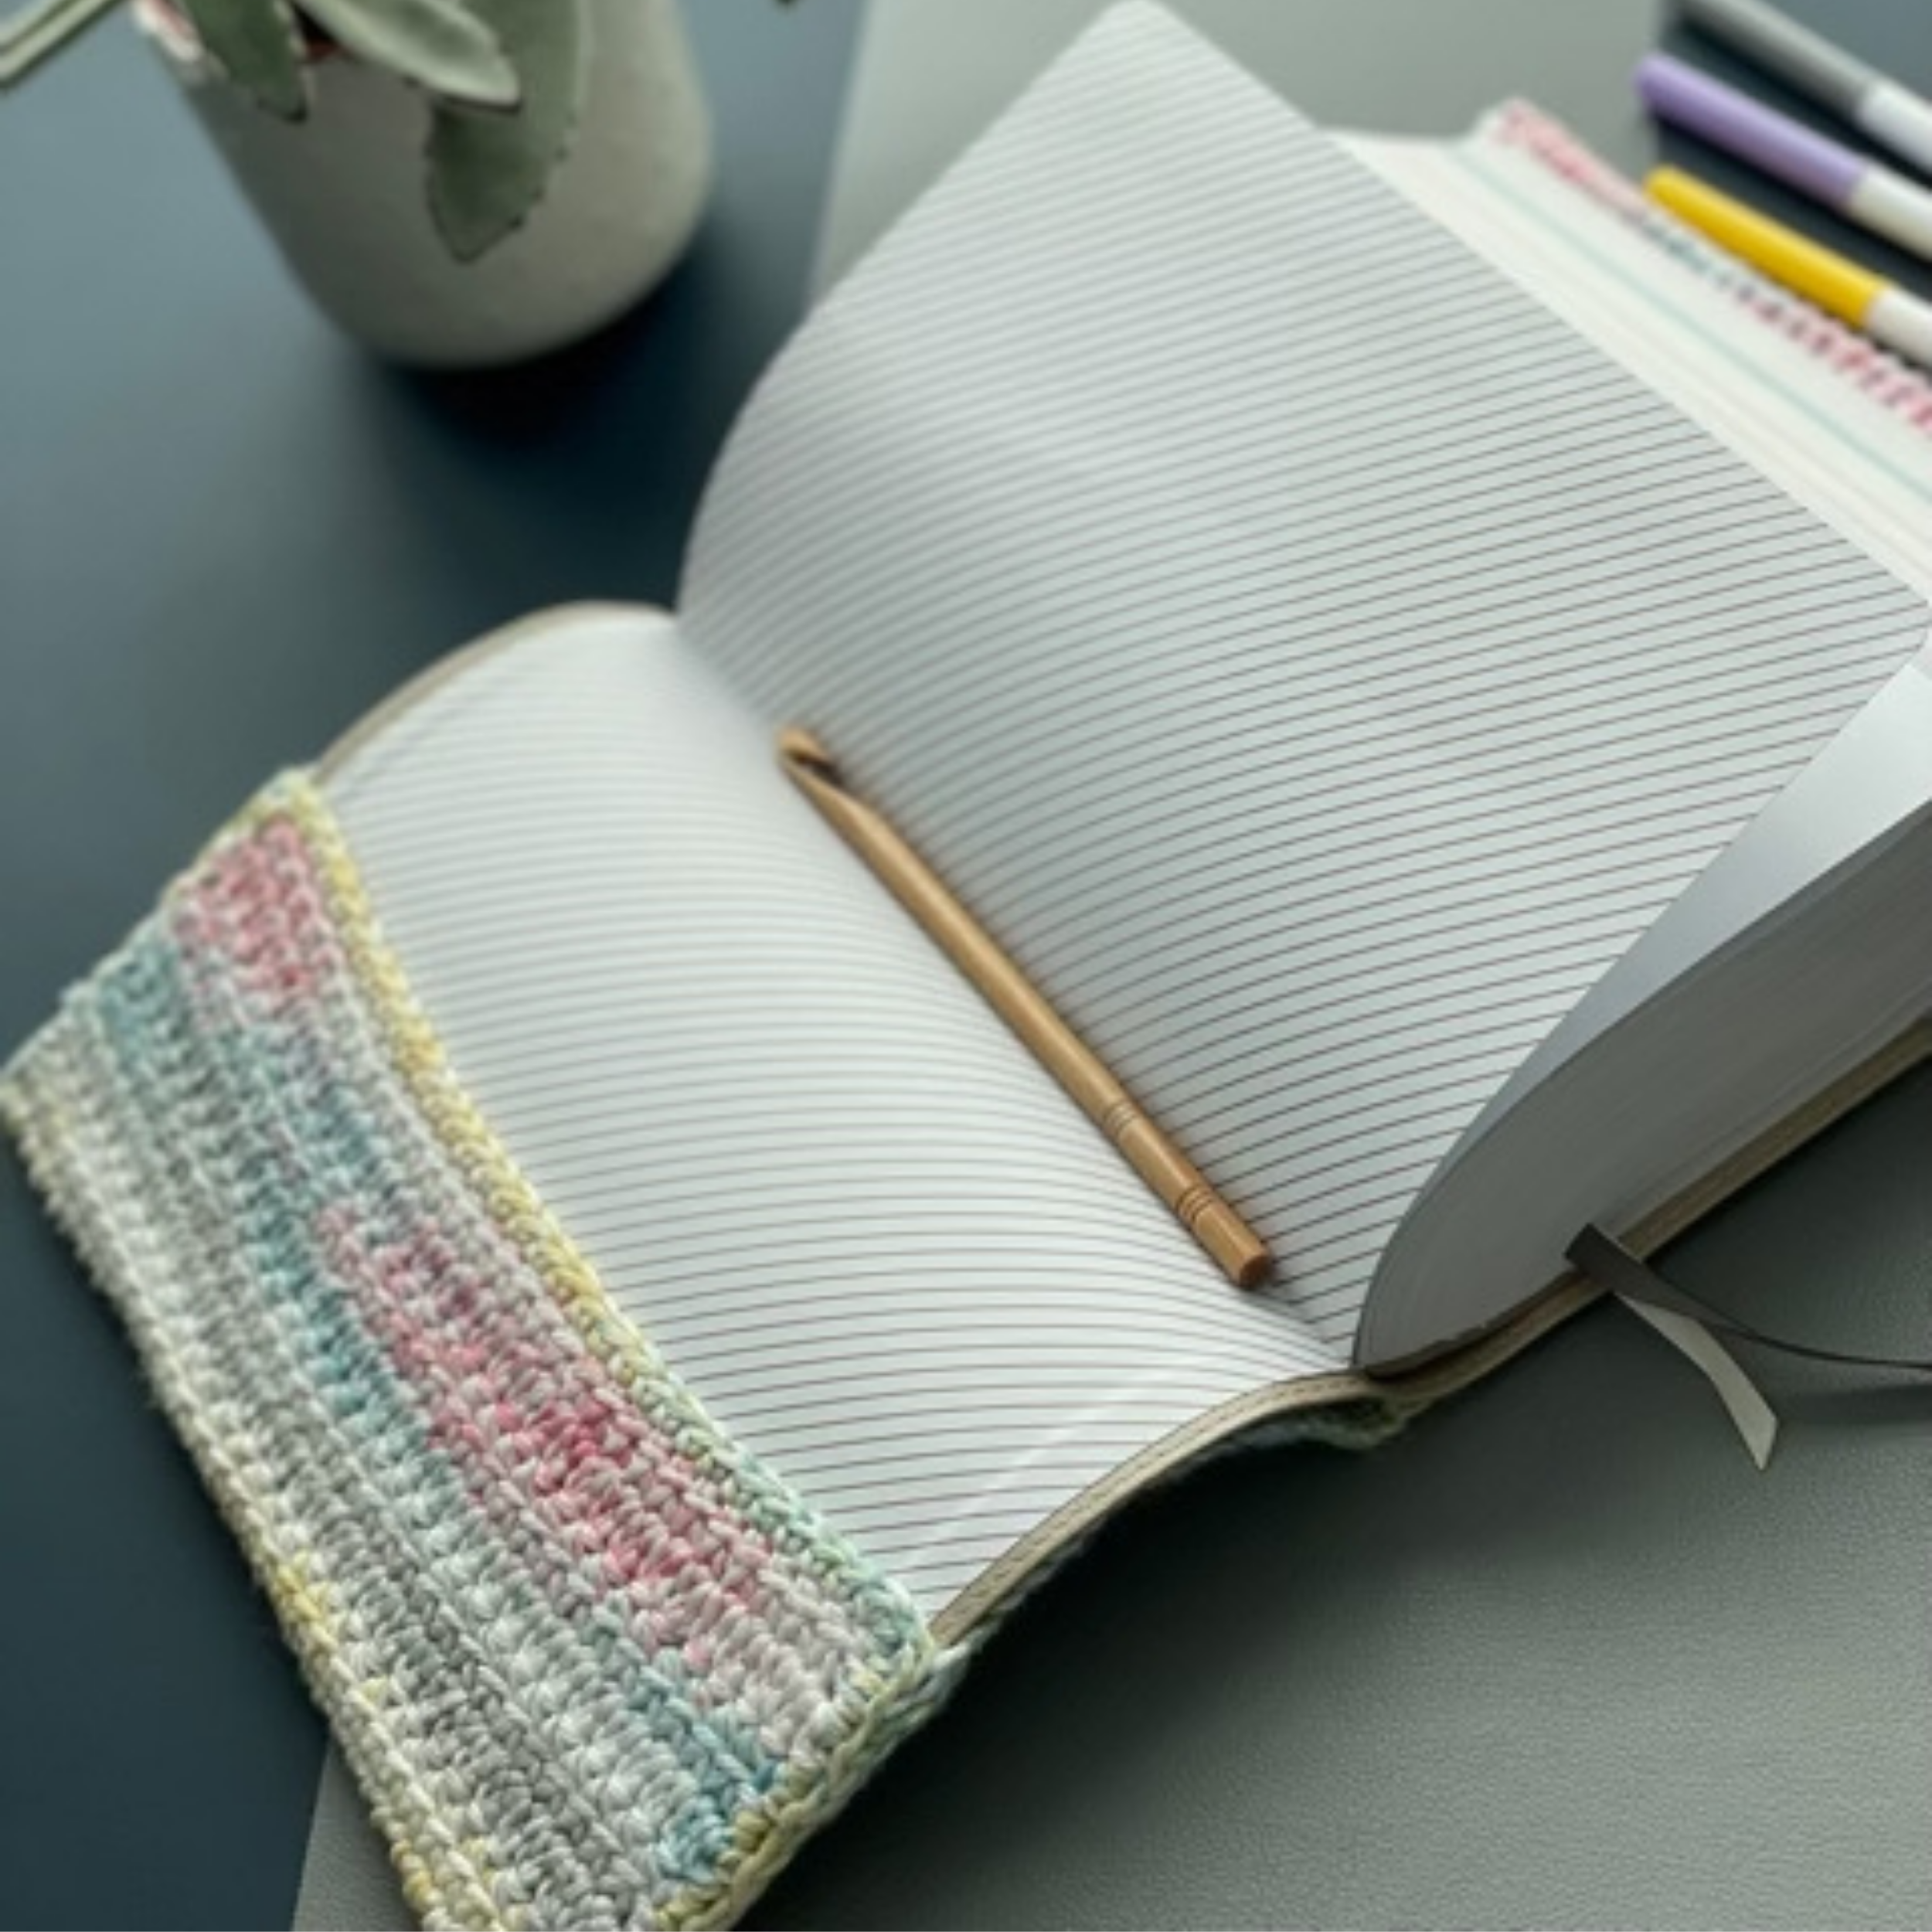
It's a one skein make (for most small books) and can be used for Bibles, books, journals, planners and more! If you can't make it now, Pin one of the images below for later.
*Some of the links in this blog may be affiliate links, which means if you shop through the link, I make a small commission at no additional cost to you*
Before we get into the pattern, I wanted to mention there is an ad-free PDF version available in my Etsy shop (click here) & my Ravelry shop (click here). The PDF version includes a seaming diagram and a photo stitch tutorial for the linked double crochet.
PLEASE read through all notes before starting! For pattern support and a group of positive, encouraging crocheters to engage with, join our Facebook community today.

Supplies:
F (3.75mm) hook or hook to meet gauge (this ergo set is my absolute favorite!)
130-140 yards medium or light worsted (4) weight yarn such as WeCrochet Dishie (100% cotton or cotton blend). Larger books may need 200+ yards.

Skill Level: Easy/Intermediate
Language/Terms: English/US Terms
Finished Measurements (if following pattern as written): 9 3/4" wide x 6 7/8" tall
Measurements before border & seaming: 15 1/4" wide x 6 3/8" tall
Gauge: 4" x 4" = 19 sts by 9 1/2 rows (be sure to work up a piece large enough to exclude the edges and starting row).
Abbreviations:
ch = chain
st = stitch
sts = stitches
SC = Single Crochet
LDC = Linked Double Crochet

Just a quick note about Dishie yarn - it slides like butter over my crochet hook. No joke. I have crocheted with a ton of different cotton and cotton blend yarns and this one is definitely on the softer end and glides along. It's the opposite of a hand buster - so much better than other cotton yarns that strain my hands and wrists. It's available at WeCrochet, who has free shipping over $45 every day!
Linked Double Crochet
Stitch Instruction: Linked Double Crochet
Instead of a yarn over to start the stitch, insert your hook in the horizontal bar created by the last LDC. Pull up a loop (you will have two loops on your hook). Continue by inserting your hook into the next stitch and pulling up a loop. You should now have 3 loops on your hook. Yarn over and pull through 2 loops, yarn over and pull through last 2 loops.
Stitch note: When changing colors/adding yarn with LDC, I find it works best to add a new piece of yarn when pulling up a loop in the next stitch, not when finishing the stitch. Otherwise, you may end up with a visible "hole" at the yarn change stitch. Be sure to pull the yarn tight at the add point before finishing the stitch.

Measuring for your cover
To get a perfect fit for your book, here are a few tips:
You want a snug fit, not a loose fit
Gauge is very important if you need your project to be the same finished size listed on page 1 and/or you want to use the formula provided for st count
It's important that your in-progress panel width be the exact measurement you are aiming for, this may take some trial and error with the first few rows
To obtain your width measurement:
For the WIDTH of the piece, measure the HEIGHT of your book and subtract 1/2". Take your measurement and plug it into this formula to determine your STITCH count: 4.75 x height measurement = number of stitches needed. Round to the nearest whole number. Then, add 2 for your starting ch count. (This formula only works if you meet gauge!) The most important thing is that you have the measurement you need (your book height minus 1/2"). You may have to use some trial and error with the stitch count if you don't meet gauge.
Example: My Bible is 6 5/8" tall. The width measurement of my piece will be 6 1/8". So I need to have that measurement from edge to edge horizontally for my rows. You would adjust the STITCH count to change the width of the piece.

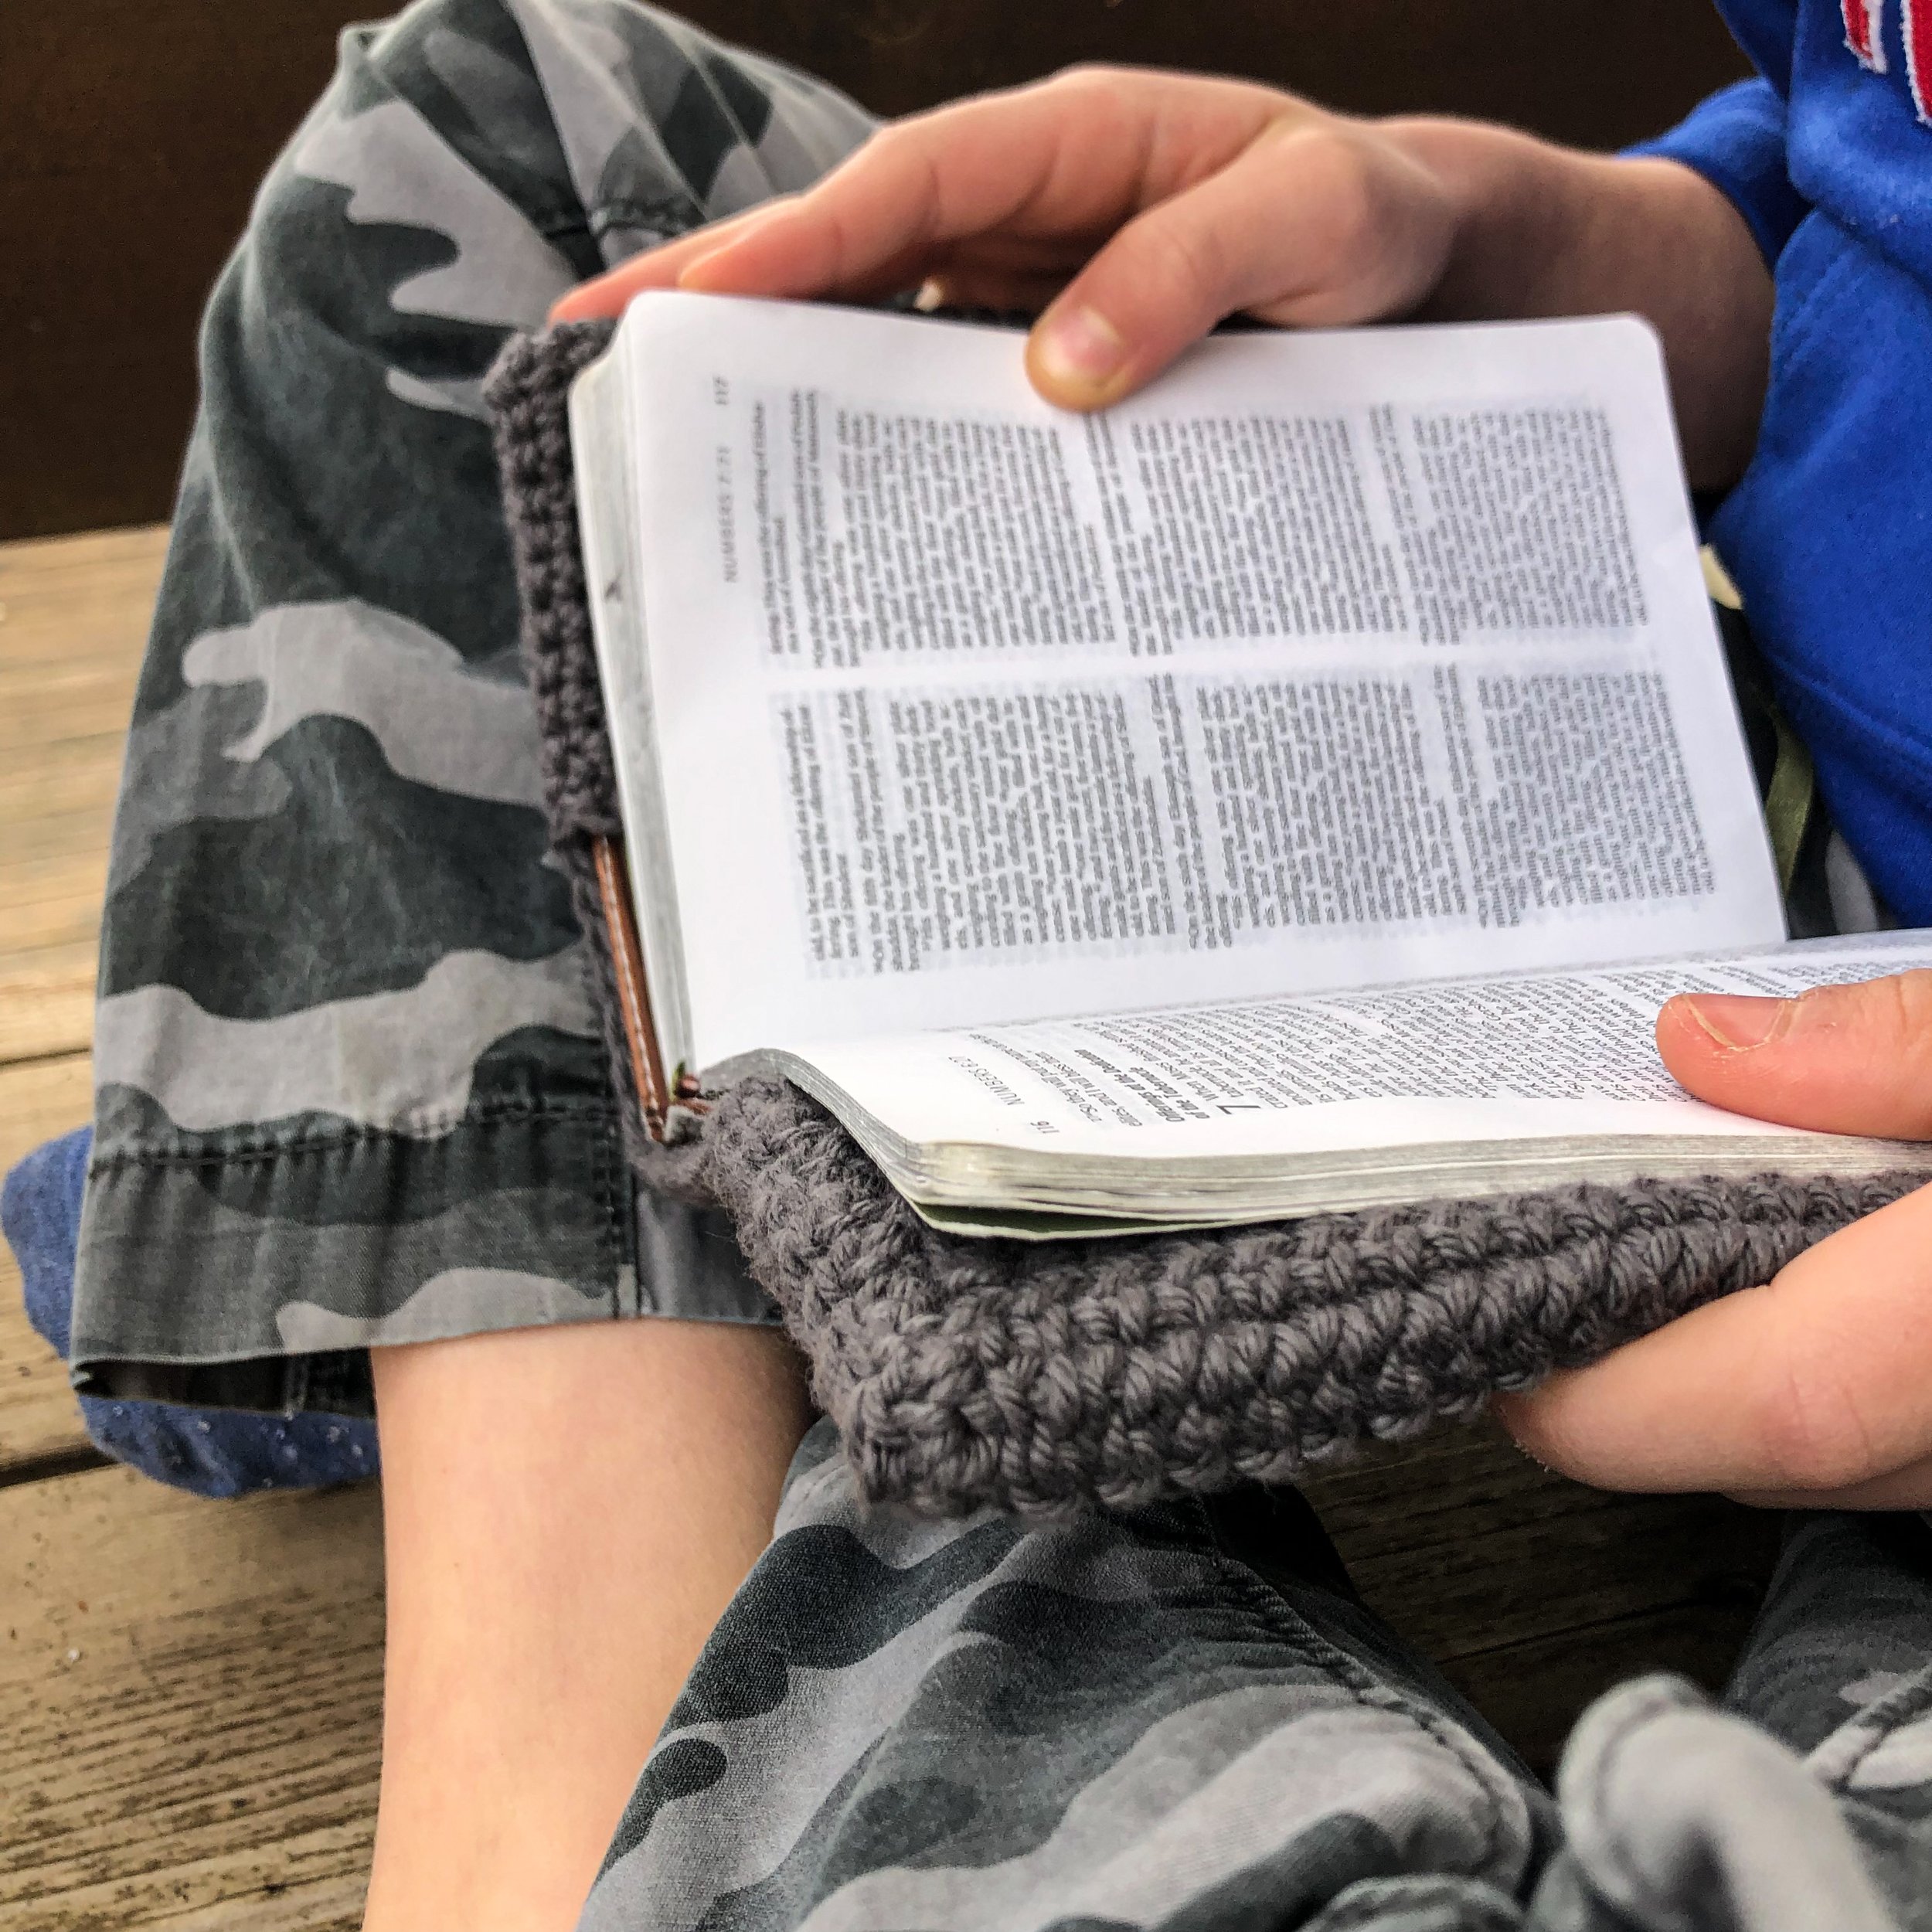
To obtain your length measurement:
For the LENGTH of the piece, measure horizontally across the front cover, spine, and the back cover (when the book is closed) and subtract 1/2". I recommend using a flexible measuring tape. For smaller books, add 6" to this measurement so you will have 3" pockets on each side. For books larger than about 8" tall, you may want to add 8" for 4" pockets on each side. This will determine how many inches you need in rows. Work the pattern until you reach this measurement.
Example: My Bible is 9 3/4" from the edge of the front cover, around the spine, to the edge of the back cover. I subtracted 1/2" (for the border) and got 9 1/4". I added 6" to this measurement (for the pockets) to get 15 1/4" which will be the total length of my piece before border & seaming. You would adjust your ROW count to change the length of the piece.
TIP: If your stitch or row measurement doesn't line up exactly, it's better to be slightly under rather than over. Your piece may stretch out a bit after some use.
Instructions
Ch 30 (or your desired number), leaving a long tail (8" or so).
Row 1: Working in the back bumps of the ch for all of row 1, pull up a loop in the 2nd ch from hook. Pull up a loop in the 3rd ch from hook. Yarn over and pull through 2 loops, then yarn over and pull through last 2 loops. LDC in each st to end (the last LDC goes into your first ch made). Turn. (28 sts - or 2 less than your ch count here and on every row)
Row 2: Ch 2. Pull up a loop in the 2nd ch from hook (the bottom ch of your ch 2). Insert hook in first st and pull up a loop. Yarn over and pull through two loops, then yarn over and pull through last 2 loops. LDC in each st to end. Turn. (28 sts)
Rows 3-36 (or until desired length): Repeat row 2. Do not fasten off.
Border:
Ch 1 and turn your work clockwise to start working along the long edge. Work evenly spaced SC across all 4 sides, putting 3 SC in each corner as you go around. I had approximately 68 sts across the long sides and 30 sts across the short sides. After the last corner is complete, slip st into the first st of the next side and fasten off, leaving a long tail for seaming (approx. 12").

Seaming:
Flip your piece over and lay it flat lengthwise, long side running horizontally. The side facing down is now the outside. Measure in 3" (or 4" - whatever size you chose for your pockets) from each side on the top (see diagram on pg 4). Place a st marker at each point. Repeat with bottom edge. You should have a total of 4 st markers, placed 3" (or 4") in from each side on both the top and bottom edges.
Fold the edges of the piece at the st markers to create the pockets. Your folds should run from one st marker to another vertically. Using the two yarn tails, seam two of the pocket edges towards the fold with a mattress stitch (see diagram on pg 4). An alternative is a whip stitch. The mattress stitch creates a flatter, neater seam. For the other two edges, add a new yarn piece (about 15") and seam them as well. Weave in all ends.
Blocking & Finishing: If your cover isn't exactly a rectangle or if you need to stretch it a bit, you may want to try blocking.
Optional: One of my testers added a crochet chain for a bookmark and attached it to the middle of the top edge of their cover (brilliant)! Make it a little longer than your book is tall.
Check out some color choices and options below:

Congratulations! You have finished your Margie Book Cover!
I’d absolutely love to see your projects - use hashtag #margiebookcover and tag me @icrochetsohard on Instagram & Facebook! Remember to join our crochet community here.
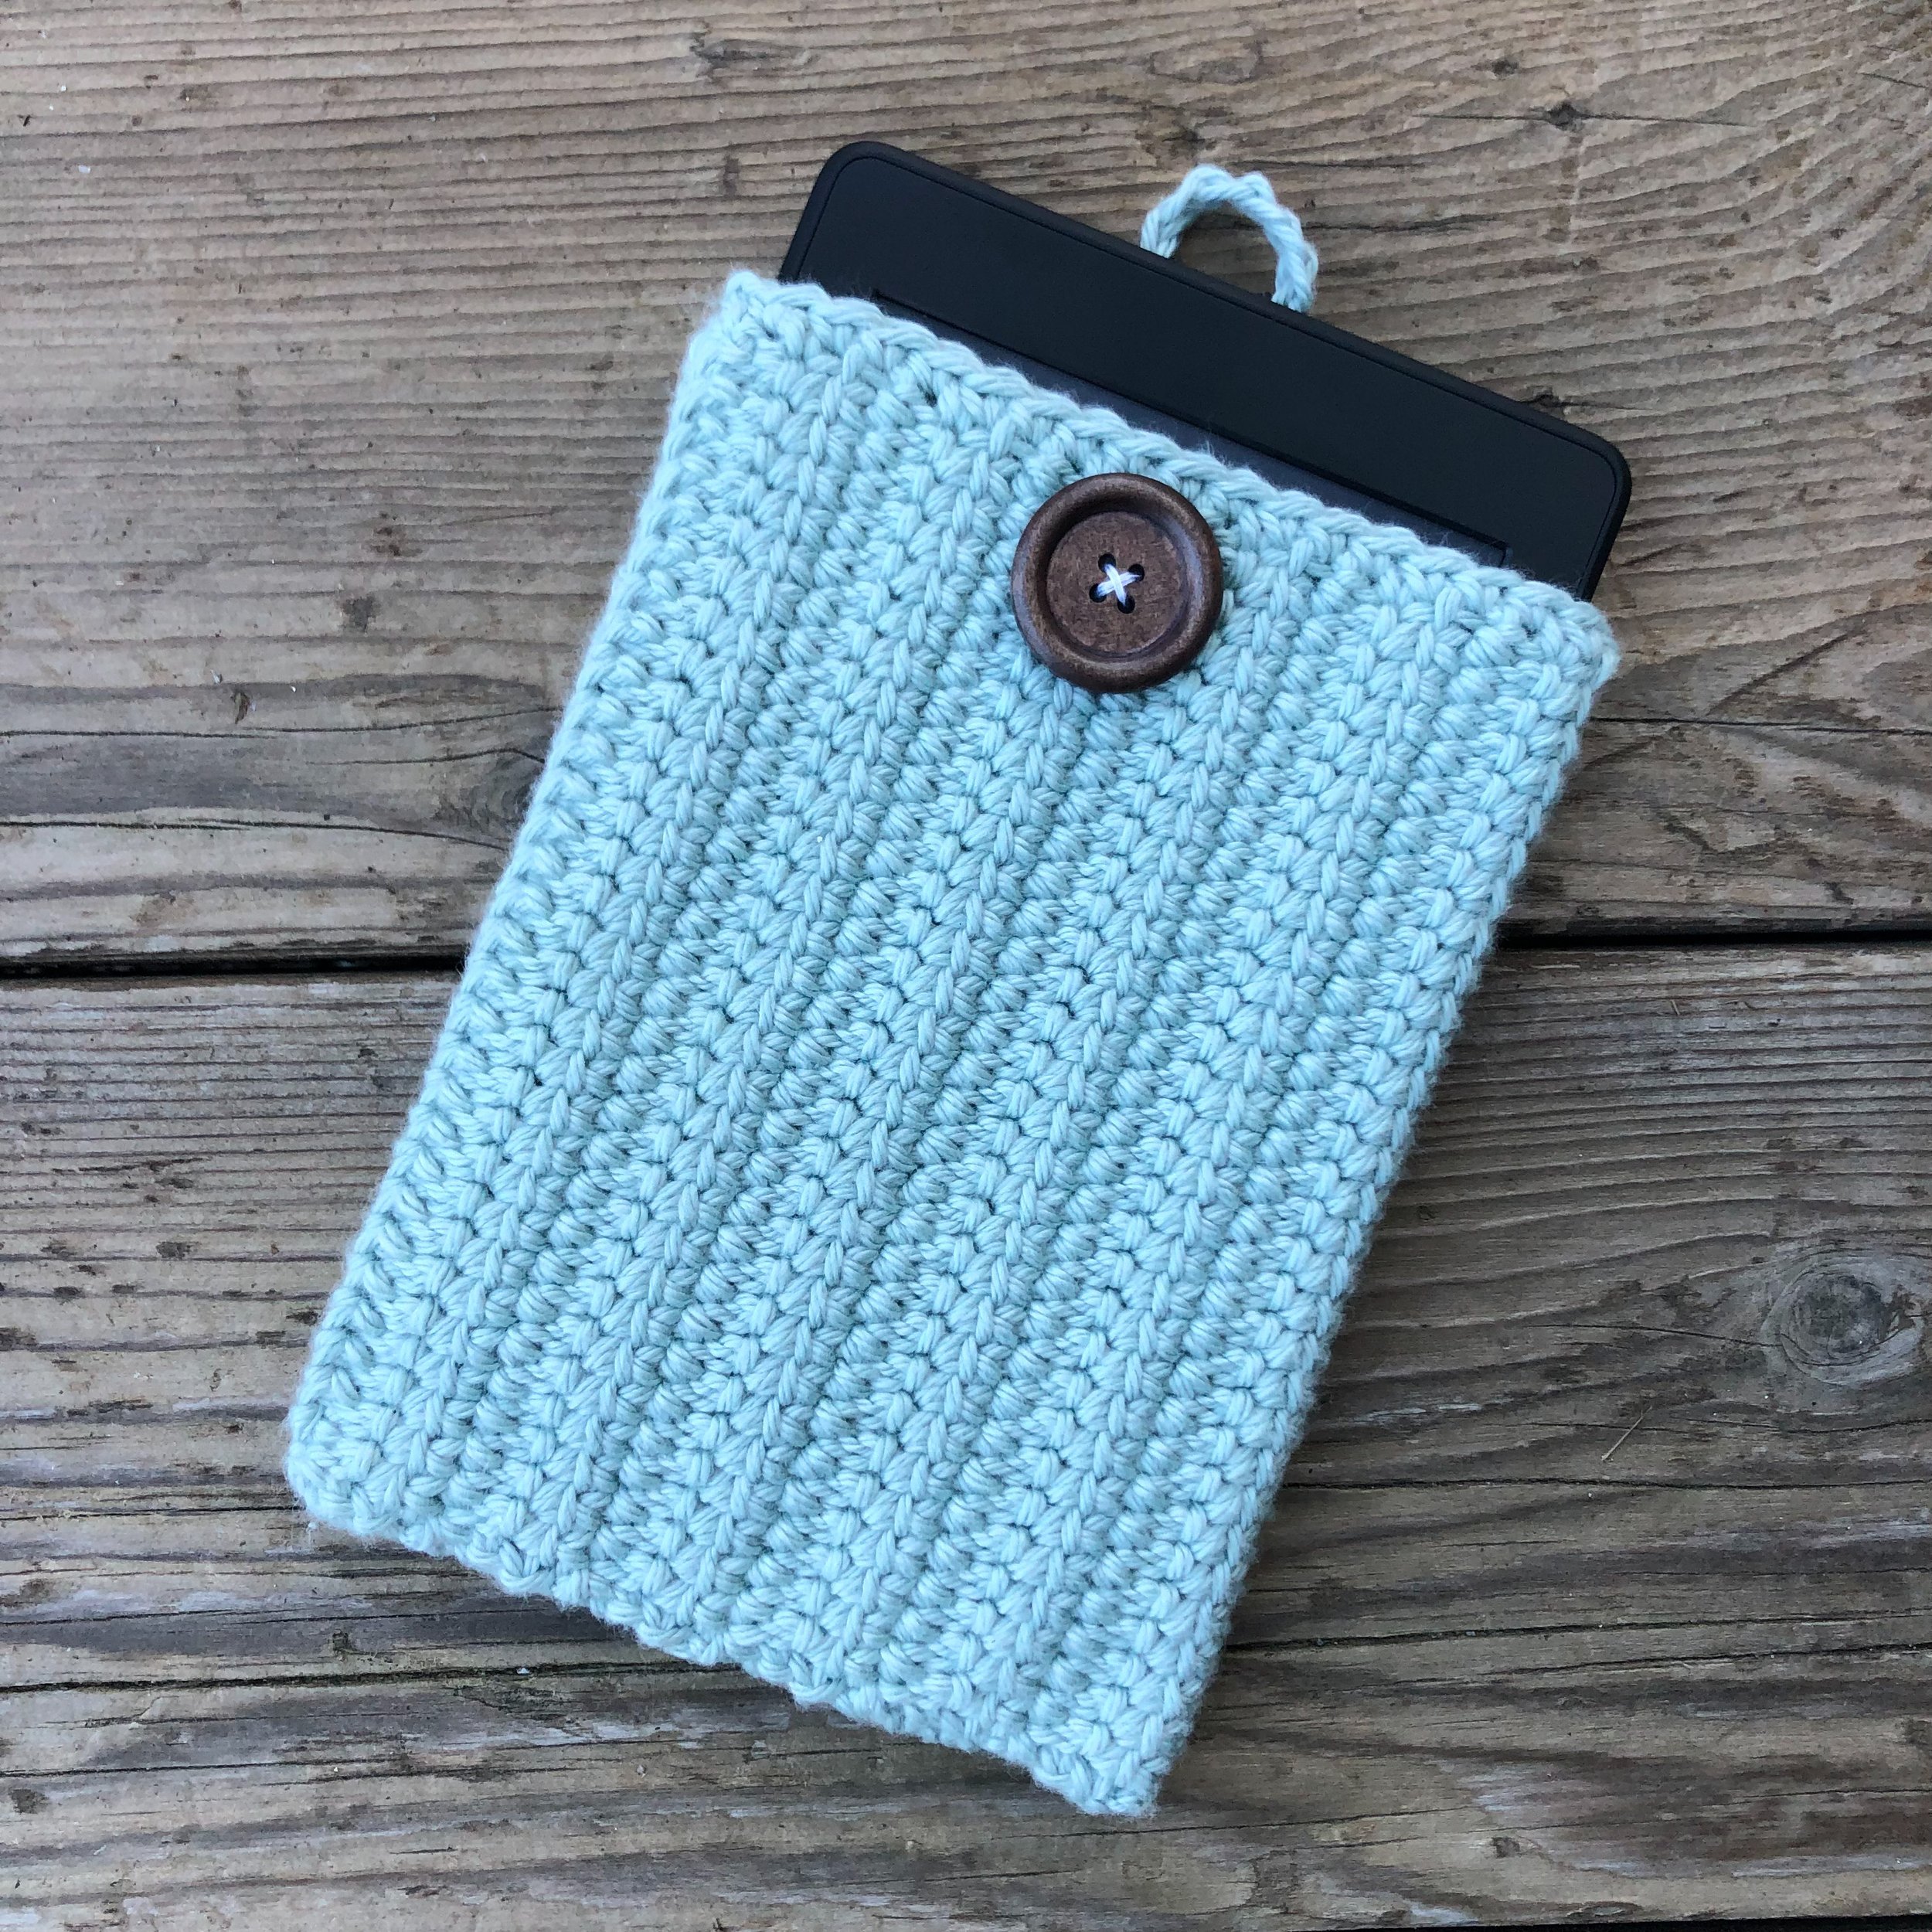
Margie e-Reader Cover
If you love this pattern, try the Margie e-Reader sleeve! The e-Reader sleeve uses the same stitch and similar construction. It’s also available on Etsy & Ravelry.
Let's stay connected!
Don't forget to join my email list for exclusive discounts, sneak peeks of new patterns, a free pattern when you subscribe and more! Click here to subscribe.

Please do not sell or distribute this pattern, or claim it as your own.
You may sell products made from this pattern but please credit the design to I Crochet So Hard.
Pattern and photos ⓒ 2021 I Crochet So Hard, LLC